Einleitung
This repair guide will help the user on how to replace the keyboard that is inside the Acer Spin 7 SP714-51. A keyboard is where the user is allowed to type/use the different characters and/or commands. The user would want to replace this piece if it starts to be unresponsive or if some of the keys are not working.
Make sure you disconnect the battery before working by removing the keyboard for safety purposes and to also have a less chance of damaging the laptop while working with it. This is seen in the guide on how to replace the battery found here.
Was du brauchst
-
-
Turn the laptop so that the back cover is visible and facing you. Make sure it is on a flat surface such as a table.
-
Use a Phillips #0 screwdriver to remove the 6 mm screws along the edge of the bottom cover.
-
-
-
Once all the screws are removed, you should easily be able to remove the back cover. This can be done by hand or by using a Spudger as seen in the tools list.
-
-
-
Remove the battery connector cable from the motherboard.
-
Ensure that you are pulling the connector straight back, if you pull up at all you may damage the battery connector on the motherboard.
-
-
-
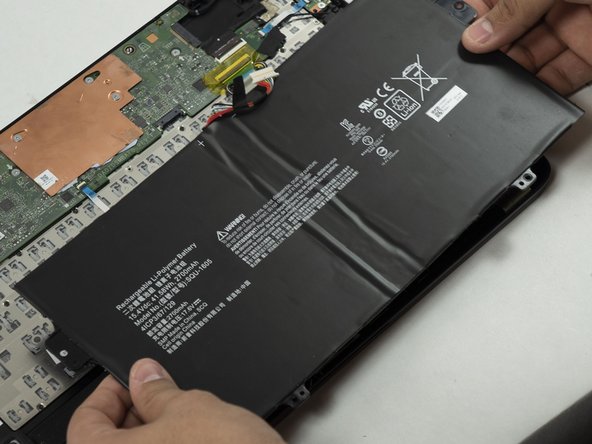
Use a Phillips #0 screwdriver to remove the last two 3mm long fasteners at the edge of the laptop body, and carefully remove the battery.
-
Place the new battery in the battery slot
-
-
-
Disconnect the white and black antennae from the Wi-Fi card, located on the left side of the laptop. The antennae should snap off upwards easily with a pry tool.
-
Unscrew the retaining screw from the Wi-Fi card and unslot the card to remove it from the laptop.
-
-
-
-
Lift the tab on the ribbon connector connecting the motherboard to the power switchboard and slide out the connector.
-
Remove the 2 screws holding the switchboard in place and remove the switch panel.
-
-
-
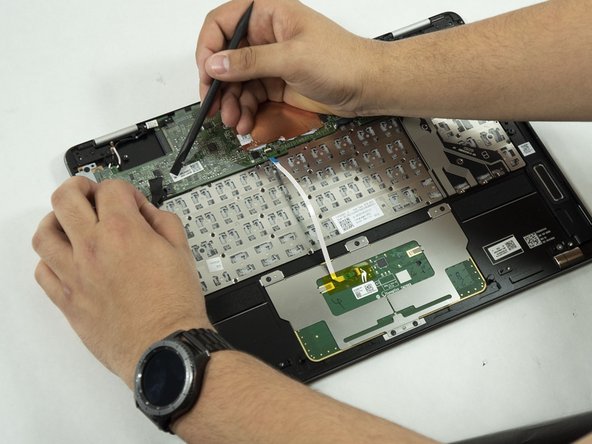
Flip up the tab on the keyboard connector and disconnect the ribbon cable from the motherboard.
-
-
-
Remove the display connector by lifting the tape and pulling the connector straight back.
-
Remove the trackpad ribbon cable.
-
Remove the speaker connectors, lifting the tape and pulling straight back from the connector.
-
-
-
Remove the touchscreen connector after peeling up the adhesive tape holding it in place.
-
Make sure to pull straight back to avoid damaging the connector.
-
-
-
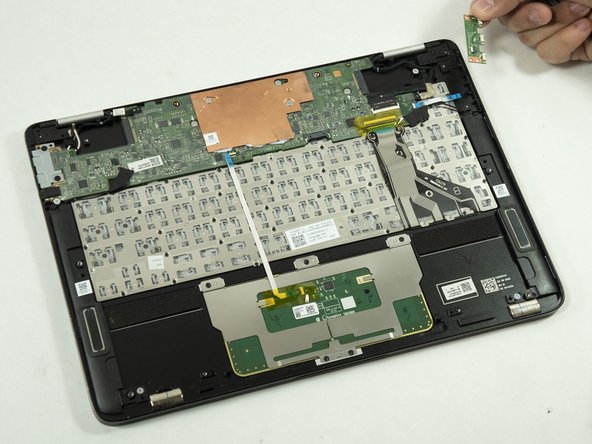
On the upper left side of the back panel is a protective shield for the USB-C panel. Remove the two 3mm screws holding the panel in place using the PH0 Phillips head screwdriver.
-
Gently pull the panel away being careful not to damage anything.
-
-
-
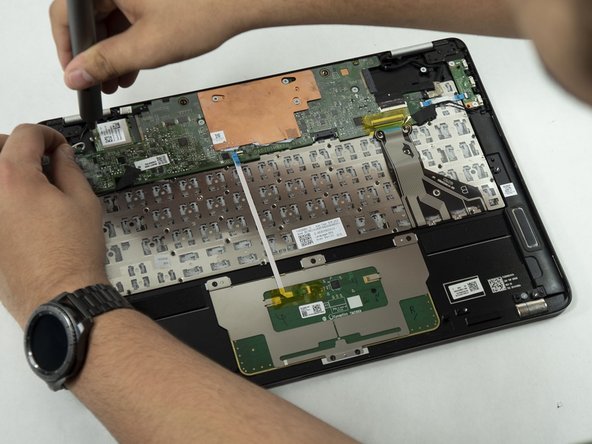
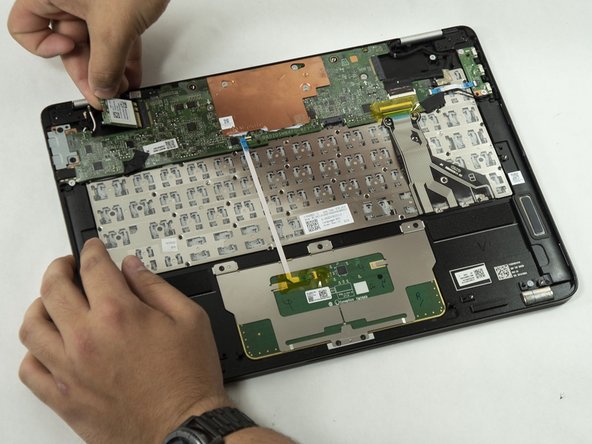
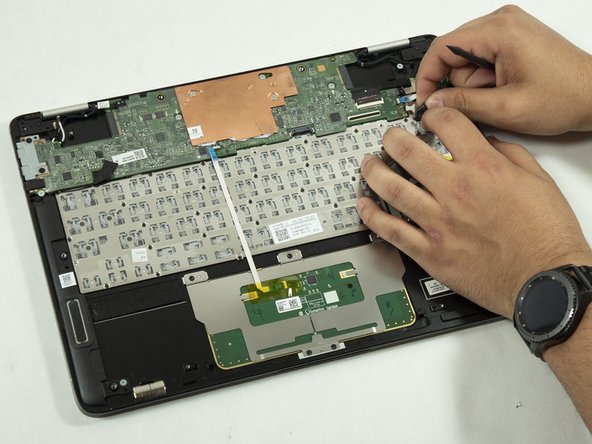
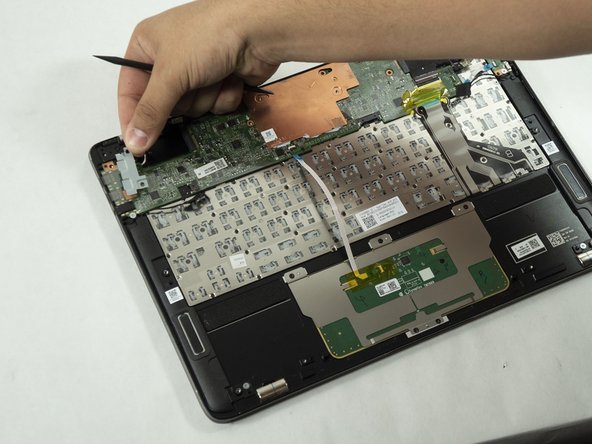
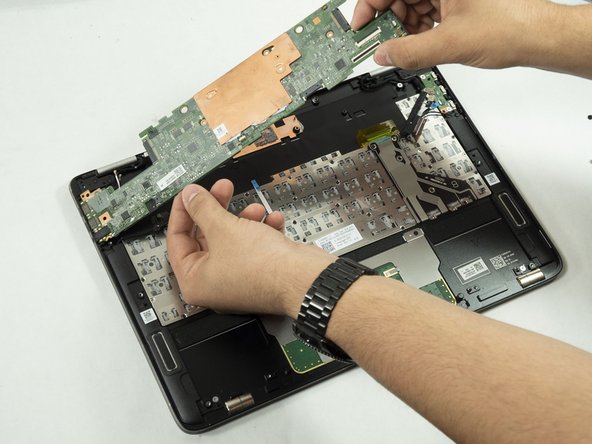
Unscrew the silver 3mm long screws holding the motherboard using the PH0 bit and remove them carefully to avoid breaking them.
-
This will allow the user to get to the keyboard without any other parts in the way making it easier to work with.
-
-
-
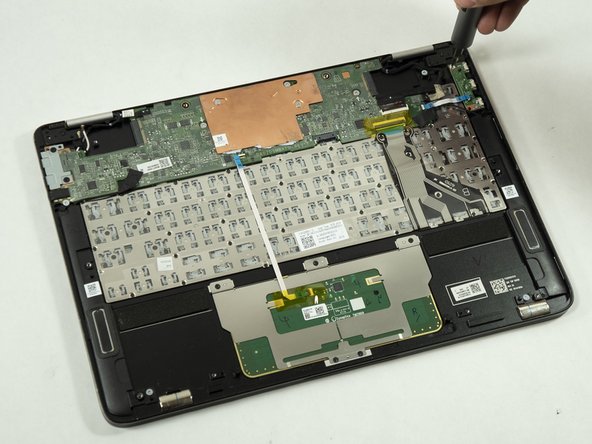
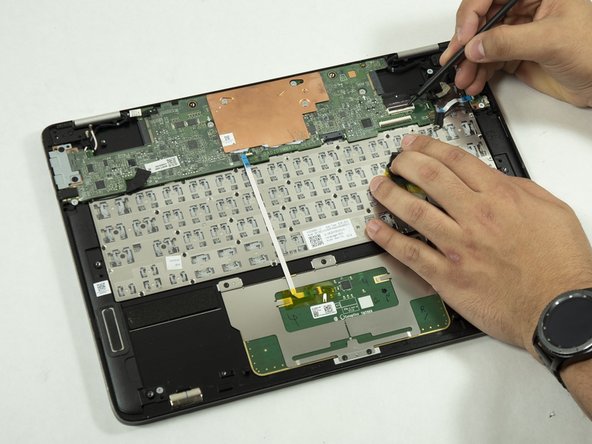
Partially covering the keyboard is a heatsink, grab the two edges as seen in the photo.
-
Carefully pull away the heatsink to gain access to the keyboard.
-
-
-
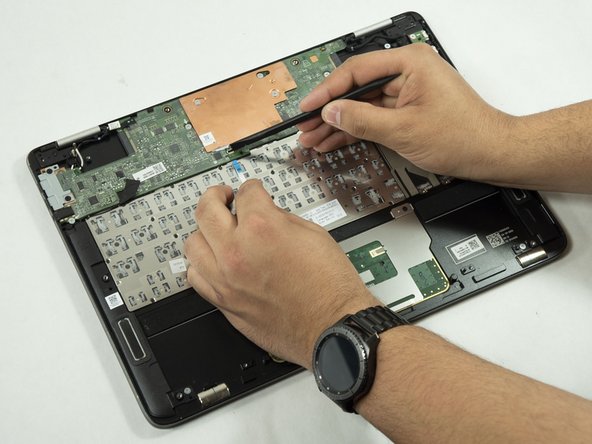
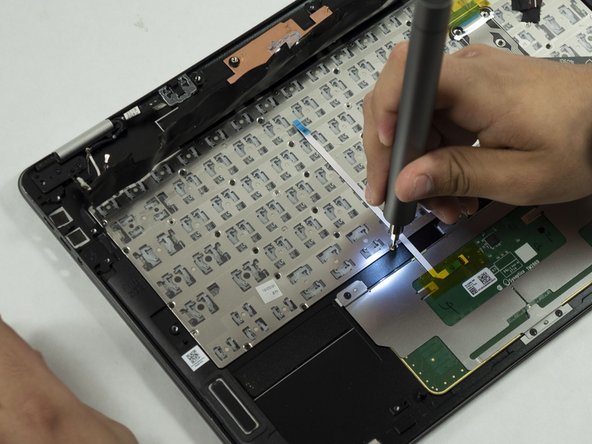
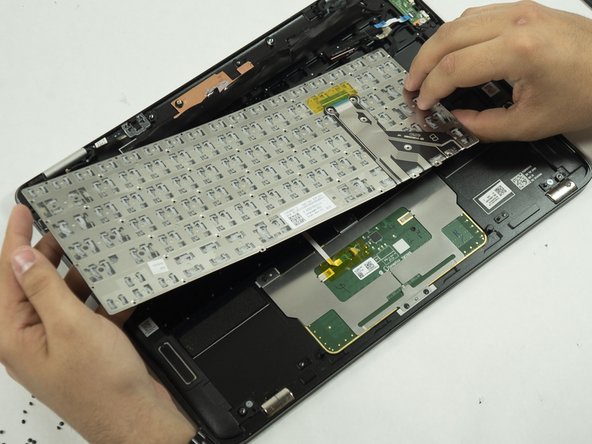
Use a Phillips #000 screwdriver to remove the 2 mm screws that secure the keyboard in place, and carefully remove the keyboard to avoid breaking it.
-


To reassemble your device, follow these instructions in reverse order.
To reassemble your device, follow these instructions in reverse order.
Team

UMass Dartmouth, Team 7-3, Sinclaire Spring 2022 Mitglied von UMass Dartmouth, Team 7-3, Sinclaire Spring 2022
UMASSD-SINCLAIRE-S22S7G3
4 Mitglieder
5 Anleitungen geschrieben