Diese Version enthält möglicherweise inkorrekte Änderungen. Wechsle zur letzten geprüften Version.
Was du brauchst
-
Dieser Schritt ist noch nicht übersetzt. Hilf mit, ihn zu übersetzen!
-
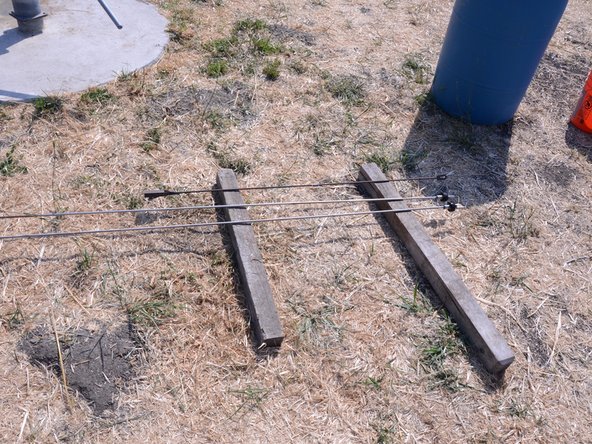
Assemble the required tools, including the Afridev tool and crescent wrenches.
-
-
Dieser Schritt ist noch nicht übersetzt. Hilf mit, ihn zu übersetzen!
-
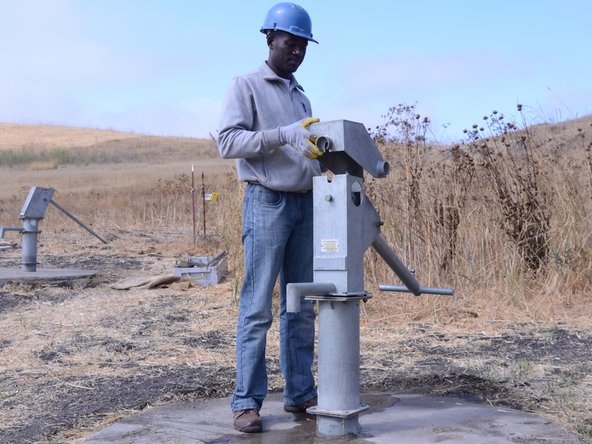
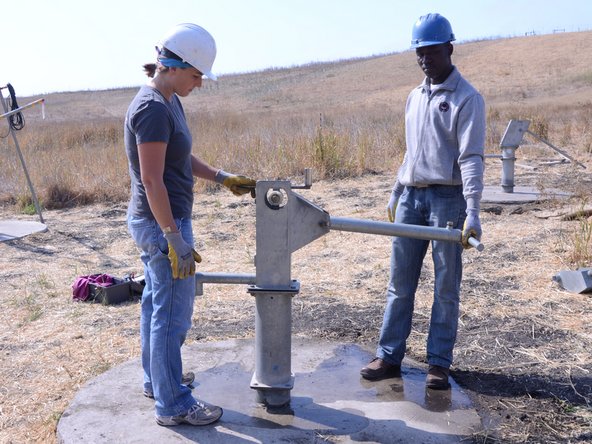
Perform a water test on the pump, by raising and lowering the handle a full 40 strokes. A properly performing pump will yield greater than 10 liters.
-
-
Dieser Schritt ist noch nicht übersetzt. Hilf mit, ihn zu übersetzen!
-
Loosen the bolt on front of the face plate with the Afridev tool.
-
Remove the plate from the pump by lifting it straight up.
-
-
Dieser Schritt ist noch nicht übersetzt. Hilf mit, ihn zu übersetzen!
-
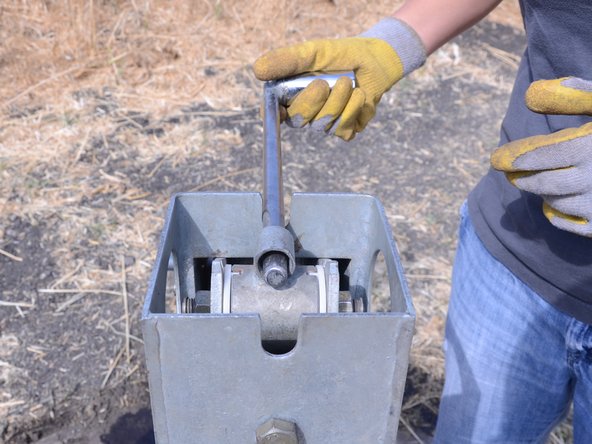
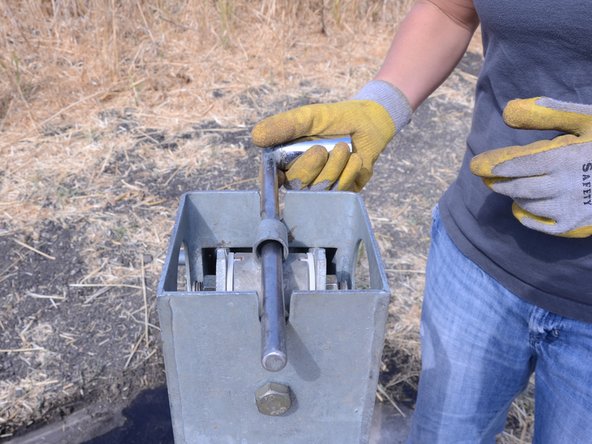
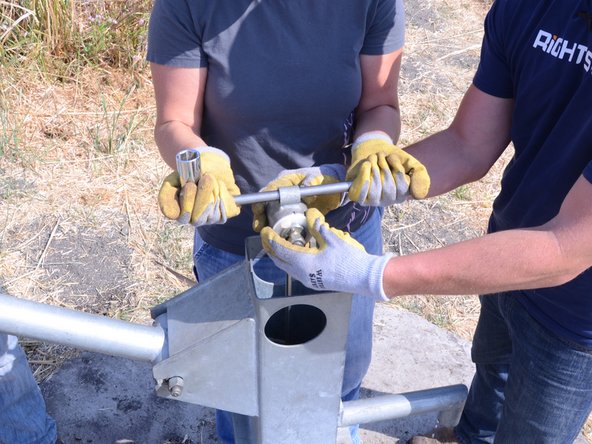
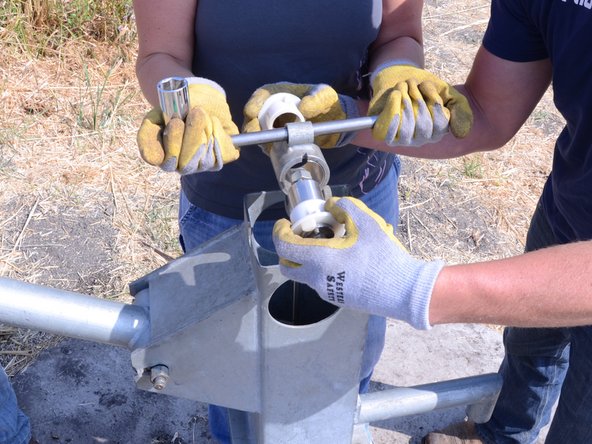
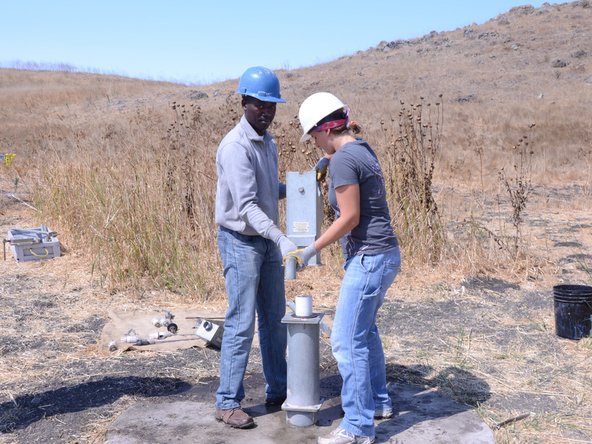
Insert the T-handle into the top cylinder of the exposed pump rod.
-
-
Dieser Schritt ist noch nicht übersetzt. Hilf mit, ihn zu übersetzen!
-
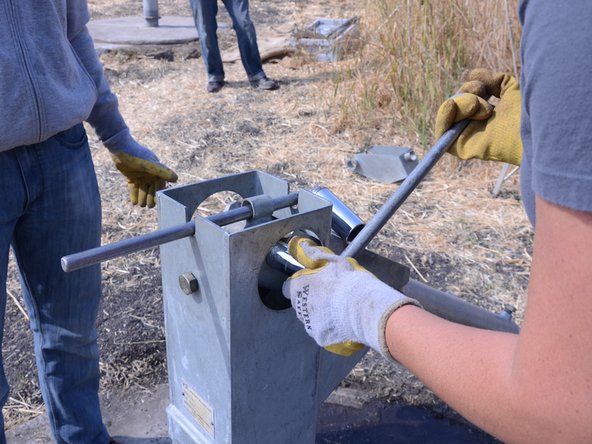
Loosen the 2 bolts on either side of handle.
-
-
Dieser Schritt ist noch nicht übersetzt. Hilf mit, ihn zu übersetzen!
-
Loosen the 2 bolts on either side of the head to remove the handle from the pump rod.
-
-
-
Dieser Schritt ist noch nicht übersetzt. Hilf mit, ihn zu übersetzen!
-
Lift the handle to a horizontal position.
-
-
Dieser Schritt ist noch nicht übersetzt. Hilf mit, ihn zu übersetzen!
-
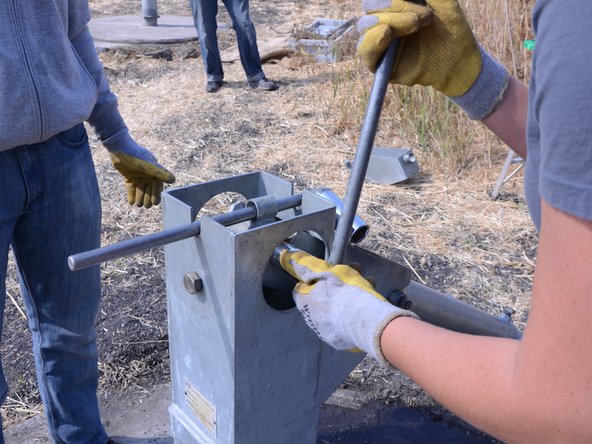
While one person lifts up on the T-handle, remove the bolt and connection pieces.
-
-
Dieser Schritt ist noch nicht übersetzt. Hilf mit, ihn zu übersetzen!
-
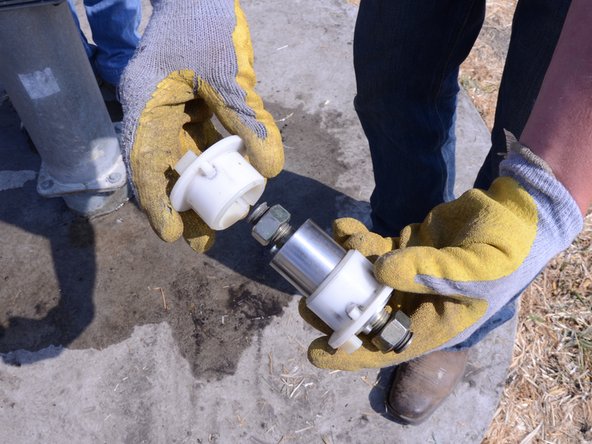
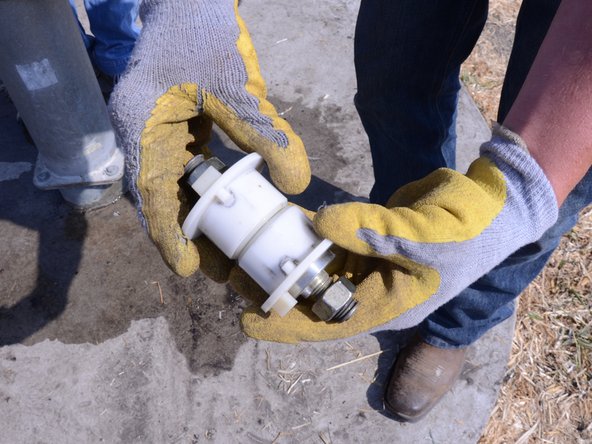
Remove the bolt and connection pieces from the handle.
-
-
Dieser Schritt ist noch nicht übersetzt. Hilf mit, ihn zu übersetzen!
-
Remove the handle from the pump.
-
-
Dieser Schritt ist noch nicht übersetzt. Hilf mit, ihn zu übersetzen!
-
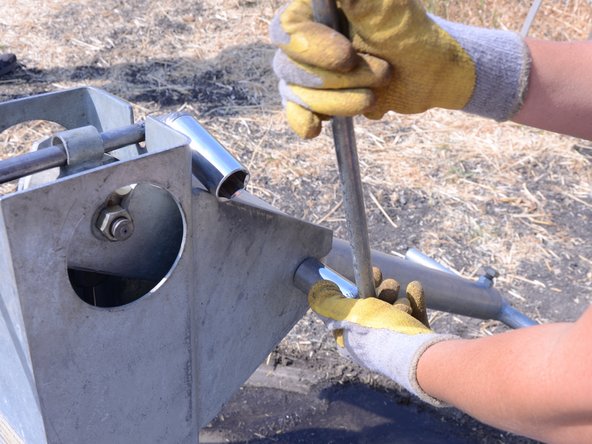
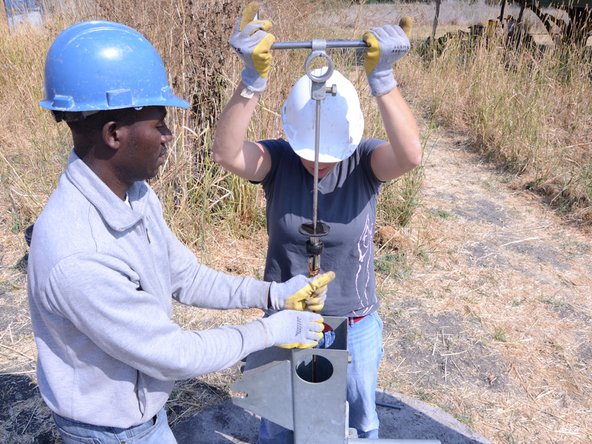
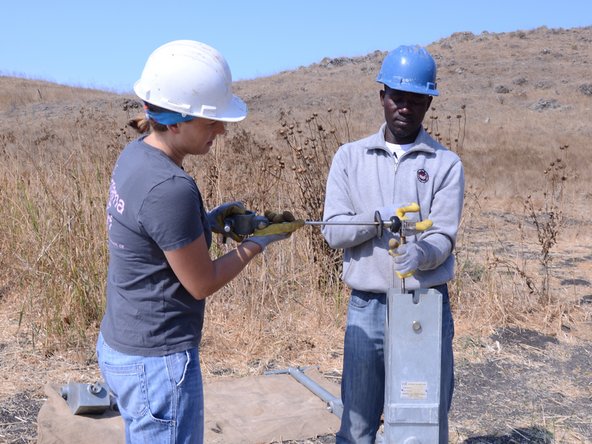
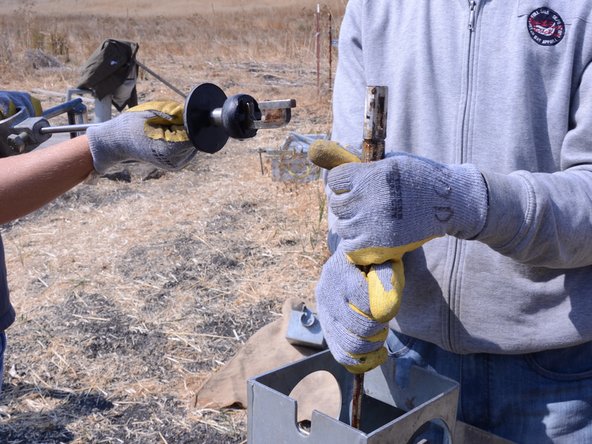
Grab firmly on the T-handle and lift the pump rod straight up.
-
Expose the first connection of the pump rod, and support the portion below the connection.
-
-
Dieser Schritt ist noch nicht übersetzt. Hilf mit, ihn zu übersetzen!
-
While holding the pump rod below the first connection tightly, lower the first portion of the rod to a horizontal position.
-
-
Dieser Schritt ist noch nicht übersetzt. Hilf mit, ihn zu übersetzen!
-
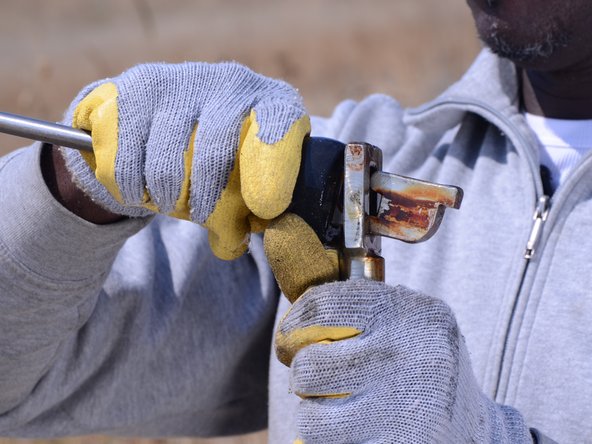
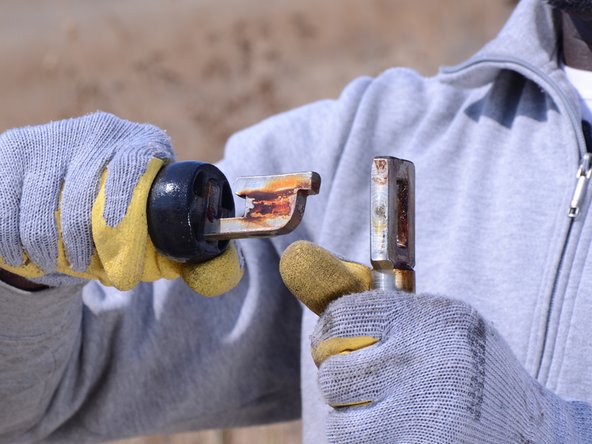
Unhook the first connection by pushing it out and down, then pulling it away from the rest of the rod.
-
-
Dieser Schritt ist noch nicht übersetzt. Hilf mit, ihn zu übersetzen!
-
Repeat steps 11-13 for the remaining sections of pump rod.
-
-
Dieser Schritt ist noch nicht übersetzt. Hilf mit, ihn zu übersetzen!
-
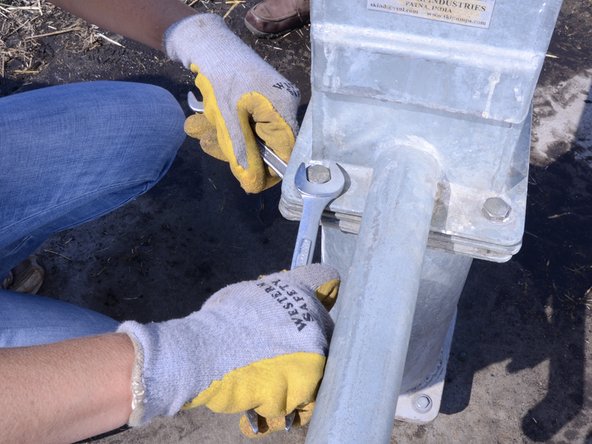
Place one wrench on the top side of the top base of the tank spout.
-
Place another wrench on the underside of the bolt in order to get more leverage.
-
Pull the top wrench to the right, and the bottom wrench to the left.
-
-
Dieser Schritt ist noch nicht übersetzt. Hilf mit, ihn zu übersetzen!
-
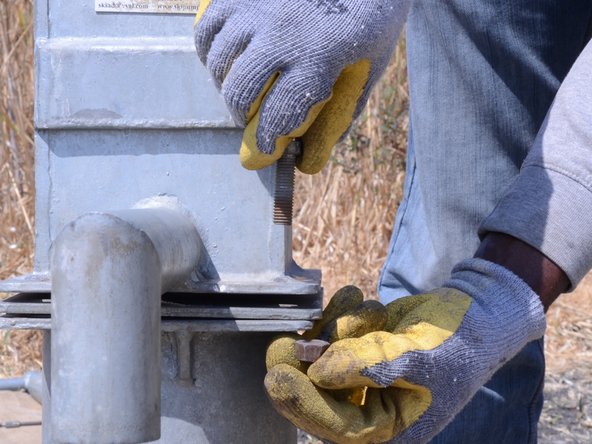
Remove the loosened bolt from the pump.
-
Repeat this procedure for the 3 remaining bolts.
-
-
Dieser Schritt ist noch nicht übersetzt. Hilf mit, ihn zu übersetzen!
-
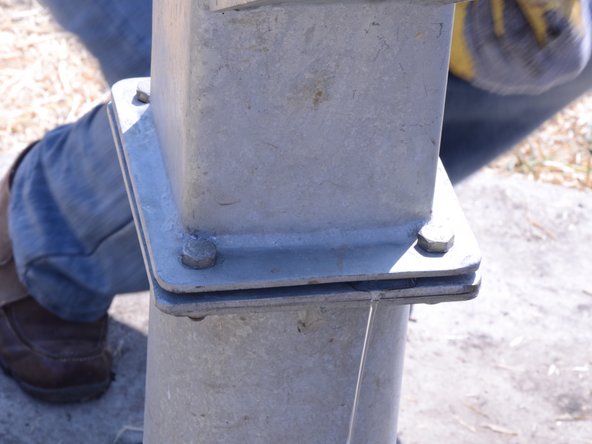
Lift the tank straight up to remove it from the pump.
-
Rückgängig: Ich habe diese Anleitung nicht absolviert.
Ein:e weitere:r Nutzer:in hat diese Anleitung absolviert.


