Diese Version enthält möglicherweise inkorrekte Änderungen. Wechsle zur letzten geprüften Version.
Was du brauchst
-
Dieser Schritt ist noch nicht übersetzt. Hilf mit, ihn zu übersetzen!
-
Locate the battery compartment on the back of the camera. It is the panel with the plastic ridges for simple removal.
-
Slide the battery compartment cover down off of the camera body.
-
-
Dieser Schritt ist noch nicht übersetzt. Hilf mit, ihn zu übersetzen!
-
Pry up the battery from the bottom using a finger and remove the batter from the case.
-
-
Dieser Schritt ist noch nicht übersetzt. Hilf mit, ihn zu übersetzen!
-
Remove the lanyard by pulling the grey lace through the black string loop.
-
Pull black string loop through the silver bracket.
-
-
Dieser Schritt ist noch nicht übersetzt. Hilf mit, ihn zu übersetzen!
-
Use a plastic opening tool to pry off the black control cover.
-
-
Dieser Schritt ist noch nicht übersetzt. Hilf mit, ihn zu übersetzen!
-
Use a plastic opening tool to pry off the ridged back face plate and the black button.
-
-
-
Dieser Schritt ist noch nicht übersetzt. Hilf mit, ihn zu übersetzen!
-
Use a plastic opening tool to pry off the silver face plate.
-
-
Dieser Schritt ist noch nicht übersetzt. Hilf mit, ihn zu übersetzen!
-
Open the USB cover to expose the small machine screw.
-
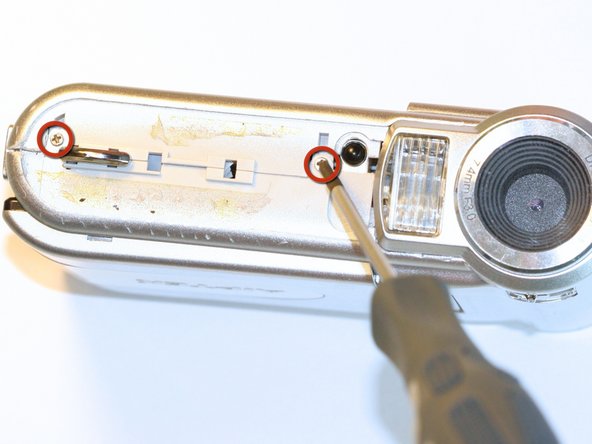
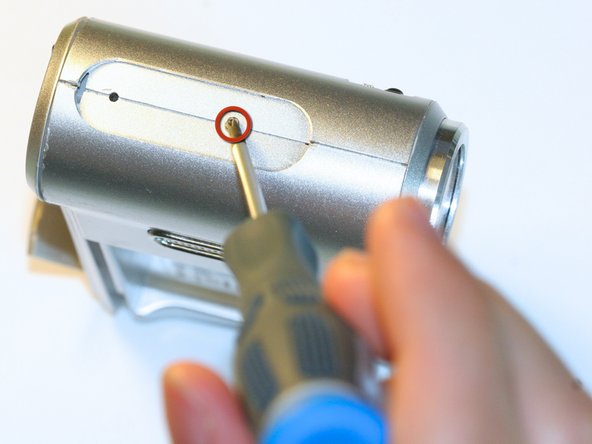
Use the Phillips #00 screwdriver to unscrew the six 0.5cm machine case screws (distributed around the camera body).
-
-
Dieser Schritt ist noch nicht übersetzt. Hilf mit, ihn zu übersetzen!
-
Pull off the side control panel.
-
-
Dieser Schritt ist noch nicht übersetzt. Hilf mit, ihn zu übersetzen!
-
Flip open the screen by pulling the loose end of the screen away from the case.
-
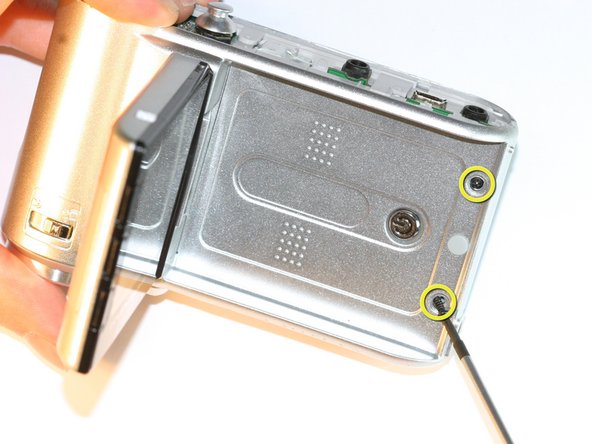
Use tweezers to remove the two outside rubber dots to reveal the two 0.5cm machine screws.
-
Use the #00 Phillips Screwdriver to remove both screws.
-
-
Dieser Schritt ist noch nicht übersetzt. Hilf mit, ihn zu übersetzen!
-
Pull the body apart from the bottom of device just enough to make space to remove the silver plastic strap holder.
-
Use tweezers to remove the silver plastic strap holder.
-
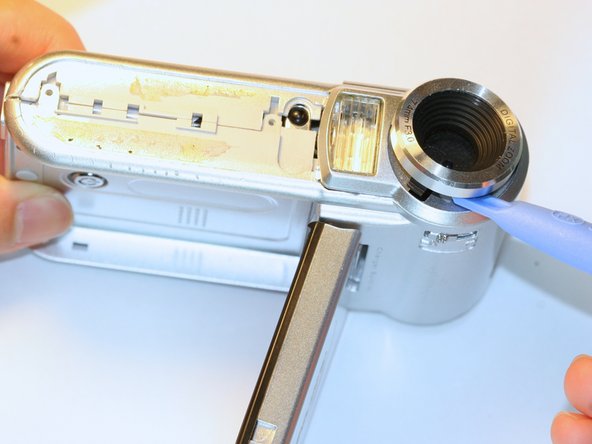
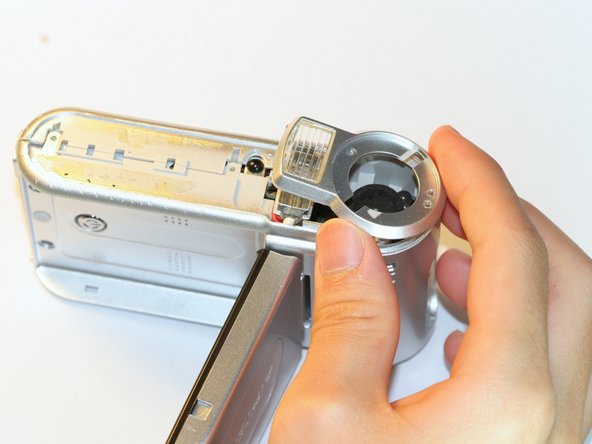
Use a plastic opening tool to pry off the lens protector.
-
-
Dieser Schritt ist noch nicht übersetzt. Hilf mit, ihn zu übersetzen!
-
Unscrew the two silver 0.5cm machine screws with the #00 Phillips screwdriver.
-
Lift off the lens protector housing.
-
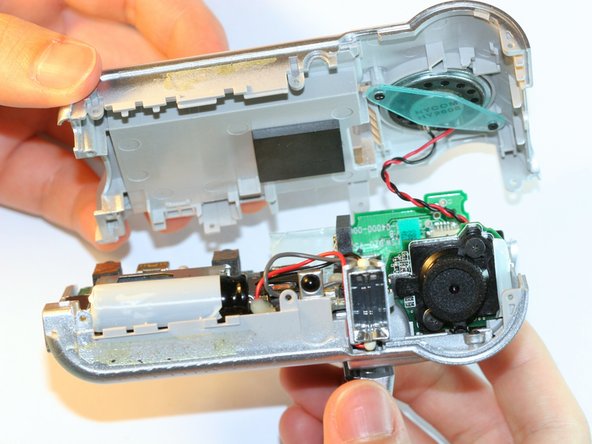
Pull apart the two halves of the camera body.
-
-
Dieser Schritt ist noch nicht übersetzt. Hilf mit, ihn zu übersetzen!
-
Unscrew both black machine screws holding the lens in place with the #00 Phillips screwdriver.
-
-
Dieser Schritt ist noch nicht übersetzt. Hilf mit, ihn zu übersetzen!
-
Carefully remove the compressed springs underneath each of the two screws that were removed in the previous step.
-


