Diese Version enthält möglicherweise inkorrekte Änderungen. Wechsle zur letzten geprüften Version.
Was du brauchst
-
Dieser Schritt ist noch nicht übersetzt. Hilf mit, ihn zu übersetzen!
-
Using a screwdriver, remove the two 11.6 mm phillips 00 screws holding the grey slider together.
-
Remove grey slider from the main body of the blaster.
-
-
Dieser Schritt ist noch nicht übersetzt. Hilf mit, ihn zu übersetzen!
-
Using a screwdriver, remove the six 9 mm phillips 00 screws holding the main body together.
-
-
Dieser Schritt ist noch nicht übersetzt. Hilf mit, ihn zu übersetzen!
-
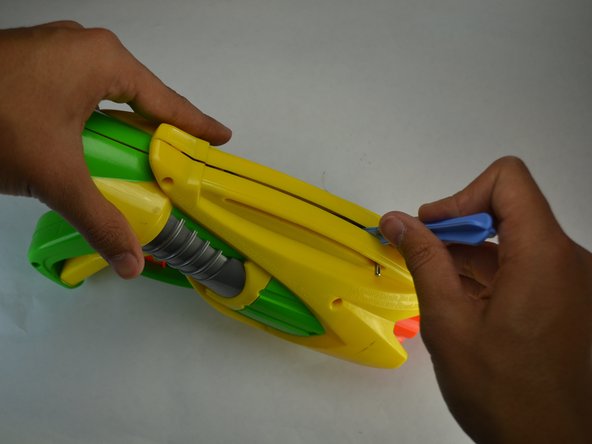
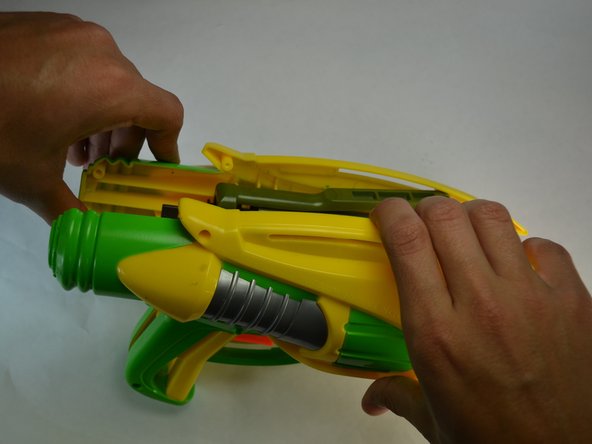
Using the plastic opening tools, carefully take apart the main case of the blaster to leave the inside exposed.
-
-
-
Dieser Schritt ist noch nicht übersetzt. Hilf mit, ihn zu übersetzen!
-
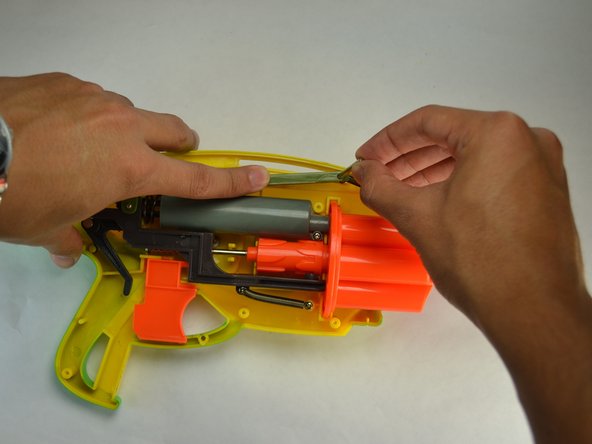
Using a screwdriver, remove the 7.5 mm phillips 00 screw holding the bottom spring to the air system.
-
-
Dieser Schritt ist noch nicht übersetzt. Hilf mit, ihn zu übersetzen!
-
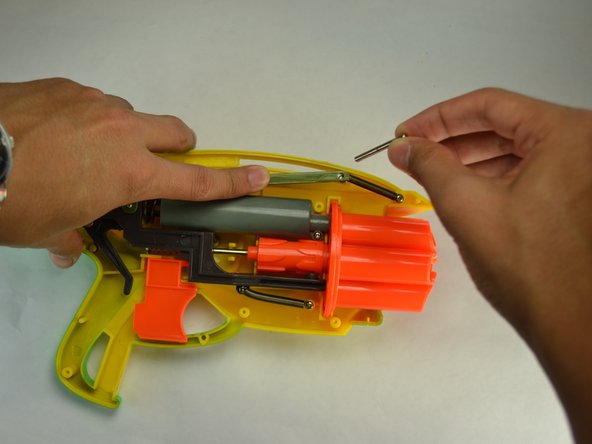
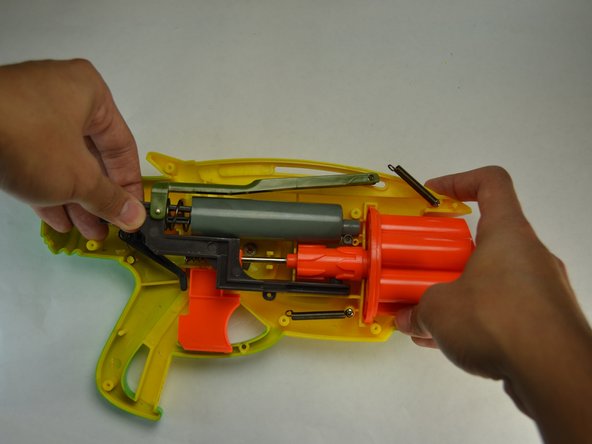
Carefully grab the metal pin keeping the air system and top spring stationary, and slide it outwards. This will release the air system with the plunger completely.
-
-
Dieser Schritt ist noch nicht übersetzt. Hilf mit, ihn zu übersetzen!
-
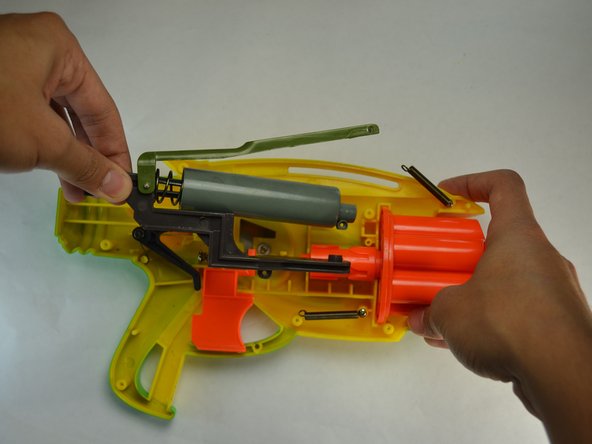
Using a screwdriver, remove the 5.2 mm phillips 00 screw holding the air system to the body of the blaster.
-
-
Dieser Schritt ist noch nicht übersetzt. Hilf mit, ihn zu übersetzen!
-
Grab the whole air system and carefully take it out of the main body of the blaster.
-
-
Dieser Schritt ist noch nicht übersetzt. Hilf mit, ihn zu übersetzen!
-
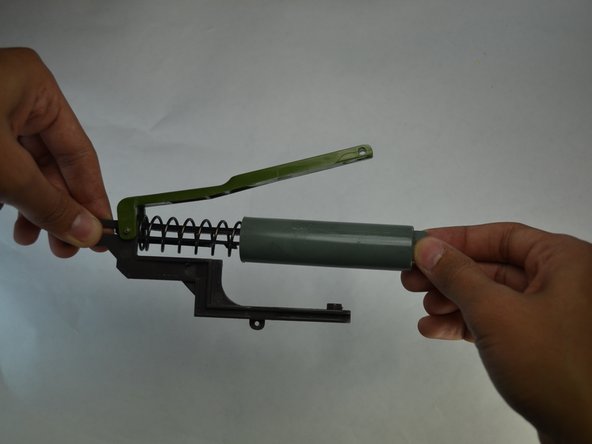
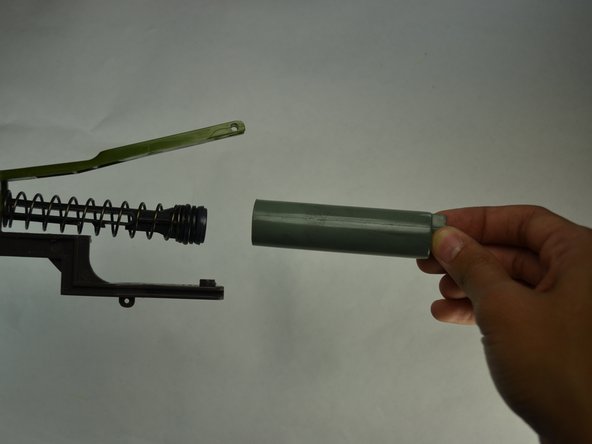
Now, grab the gray plunger with your hand and slide it outwards to remove it.
-


Rückgängig: Ich habe diese Anleitung nicht absolviert.
2 weitere Nutzer:innen haben diese Anleitung absolviert.
Team

USF Tampa, Team 3-1, Brown Fall 2014 Mitglied von USF Tampa, Team 3-1, Brown Fall 2014
USFT-BROWN-F14S3G1
3 Mitglieder
5 Anleitungen geschrieben