Einleitung
Caution: Lead Contaminate
Please use extreme caution when handling a Soldering tool. Tool will produce extreme heats.
If your phone is not charging correctly or you notice that your charger slides in and out without staying in, you may need to replace your charging port.
For more information on soldering connections, please read the How to Solder and Desolder Connections guide.
Was du brauchst
-
-
Begin by removing the back of the phone. Press your nail or a thin object in the bottom right-hand corner of the phone and gently press to release the back of the phone from the front.
-
-
-
Remove seventeen 1.2 mm screws from the phone's mid-frame using the Phillips #000 screwdriver.
-
-
-
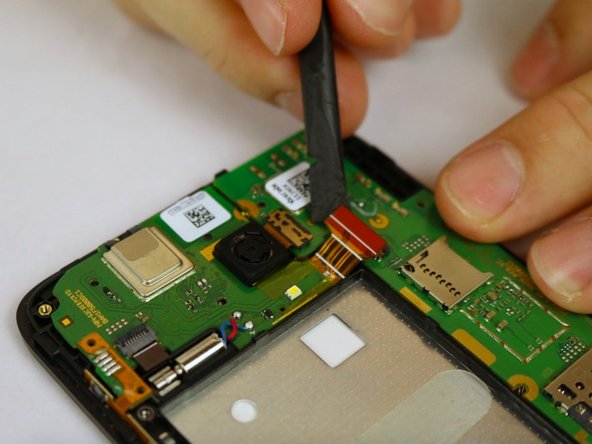
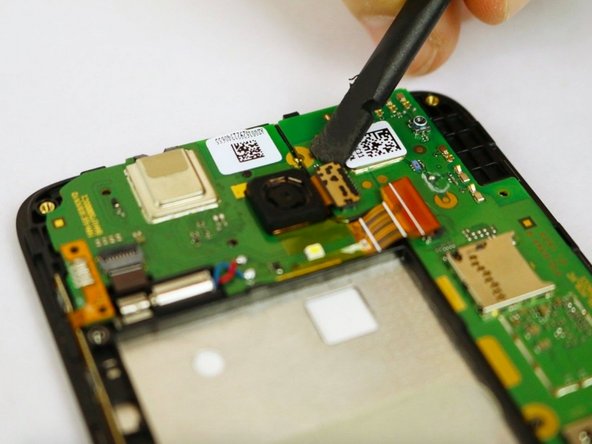
Once the screws have been taken out, remove the mid-frame protecting the phone's electronics by using a fingernail or tool to pry it off.
-
-
-
-
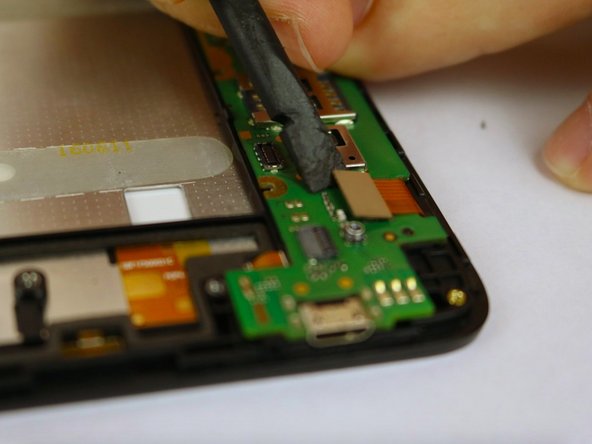
On the charging port, heat the four connection points with Soldering tool and remove from prongs.
-


To reassemble your device, follow these instructions in reverse order.
To reassemble your device, follow these instructions in reverse order.
Rückgängig: Ich habe diese Anleitung nicht absolviert.
Ein:e weitere:r Nutzer:in hat diese Anleitung absolviert.
Team

University of North Alabama, Team S1-G5, Winner Fall 2019 Mitglied von University of North Alabama, Team S1-G5, Winner Fall 2019
UNA-WINNER-F19S1G5
3 Mitglieder
6 Anleitungen geschrieben
Ein Kommentar
Hello, nice to meet you. I like your guide because it is didactic and objective in the apprehension process. I would like to support me in the visualization to buy the charging port. Alcatel pop 4 plus 5056e. Thank you