Diese Version enthält möglicherweise inkorrekte Änderungen. Wechsle zur letzten geprüften Version.
Was du brauchst
-
Dieser Schritt ist noch nicht übersetzt. Hilf mit, ihn zu übersetzen!
-
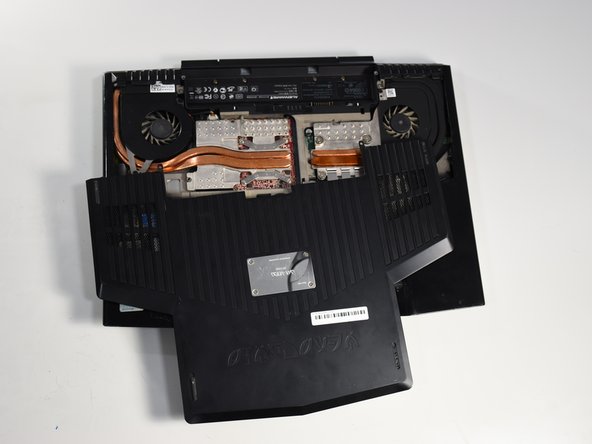
Remove the battery by sliding the latch to the left and pulling the battery up.
-
-
Dieser Schritt ist noch nicht übersetzt. Hilf mit, ihn zu übersetzen!
-
Remove the two 4-mm screws that hold the compartment door to the rest of the computer using a PH#0 screwdriver tip.
-
-
Dieser Schritt ist noch nicht übersetzt. Hilf mit, ihn zu übersetzen!
-
Slide the compartment door towards the front of the computer and lift.
-
-
-
Dieser Schritt ist noch nicht übersetzt. Hilf mit, ihn zu übersetzen!
-
Remove the two indicated screws for the RAM cover.
-
-
Dieser Schritt ist noch nicht übersetzt. Hilf mit, ihn zu übersetzen!
-
Push the two retaining clips on either side of the ram outwards, allowing the RAM chip to pop up.
-
-
Dieser Schritt ist noch nicht übersetzt. Hilf mit, ihn zu übersetzen!
-
Pull it straight out of its pocket.
-
-
Dieser Schritt ist noch nicht übersetzt. Hilf mit, ihn zu übersetzen!
-
Repeat the same process if there are additional RAM chips.
-


Team

Cal Poly, Team S11-G3, Banghart Winter 2018 Mitglied von Cal Poly, Team S11-G3, Banghart Winter 2018
CPSU-BANGHART-W18S11G3
5 Mitglieder
6 Anleitungen geschrieben