Einleitung
If you are having issues controlling the volume on your device, this guide will show you how to remove and replace the daughterboard that connects to the volume and microphone buttons.
Was du brauchst
-
-
Use blue plastic opening tool to remove the external speaker face by placing it in the slight opening at the bottom.
-
Use a lever motion, push the tool down, lifting the speaker face.
-
Use fingers to grip and remove speaker face.
-
Repeat on reverse side to remove the second speaker face.
-
-
-
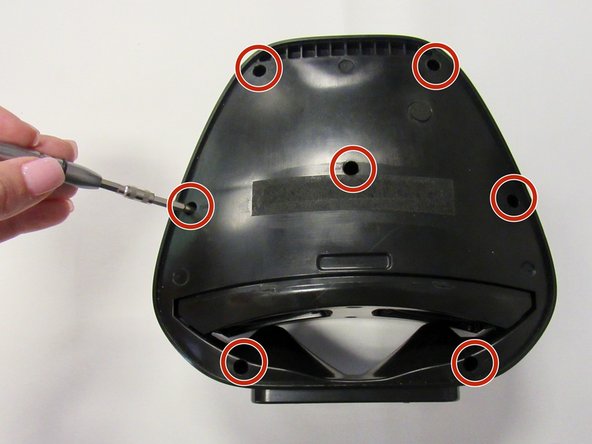
Orient speaker so volume buttons are facing away from you, and Bluetooth and power buttons are on the left-hand side.
-
Remove the seven 14mm screws using the Phillips #1 screwdriver.
-
-
-
-
Reorient speaker so Bluetooth and power buttons are now on the right-hand side.
-
Separate the two panels along the crease.
-
Blue plastic opening tool may be needed to separate panels.
-
Remove the panel with no buttons to expose internal area of the device.
-
-
-
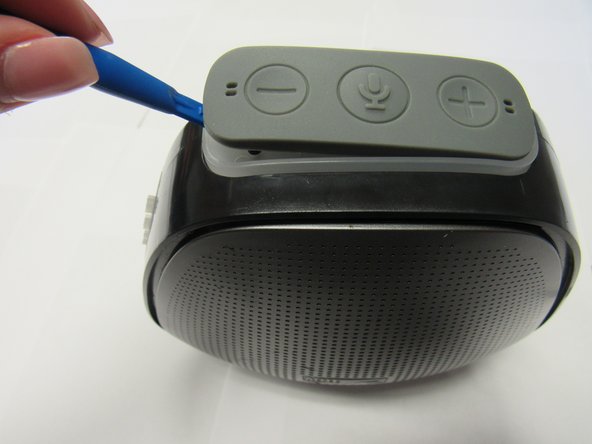
Orient speaker so volume buttons are facing up.
-
Remove rubber button piece using the blue plastic opening tool.
-
-
-
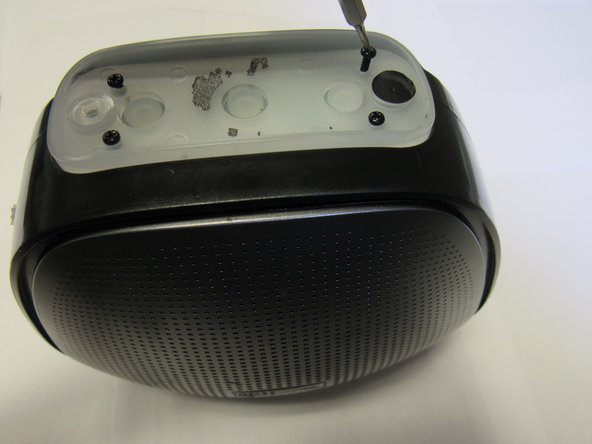
Once screws are removed, remove the plastic covering piece.
-
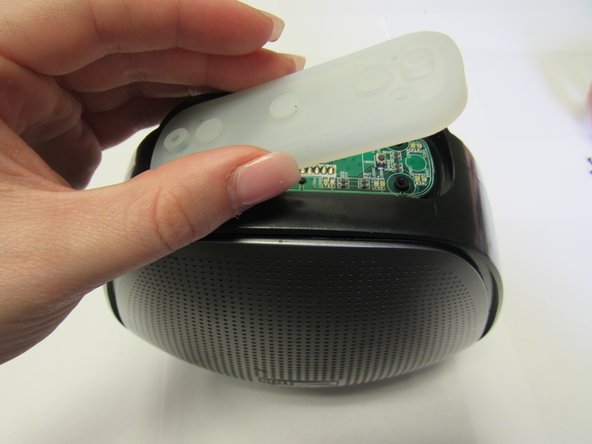
Remove the rubber piece below the plactic covering piece to expose the daughterboard.
-
-
-
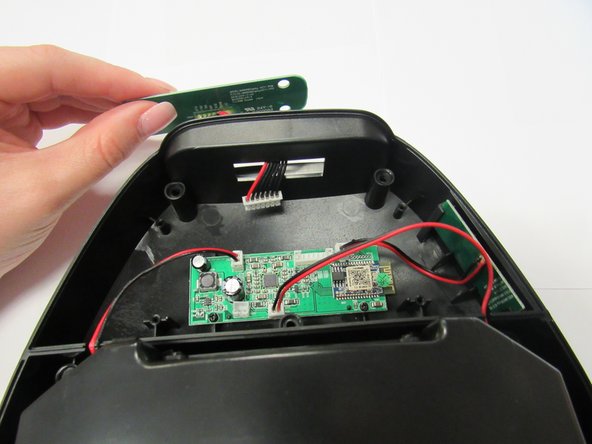
Orient speaker on its side with volume buttons facing away from you and Bluetooth and power buttons on the right.
-
Detach the wiring, located in the upper middle section of the motherboard.
-
Remove daughterboard piece from opening in the top of the speaker.
-


To reassemble your device, follow these instructions in reverse order.
To reassemble your device, follow these instructions in reverse order.

Team

University of Alabama, Team S1-G3, Bedsole Fall 2018 Mitglied von University of Alabama, Team S1-G3, Bedsole Fall 2018
UA-BEDSOLE-F18S1G3
3 Mitglieder
6 Anleitungen geschrieben