Diese Version enthält möglicherweise inkorrekte Änderungen. Wechsle zur letzten geprüften Version.
Was du brauchst
-
Dieser Schritt ist noch nicht übersetzt. Hilf mit, ihn zu übersetzen!
-
Flip the Kindle so the back is facing upwards.
-
-
Dieser Schritt ist noch nicht übersetzt. Hilf mit, ihn zu übersetzen!
-
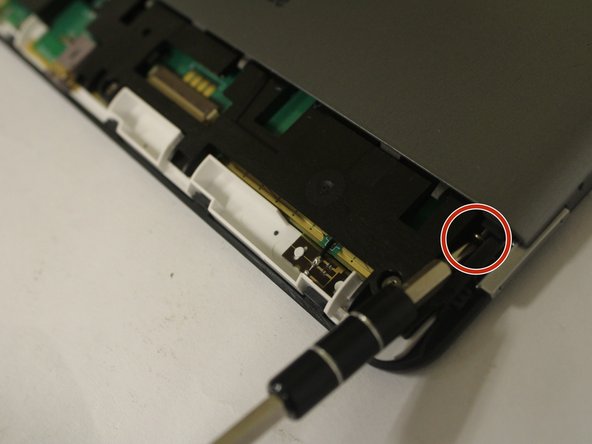
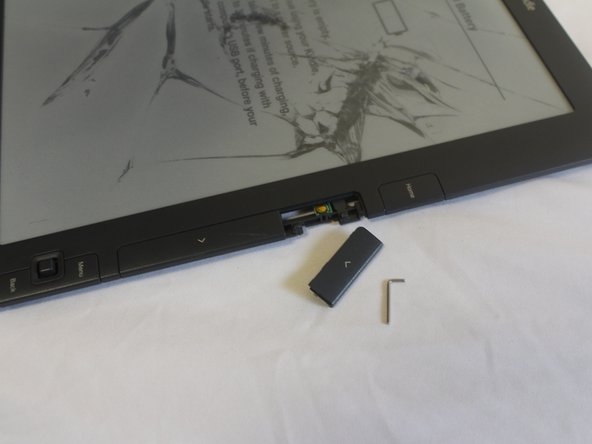
Push an opening tool against the bottom cover edge of the device. Move the tool's edge around the bottom plastic piece to pop it open.
-
-
Dieser Schritt ist noch nicht übersetzt. Hilf mit, ihn zu übersetzen!
-
Remove two 40 mm screws (one on each corner) using a Phillips #00 screwdriver.
-
-
-
Dieser Schritt ist noch nicht übersetzt. Hilf mit, ihn zu übersetzen!
-
Use the edges of the opening tool, get in between the seams of the front and back panel, and use the tool to separate the pieces. Once loose, lift back panel off of the device.
-
-
Dieser Schritt ist noch nicht übersetzt. Hilf mit, ihn zu übersetzen!
-
Remove two 30 mm screws securing the battery with a Phillips #00 screwdriver.
-
-
Dieser Schritt ist noch nicht übersetzt. Hilf mit, ihn zu übersetzen!
-
Remove the battery from the device.
-
-
Dieser Schritt ist noch nicht übersetzt. Hilf mit, ihn zu übersetzen!
-
Remove five 30 mm screws from the midframe using a Phillips #000 screwdriver.
-
-
Dieser Schritt ist noch nicht übersetzt. Hilf mit, ihn zu übersetzen!
-
Remove the midframe to reveal the motherboard.
-
-
Dieser Schritt ist noch nicht übersetzt. Hilf mit, ihn zu übersetzen!
-
Remove the "previous page" button from the side function keys using a pair of tweezers.
-


Team

USF Tampa, Team 1-5, Cagle Fall 2016 Mitglied von USF Tampa, Team 1-5, Cagle Fall 2016
USFT-CAGLE-F16S1G5
3 Mitglieder
8 Anleitungen geschrieben
2 Kommentare
The title says “keyboard”, this is button replacement…………….
The title says “keyboard” replacement. This is button replacement…………….