Einleitung
Sometimes the AUX Input Jack will stop working properly and may need replacing. This guide requires use of a Soldering Iron and should only be attempted by those with soldering experience. If soldered incorrectly, your device may be permanently damaged.
Was du brauchst
-
-
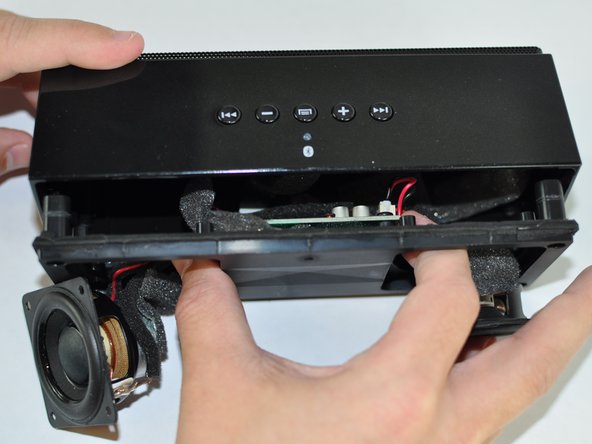
Hold the speaker firmly and wedge a plastic opening tool in between the faceplate and the body of the speaker.
-
Move the tool back and forth along the entire perimeter of the face plate until you feel the plate loosen, then pry the plate off.
-
-
-
Using a Phillips #1 screwdriver, remove the four black 10mm screws around each of speakers.
-
Using a Phillps #1 screwdriver, remove the four black 10mm screws securing the inside panel to the case.
-
-
-
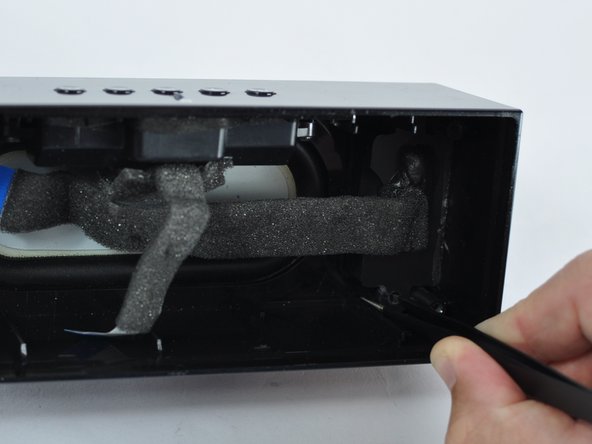
Tilt the case downwards until the speakers fall out of their housings.
-
Reach your thumb and forefinger past the speakers and detach the front speaker panel from the unit.
-
-
-
-
Gently pull each plastic connector from the motherboard.
-
Use a Phillips #1 screwdriver to remove each of the three black 9.6mm screws from the motherboard.
-
-
-
Lift the motherboard off the face plate, exposing the battery.
-
Lift the battery out of its housing.
-
-
-
Using a Phillips #1 screwdriver, remove the two black 10mm screws on the interior of the case on the side with the USB and AUX inputs.
-
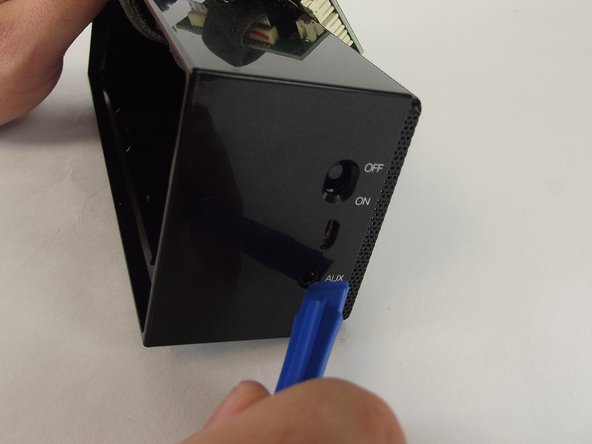
Using the prying tool and tweezers at different points to work the audio input casing off.
-
-
-
Use your fingers to pull casing off by the ribbon.
-
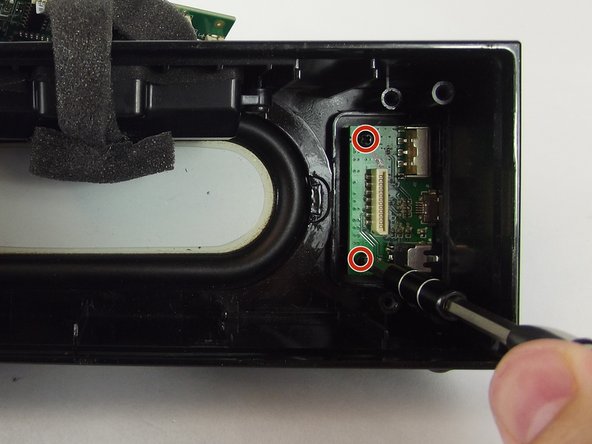
Use a Phillips #1 screwdriver to remove the two 7.6mm screws that hold the board in place.
-
-
-
Use plastic opening tool to lift up the board.
-
Use plastic opening tool to gently push the aux input jack out of its housing.
-
-
-
Use the soldering iron to heat up solder joint and desoldering wick to remove the solder on each solder pad.
-


To reassemble your device, follow these instructions in reverse order.
To reassemble your device, follow these instructions in reverse order.
Rückgängig: Ich habe diese Anleitung nicht absolviert.
Eine weitere Person hat diese Anleitung absolviert.
Team

USF Tampa, Team 14-2, Lacy Spring 2016 Mitglied von USF Tampa, Team 14-2, Lacy Spring 2016
USFT-LACY-S16S14G2
3 Mitglieder
5 Anleitungen geschrieben