Einleitung
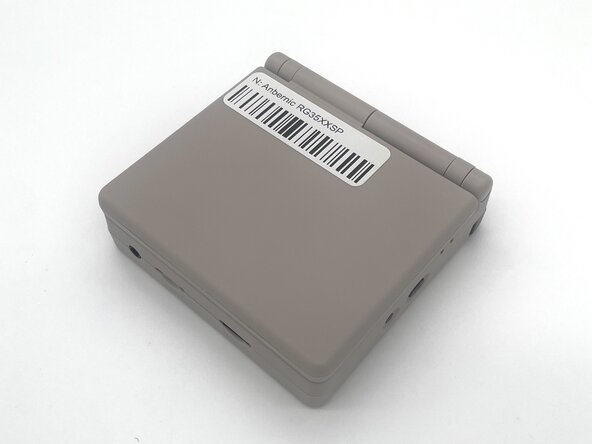
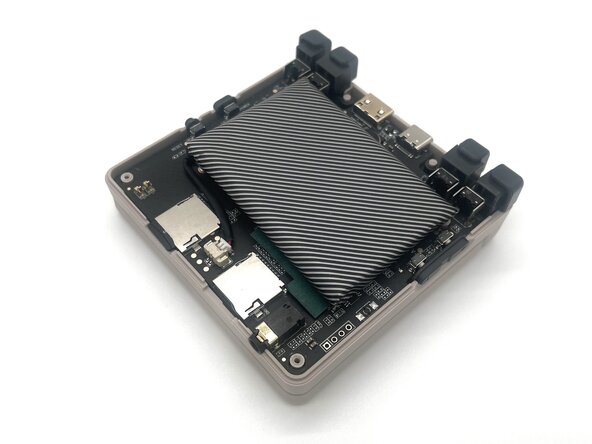
In this guide, we’ll show you how to safely replace the motherboard in your Anbernic RG35XXSP handheld console.
The motherboard is the heart of your device, controlling all of its functions. If your Anbernic RG35XXSP is experiencing issues like random crashes, failure to power on, or malfunctioning features, the motherboard may be the cause. Replacing the motherboard can restore your device’s functionality and get it back to working like new.
Common Causes
- The device won’t power on, even when charged
- Frequent random crashes or freezes
- Malfunctioning buttons, screens, or ports
- Unresponsive or completely non-functional features
This guide will walk you through each step of the replacement process, with helpful tips to ensure a smooth and successful repair.Make sure to take your time and handle the motherboard gently to avoid any damage.
Before you begin the repair, power off your device and unplug it from the charger.
Was du brauchst
-
-
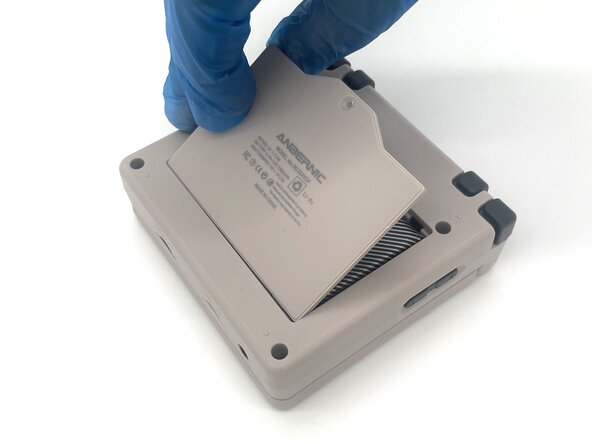
Use a Phillips #00 screwdriver to remove the single 5 mm screw securing the battery cover.
-
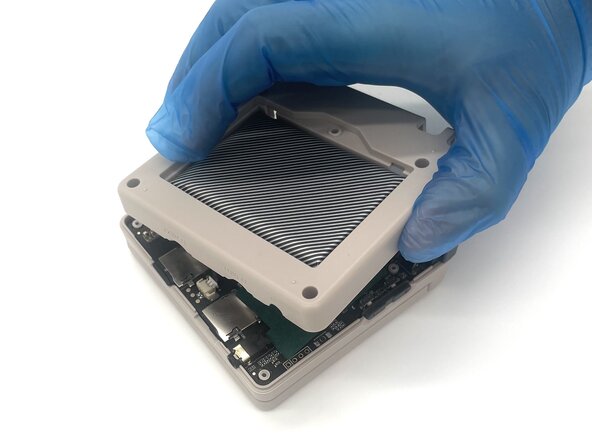
Lift the battery door and remove it.
-
-
-
Use a T6 Torx screwdriver to remove the four 5 mm screws.
-
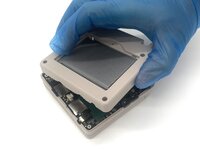
Lift the whole back case with the battery from the device.
-
-
-
-
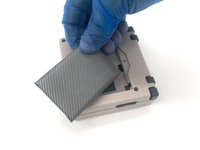
Remove the battery from the back compartment and fit it through the gap in the back case.
-
Put the plastic case aside for reassembly.
-
-
-
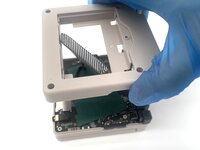
Pinch the sides of the battery connector and slide it from the socket to disconnect the battery cable.
-
Remove the battery.
-
-
-
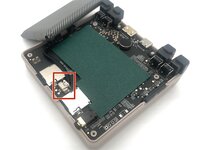
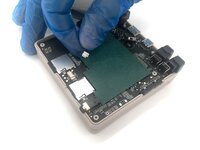
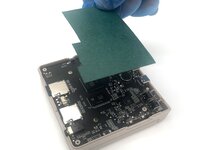
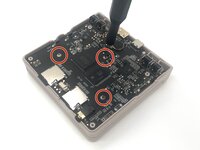
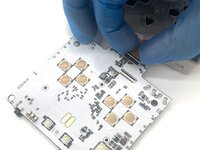
Lift up the green sheet of paper from the motherboard.
-
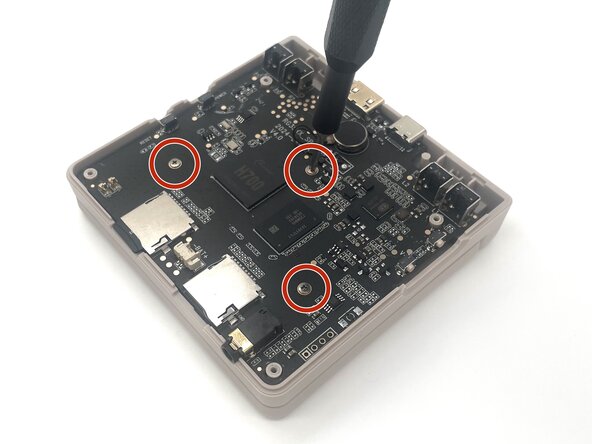
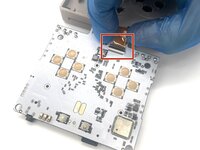
Use a Phillips #00 screwdriver to remove the three 5 mm screws from the motherboard.
-
-
-
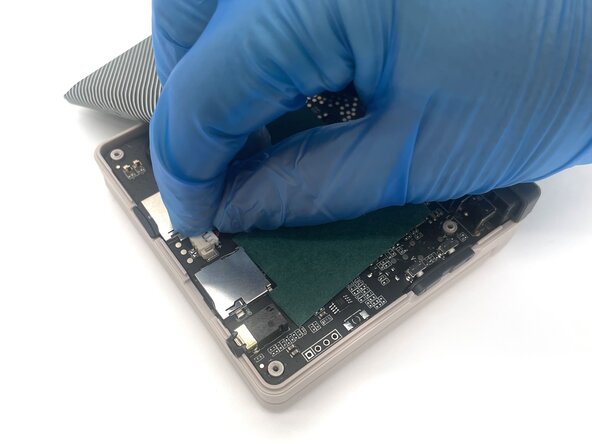
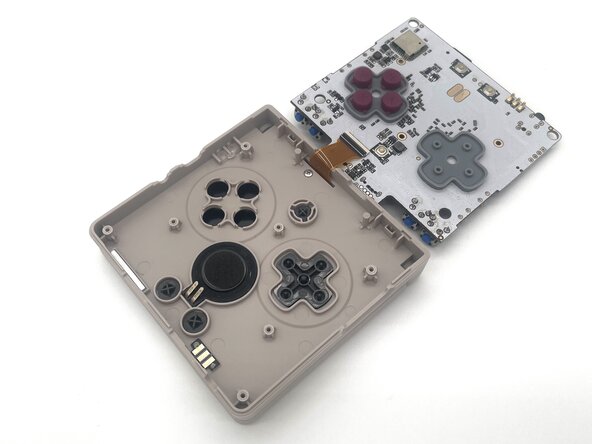
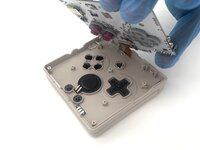
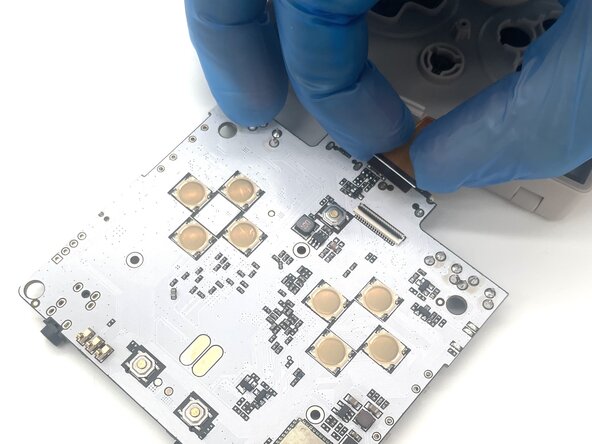
Use a spudger or a clean fingernail to flip up the black locking flap—this is the unlocked position.
-
Use tweezers or your fingers to gently pull the display cable out of its socket.
-
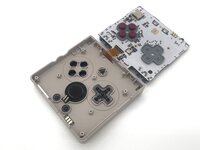
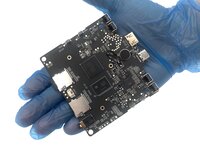
Remove the motherboard.
-


To reassemble your device, follow these instructions in reverse order. Take your e-waste to an R2 or e-Stewards certified recycler.
Rückgängig: Ich habe diese Anleitung nicht absolviert.
4 weitere Personen haben diese Anleitung absolviert.

Team

University of North Texas, Team 1-2, Kilpatrick Spring 2025 Mitglied von University of North Texas, Team 1-2, Kilpatrick Spring 2025
UNT-KILPATRICK-S25S1G2
4 Mitglieder
5 Anleitungen geschrieben