Einleitung
This is a very simple set of instructions set on helping the user to replace the ball joint component for the car mount. There are a few steps and different things to keep in mind when working on this replacement. Those facts and features will be included within the following Guide and hopefully solve this issue for others who may be experiencing something similar.
Was du brauchst
-
-
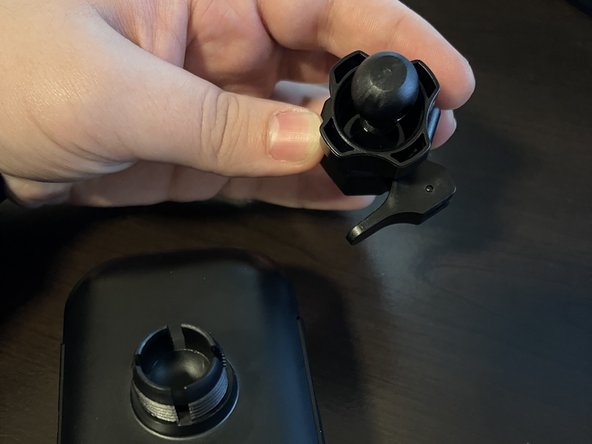
In this case, the plastic connecting to the metal spring failed and caused one of the clip arms to break off.
-
Be sure to remove any pieces of broken plastic before you begin the fix.
-
-
-
Once the knob is fully removed, the inside ball joint loosens up and can be moved around.
-
Remove the ball joint from the base of the phone holder.
-
-
-
Remove the tightening knob and set the broken clip aside or toss it in the trash.
-
-
-
-
Locate the replacement clip that comes with the Andobil Easy Clip Car Mount Kit.
-
Put Tightening Knob on top of the new ball-jointed clip.
-
-
-
Line up the jaws with the car vent and then use the knob on the bottom to close the jaws.
-
-
-
Tighten the knob on the back of the phone holder once you have adjusted it to the correct angle.
-
-
-
Once you've finished tightening the knob, you are finished! This is the finished Product!
-
To reassemble your device, follow these instructions in reverse order.
To reassemble your device, follow these instructions in reverse order.
Rückgängig: Ich habe diese Anleitung nicht absolviert.
Eine weitere Person hat diese Anleitung absolviert.


