Einleitung
This is a replacement guide for the battery on your Anker Soundcore 3. Please note that as you follow this guide, there are a number of small screws that will be taken out so please ensure that you keep track of each one by storing them in a secure location.
Was du brauchst
-
-
Gently heat the perimeter of the device with a hairdryer to loosen the adhesive.
-
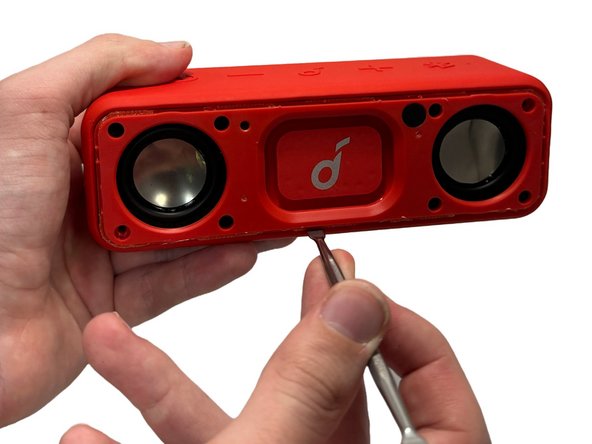
Insert a metal spudger in between the speaker's front grill and chassis.
-
Continuously pry around the edges of the casing; you should hear the glue start to separate from the front panel before the two parts separate.
-
-
-
-
Remove 8 of the 10 mm screws from the speaker panel using a Phillips #0 screwdriver.
-
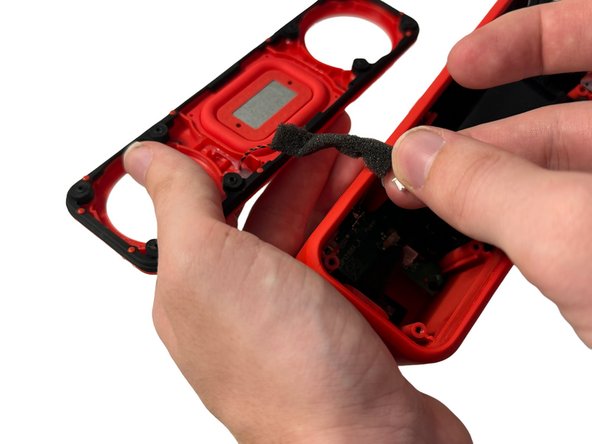
Using the metal spudger, gently pry at the outer-edges of the speaker to remove the rubber/plastic panel that sits above the motherboard.
-
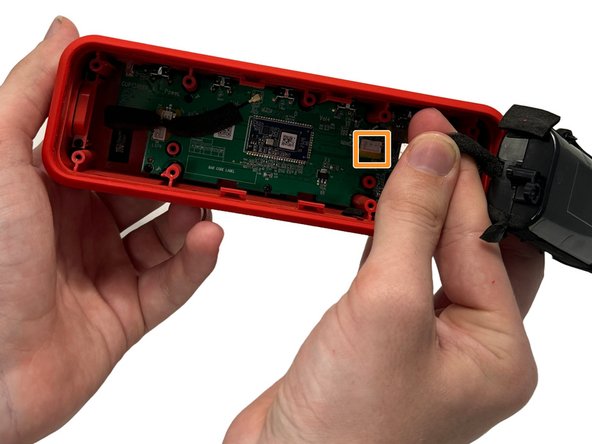
Grip and disconnect the cable connector from both the rubber/plastic panel and the mainboard.
-
-
-
Remove the four 10 mm screws that secure the battery with a Phillips #00 screwdriver.
-
Firmly grasp the connector cable and gently pull up to remove it from the mainboard.
-
Remove the battery.
-
To reassemble your device, follow these instructions in reverse order.
To reassemble your device, follow these instructions in reverse order.

