Einleitung
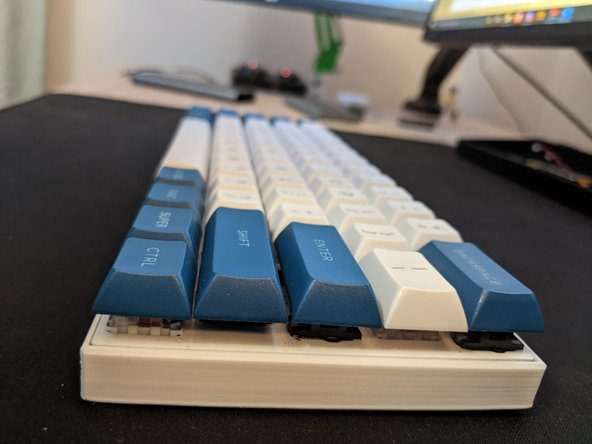
This guide will show you how to replace the Anne Pro 2 keyboard housing to a Zero-Degree case. This case is better for smaller hands, as well as more ergonomic. You can 3D print this case (link provided in Parts section).
Was du brauchst
-
-
Unplug the Anne Pro 2 Keyboard.
-
Turn off the Anne Pro 2 Keyboard using the switch on the bottom.
-
-
-
Using a keycap remover, remove the the following keycaps: Left Alt, Space Bar, Right Shift, Backslash, Y, H, and the Tab key.
-
-
-
-
Remove the PCB from the main case.
-
Gently lower the PCB into the Zero-Degree housing from the top side first.
-
Firmly press it in once you have lowered it.
-
-
-
Take the seven keycaps you removed and gently place them in their intended spots on the keyboard.
-
Firmly press them in, ensuring they are flush with the rest of the keys.
-


To reassemble your device, follow these instructions in reverse order.
To reassemble your device, follow these instructions in reverse order.
Rückgängig: Ich habe diese Anleitung nicht absolviert.
2 weitere Nutzer:innen haben diese Anleitung absolviert.
Team

York University, Team S2-G3, Melo-Thaiss Fall 2020 Mitglied von York University, Team S2-G3, Melo-Thaiss Fall 2020
YORK-MELO-THAISS-F20S2G3
1 Mitglied
2 Anleitungen geschrieben
Ein Kommentar
Anne Pro 2 Software manage the illumination, open the mobile App and choose a pre-programmed scheme or design your own pattern, with a distinct colour for each key if desired. The programmes are easy to use and work on both Mac and PC.
Visit Here- https://www.techtoreview.com/top-picks/a...