Einleitung
Use this guide to replace the front camera on your Aoson R103. Before doing this repair make sure that your tablet is turned off. Make sure to handle your device with care to prevent any further damage.
Was du brauchst
-
-
Turn your tablet on its side and get the iFixit opening tool.
-
Put the iFixit opening tool inside the edge of the tablet and lightly start prying along the back panel.
-
Open your tablet completely and lay it down on its screen.
-
-
-
-
Look at the motherboard located at the top of the tablet and remove the black tape from it.
-
-
-
Flip the tab up that is boxed with your fingernail or opening tool.
-
Use tweezers to pull out the band connected to the motherboard.
-
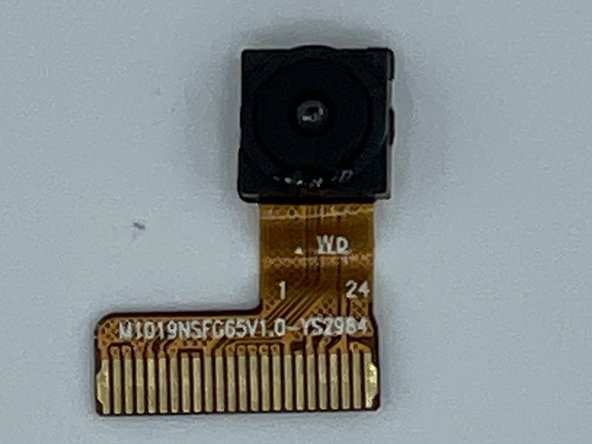
Pull the front camera out of the device with the tweezers.
-


To reassemble your device, follow these instructions in reverse order.
To reassemble your device, follow these instructions in reverse order.
Rückgängig: Ich habe diese Anleitung nicht absolviert.
Ein:e weitere:r Nutzer:in hat diese Anleitung absolviert.
Team

University of North Texas, Team 3-7, Saru Jimmy Spring 2023 Mitglied von University of North Texas, Team 3-7, Saru Jimmy Spring 2023
UNT-SARU JIMMY-S23S3G7
4 Mitglieder
4 Anleitungen geschrieben