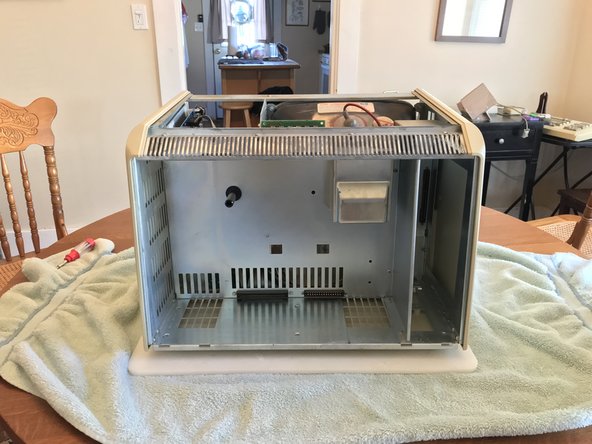
Zum Hauptinhalt wechseln

Apple Lisa Disassembly

Was du brauchst

  1. Apple Lisa Disassembly, Prepare Workspace: Schritt 1, Bild 1 von 1
    • Place the Lisa on a safe/sturdy surface.

  2. Apple Lisa Disassembly, Removing Front Panel: Schritt 2, Bild 1 von 2 Apple Lisa Disassembly, Removing Front Panel: Schritt 2, Bild 2 von 2
    • Press the two tabs underneath to release the panel.

  3. Apple Lisa Disassembly, Remove Drive Cage: Schritt 3, Bild 1 von 1
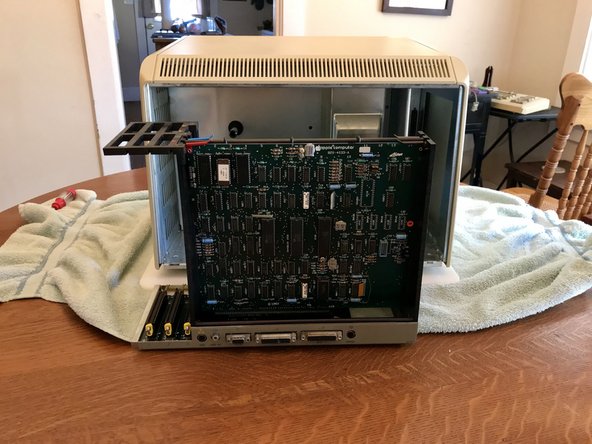
    • Release the thumbscrew underneath the drive cage and the cage will pull out. Disconnect drive wires while the cage is being removed.

  4. Apple Lisa Disassembly, Remove Back Panel: Schritt 4, Bild 1 von 2 Apple Lisa Disassembly, Remove Back Panel: Schritt 4, Bild 2 von 2
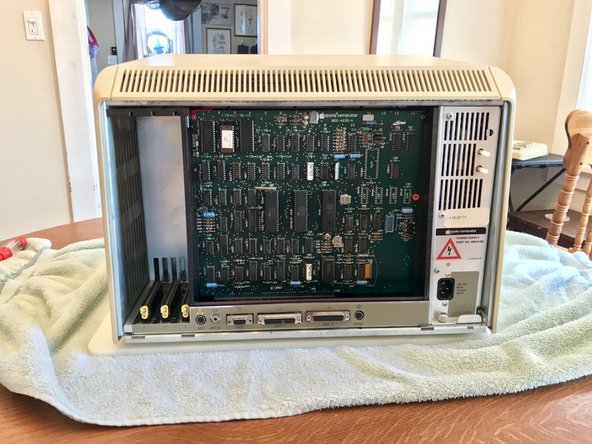
    • Twist thumbscrews on the back to release the panel. Pull panel up to remove.

  5. Apple Lisa Disassembly, Remove Power Supply: Schritt 5, Bild 1 von 3 Apple Lisa Disassembly, Remove Power Supply: Schritt 5, Bild 2 von 3 Apple Lisa Disassembly, Remove Power Supply: Schritt 5, Bild 3 von 3
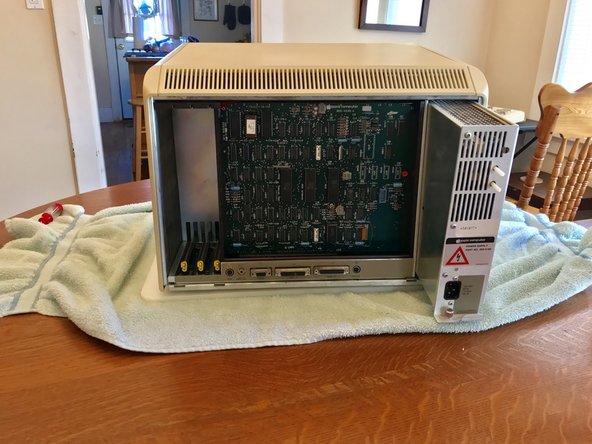
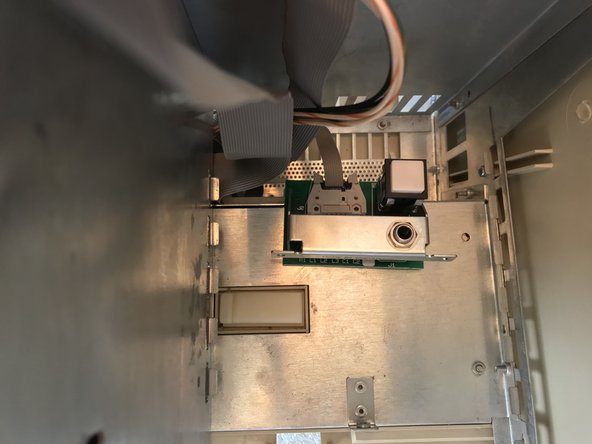
    • Release the thumbscrew on the power supply. Pull out the power supply.

  6. Apple Lisa Disassembly, Remove Cardcage: Schritt 6, Bild 1 von 2 Apple Lisa Disassembly, Remove Cardcage: Schritt 6, Bild 2 von 2
    • Grab the card cage at the location shown and pull out.

  7. Apple Lisa Disassembly, Remove Top: Schritt 7, Bild 1 von 2 Apple Lisa Disassembly, Remove Top: Schritt 7, Bild 2 von 2
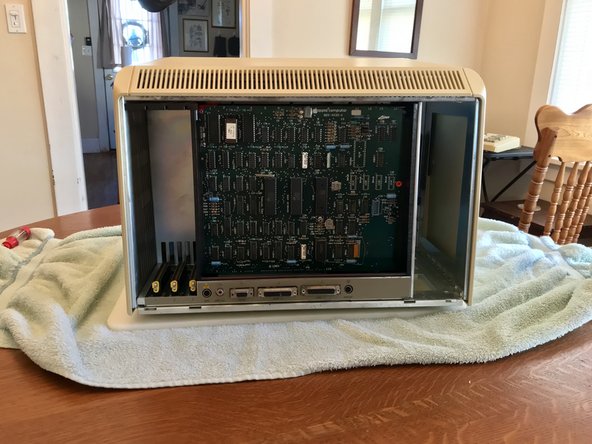
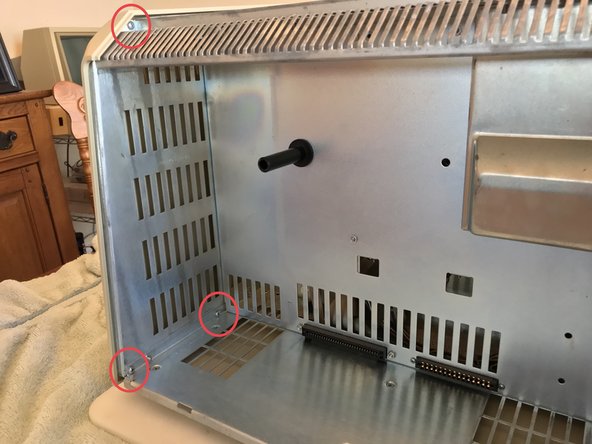
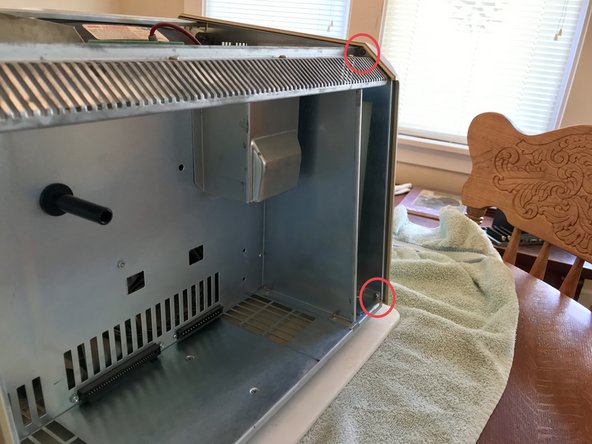
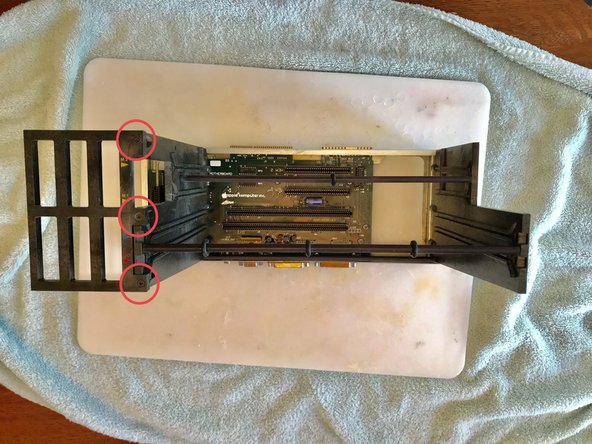
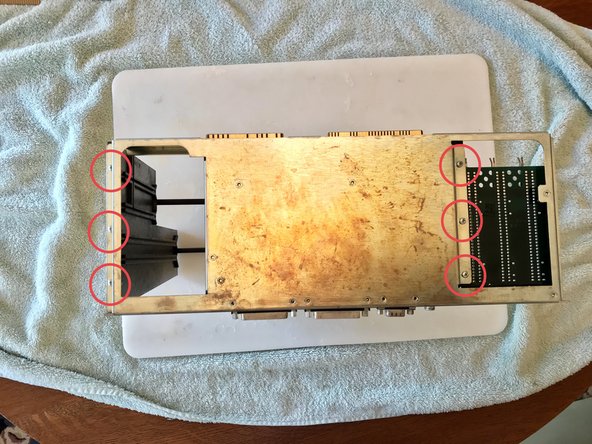
    • Unscrew two philips screws on the ceiling of where the card cage was.

  8. Apple Lisa Disassembly, Remove Power Switch: Schritt 8, Bild 1 von 2 Apple Lisa Disassembly, Remove Power Switch: Schritt 8, Bild 2 von 2
    • Release two screws and release the ribbon cable.

  9. Apple Lisa Disassembly, Remove Right Panel: Schritt 9, Bild 1 von 3 Apple Lisa Disassembly, Remove Right Panel: Schritt 9, Bild 2 von 3 Apple Lisa Disassembly, Remove Right Panel: Schritt 9, Bild 3 von 3
    • Remove all screws shown.

  10. Apple Lisa Disassembly, Remove Left Panel: Schritt 10, Bild 1 von 2 Apple Lisa Disassembly, Remove Left Panel: Schritt 10, Bild 2 von 2
    • Remove all screws shown.

  11. Apple Lisa Disassembly, Remove Feet Panel: Schritt 11, Bild 1 von 1
    • Remove all screws shown.

  12. Apple Lisa Disassembly, Remove Bottom Pannel: Schritt 12, Bild 1 von 1
    • Remove all screws shown.

  13. Apple Lisa Disassembly, CRT: Schritt 13, Bild 1 von 1
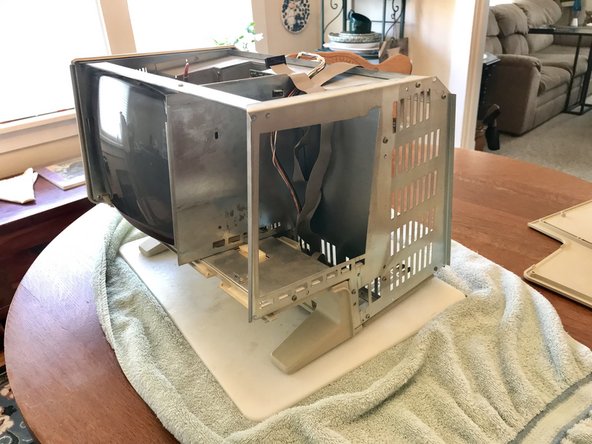
    • I am not a certified CRT technician so I am not suppling steps on how to remove it although here is a photo of the innards.

  14. Apple Lisa Disassembly, Remove Cards: Schritt 14, Bild 1 von 3 Apple Lisa Disassembly, Remove Cards: Schritt 14, Bild 2 von 3 Apple Lisa Disassembly, Remove Cards: Schritt 14, Bild 3 von 3
    • Pull up on the tabs to remove cards.

  15. Apple Lisa Disassembly, Remove Card Mount: Schritt 15, Bild 1 von 3 Apple Lisa Disassembly, Remove Card Mount: Schritt 15, Bild 2 von 3 Apple Lisa Disassembly, Remove Card Mount: Schritt 15, Bild 3 von 3
    • Remove all screws shown.

Abschluss

To reassemble your device, follow these instructions in reverse order.

4 weitere Nutzer:innen haben diese Anleitung absolviert.

LisaGuide

Mitglied seit: 12/30/18

1.833 Reputation

11 Anleitungen geschrieben

0 Kommentare

Kommentar hinzufügen

Seitenaufrufe:

Letzte 24 Stunden: 1

Letzte 7 Tage: 4

Letzte 30 Tage: 17

Insgesamt: 2,081