Einleitung
This guide will teach you how to remove and replace the camera on the Archos 70b device. It will guide you through opening the device, removing the camera from the motherboard, and then do the steps backwards to replace it.
Was du brauchst
-
-
-
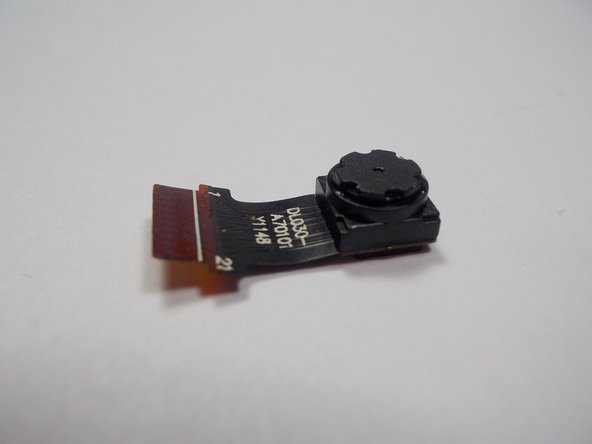
Remove the plastic cover from the camera.
-
Removal of the plastic cover makes disassembly easier.
-


To reassemble your device, follow these instructions in reverse order.
To reassemble your device, follow these instructions in reverse order.
Rückgängig: Ich habe diese Anleitung nicht absolviert.
3 weitere Nutzer:innen haben diese Anleitung absolviert.
Team

UMass Dartmouth, Team 1-3, Miles Fall 2015 Mitglied von UMass Dartmouth, Team 1-3, Miles Fall 2015
UMASSD-MILES-F15S1G3
3 Mitglieder
6 Anleitungen geschrieben