Diese Version enthält möglicherweise inkorrekte Änderungen. Wechsle zur letzten geprüften Version.
Was du brauchst
-
Dieser Schritt ist noch nicht übersetzt. Hilf mit, ihn zu übersetzen!
-
Turn laptop over to expose the bottom panel
-
-
Dieser Schritt ist noch nicht übersetzt. Hilf mit, ihn zu übersetzen!
-
Use a Phillips #0 screwdriver to remove the two screws circled in picture.
-
-
Dieser Schritt ist noch nicht übersetzt. Hilf mit, ihn zu übersetzen!
-
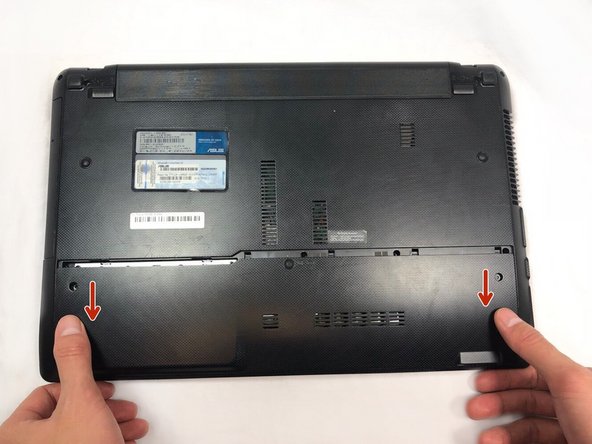
Place fingers on panel as shown below.
-
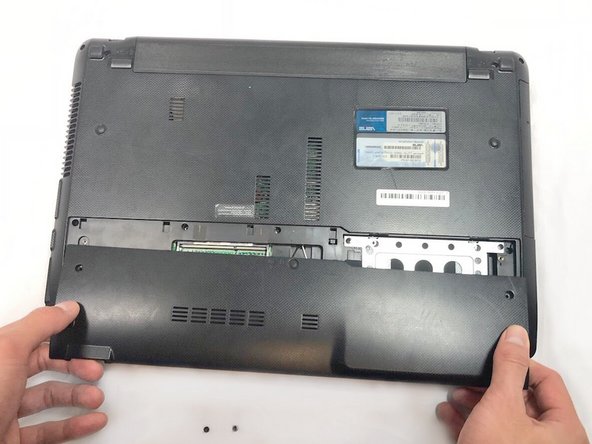
Apply slight force while gently sliding the panel away from the laptop.
-
Remove panel.
-
-
-
Dieser Schritt ist noch nicht übersetzt. Hilf mit, ihn zu übersetzen!
-
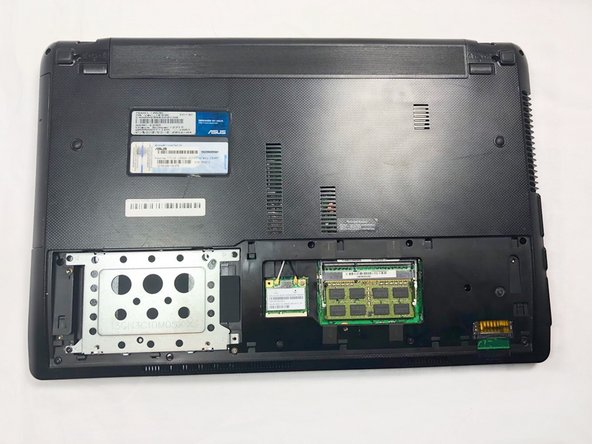
Locate wifi card, circled in red.
-
-
Dieser Schritt ist noch nicht übersetzt. Hilf mit, ihn zu übersetzen!
-
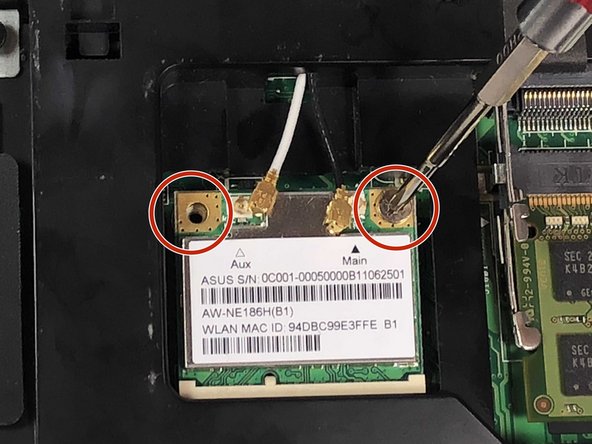
Remove the two screws using the Phillips #0 screwdriver.
-
-
Dieser Schritt ist noch nicht übersetzt. Hilf mit, ihn zu übersetzen!
-
Remove the two pin connectors from the wifi card.
-
-
Dieser Schritt ist noch nicht übersetzt. Hilf mit, ihn zu übersetzen!
-
Remove the Wi-Fi card from the device.
-


Rückgängig: Ich habe diese Anleitung nicht absolviert.
2 weitere Nutzer:innen haben diese Anleitung absolviert.

Team

UC Davis, Team S11-G7, Lore Fall 2018 Mitglied von UC Davis, Team S11-G7, Lore Fall 2018
UCD-LORE-F18S11G7
3 Mitglieder
6 Anleitungen geschrieben