Zum Hauptinhalt wechseln
Gemeinsam reparieren - Jetzt registrieren

Asus A53S Motherboard Replacement

Was du brauchst

    1. Asus A53S Motherboard Replacement, Motherboard: Schritt 1, Bild 1 von 3 Asus A53S Motherboard Replacement, Motherboard: Schritt 1, Bild 2 von 3 Asus A53S Motherboard Replacement, Motherboard: Schritt 1, Bild 3 von 3
      • Power off your device and remove the battery before beginning this guide.

      • Flip the laptop so the underside is facing up.

      • Using a Phillips #01 screwdriver, unscrew the two 6 mm screws.

      Frag FixBot

      Kommentar hinzufügen

    2. Asus A53S Motherboard Replacement: Schritt 2, Bild 1 von 2 Asus A53S Motherboard Replacement: Schritt 2, Bild 2 von 2
      • Place a spudger under the white wire and pull it up gently, disconnecting it from the Wi-Fi card.

      • Use the same method on the black wire.

      Frag FixBot

      Kommentar hinzufügen

    3. Asus A53S Motherboard Replacement: Schritt 3, Bild 1 von 3 Asus A53S Motherboard Replacement: Schritt 3, Bild 2 von 3 Asus A53S Motherboard Replacement: Schritt 3, Bild 3 von 3
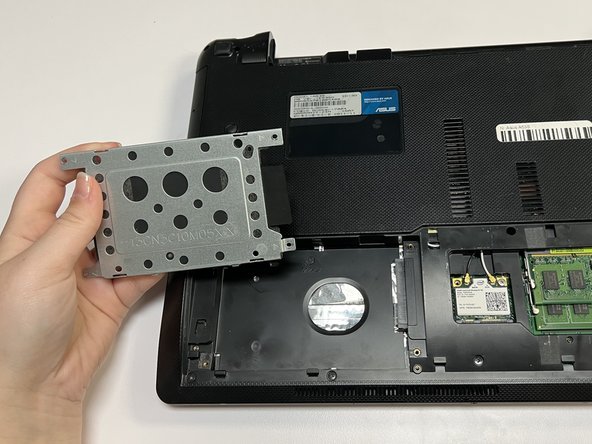
      • Push the hard drive to the left and remove it.

      Frag FixBot

      Kommentar hinzufügen

    4. Asus A53S Motherboard Replacement: Schritt 4, Bild 1 von 2 Asus A53S Motherboard Replacement: Schritt 4, Bild 2 von 2
      • Using a Phillips #01 screwdriver, unscrew the fifteen 6 mm screws.

      Frag FixBot

      Kommentar hinzufügen

    5. Asus A53S Motherboard Replacement: Schritt 5, Bild 1 von 2 Asus A53S Motherboard Replacement: Schritt 5, Bild 2 von 2
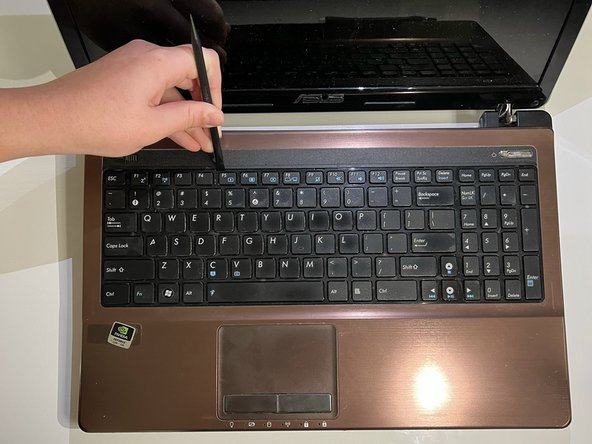
      • Flip over the laptop and open it.

      • Using the spudger, insert the flat end into the notches at the top of the keyboard and slowly "pop" the keyboard up and out of the device.

      Frag FixBot

      Kommentar hinzufügen

    6. Asus A53S Motherboard Replacement: Schritt 6, Bild 1 von 2 Asus A53S Motherboard Replacement: Schritt 6, Bild 2 von 2
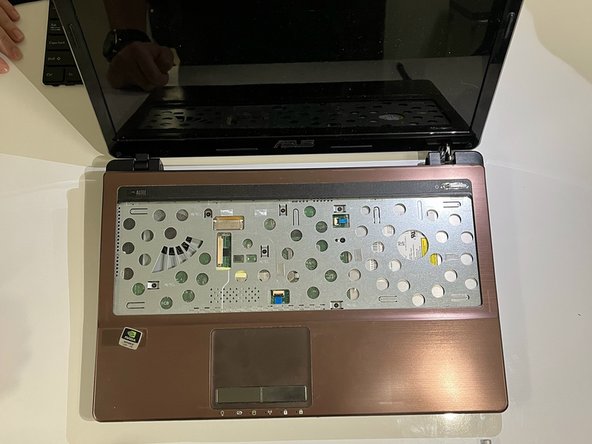
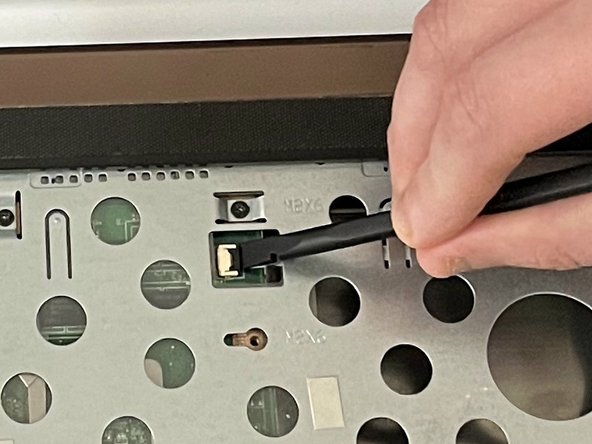
      • Using the flat end of the spudger, lift the black ZIF connector lock bar and disconnect the keyboard from the computer.

      • Remove the keyboard.

      Frag FixBot

      Kommentar hinzufügen

    7. Asus A53S Motherboard Replacement: Schritt 7, Bild 1 von 2 Asus A53S Motherboard Replacement: Schritt 7, Bild 2 von 2
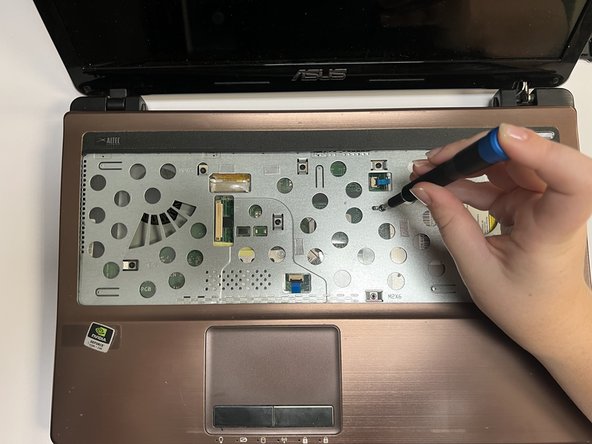
      • Using the spudger, place the flat end under the black lock bar holding the power switch. Push the spudger up and to the left, disconnecting the power switch.

      • Use the same technique on the touchpad to disconnect it.

      Frag FixBot

      Kommentar hinzufügen

    8. Asus A53S Motherboard Replacement: Schritt 8, Bild 1 von 2 Asus A53S Motherboard Replacement: Schritt 8, Bild 2 von 2
      • Using a Phillips #01 screwdriver, unscrew the seven 6 mm screws.

      Frag FixBot

      Kommentar hinzufügen

    9. Asus A53S Motherboard Replacement: Schritt 9, Bild 1 von 1
      • Gently pull out the optical drive.

      Frag FixBot

      Kommentar hinzufügen

    10. Asus A53S Motherboard Replacement: Schritt 10, Bild 1 von 1
      • Flip the laptop back over so that the bottom is facing up.

      • Use a Phillips #01 screwdriver to unscrew the three 6 mm screws.

      Frag FixBot

      Kommentar hinzufügen

    11. Asus A53S Motherboard Replacement: Schritt 11, Bild 1 von 2 Asus A53S Motherboard Replacement: Schritt 11, Bild 2 von 2
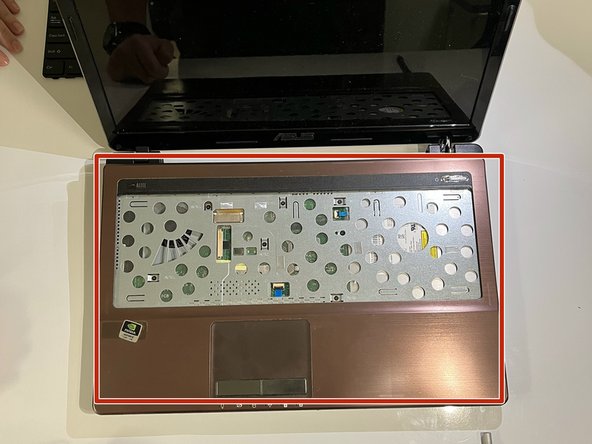
      • Turn the laptop back over so that you can open it.

      • Gently separate the cover from the laptop by putting an opening tool between the cover and the lower part of the laptop.

      Frag FixBot

      Kommentar hinzufügen

    12. Asus A53S Motherboard Replacement: Schritt 12, Bild 1 von 1
      • Remove the yellow tape.

      Frag FixBot

      Kommentar hinzufügen

    13. Asus A53S Motherboard Replacement: Schritt 13, Bild 1 von 1
      • Using the flat end of a spudger, flip ZIF connector lock bar up, disconnecting the USB board from the mother board.

      Frag FixBot

      Kommentar hinzufügen

    14. Asus A53S Motherboard Replacement: Schritt 14, Bild 1 von 2 Asus A53S Motherboard Replacement: Schritt 14, Bild 2 von 2
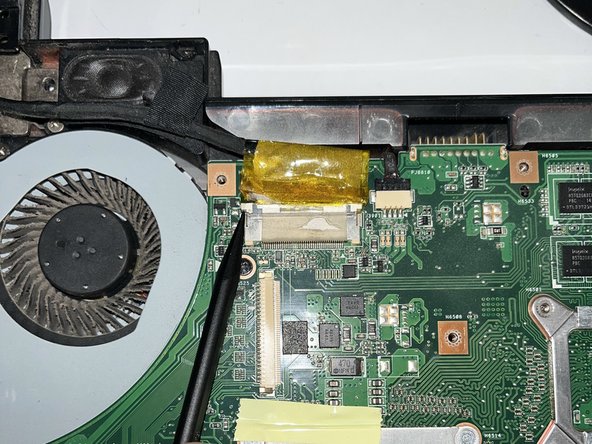
      • Using the pointy end of a spudger, push upwards on the notches of the tan part of the LCD connector.

      Frag FixBot

      Kommentar hinzufügen

    15. Asus A53S Motherboard Replacement: Schritt 15, Bild 1 von 2 Asus A53S Motherboard Replacement: Schritt 15, Bild 2 von 2
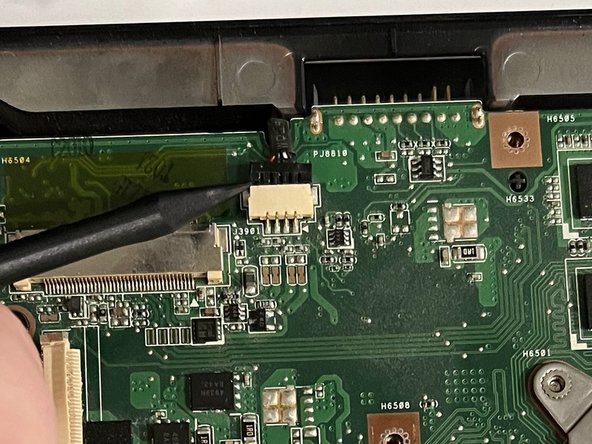
      • Using the pointy end of a spudger, gently push upwards on the black part of the speaker connector.

      Frag FixBot

      Kommentar hinzufügen

    16. Asus A53S Motherboard Replacement: Schritt 16, Bild 1 von 2 Asus A53S Motherboard Replacement: Schritt 16, Bild 2 von 2
      • Using a Phillips #01 screwdriver, unscrew the five 6 mm screws at the indicated places.

      • Using a Phillips #01 screwdriver, unscrew the 5 mm screws.

      • All of these screws are indicated by a small white arrow.

      Frag FixBot

      Kommentar hinzufügen

    17. Asus A53S Motherboard Replacement: Schritt 17, Bild 1 von 2 Asus A53S Motherboard Replacement: Schritt 17, Bild 2 von 2
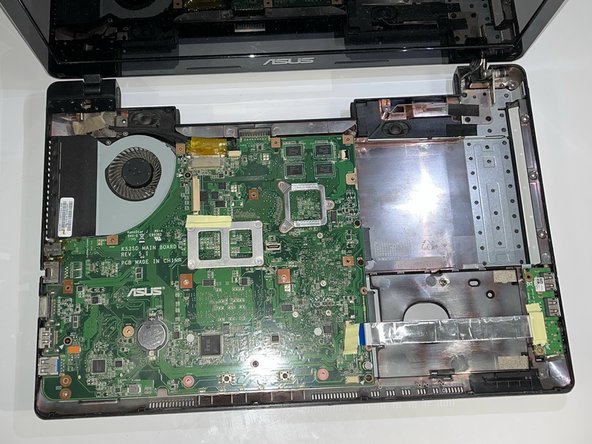
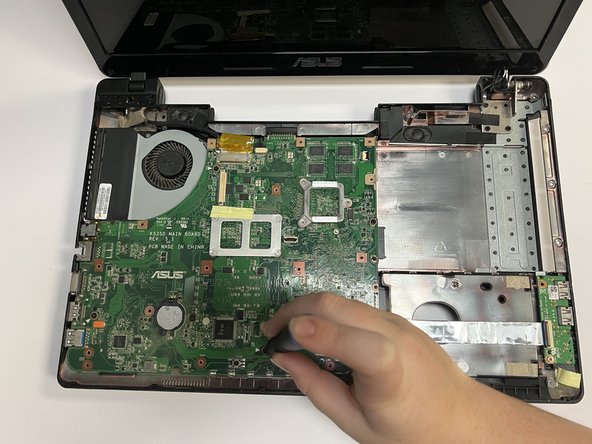
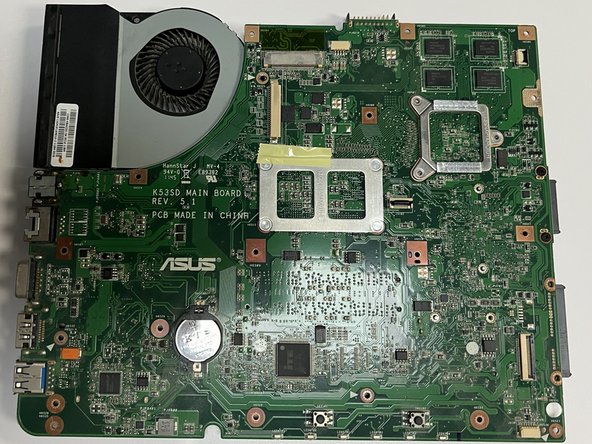
      • Gently lift the motherboard, removing it from the laptop shell.

      Frag FixBot

      Kommentar hinzufügen

Abschluss

To reassemble your device, follow these instructions in reverse order.

Rückgängig: Ich habe diese Anleitung nicht absolviert.

2 weitere Personen haben diese Anleitung absolviert.

0 Kommentare zur Anleitung

Kommentar hinzufügen

Seitenaufrufe:

Letzte 24 Stunden: 1

Letzte 7 Tage: 11

Letzte 30 Tage: 56

Insgesamt: 1,430