Einleitung
If your computer is running slowly or it won't connect to wifi, you probably have to change your motherboard. This model has most of the components directly soldered on to the motherboard.
Was du brauchst
-
-
Use a metal spudger to pry off the two feet closest to the hinge of the laptop.
-
-
-
Use a Phillips #0 screwdriver to unscrew the six 5mm screws.
-
Use a Phillips #0 screwdriver to unscrew the two 6mm screws.
-
-
-
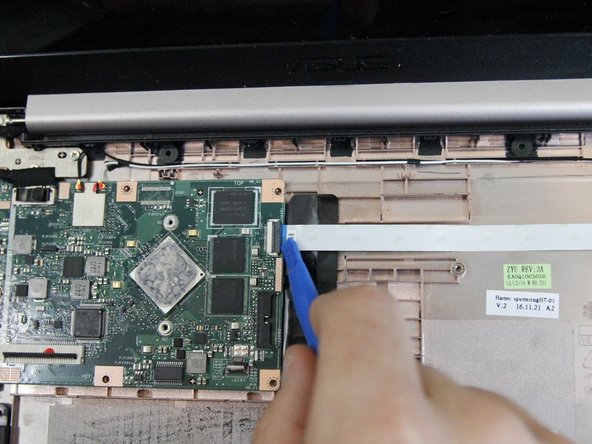
Flip up the white bar that connects the thin white strip using a plastic opening tool.
-
Grab the thin white strip and pull straight back to remove the strip from the connector.
-
-
-
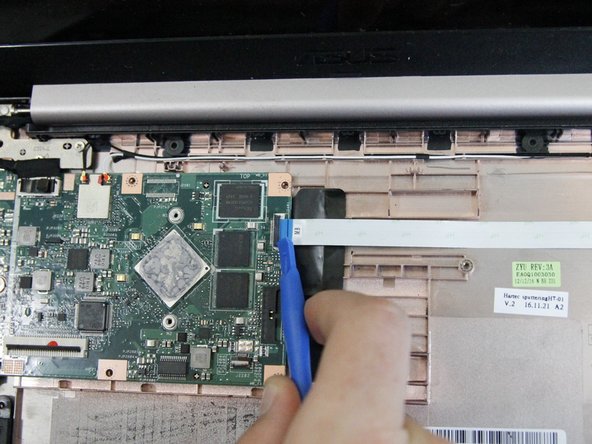
Use a plastic opening tool to lift the black bar above the wide black strip in the connector.
-
Grab the wide black strip and pull straight back to remove the strip from the connector.
-
Remove the keyboard by lifting it straight up.
-
-
-
-
Unscrew the seven 4mm screws using a Phillips #0 screwdriver.
-
Wiggle the plate back and forth to loosen the adhesive under the plate.
-
Rotate the screwdriver in a counterclockwise direction to remove the screws.
-
-
-
Use a Phillips #0 screwdriver to unscrew the 4mm screw. Rotate the screwdriver in a counterclockwise direction to undo the screw.
-
-
-
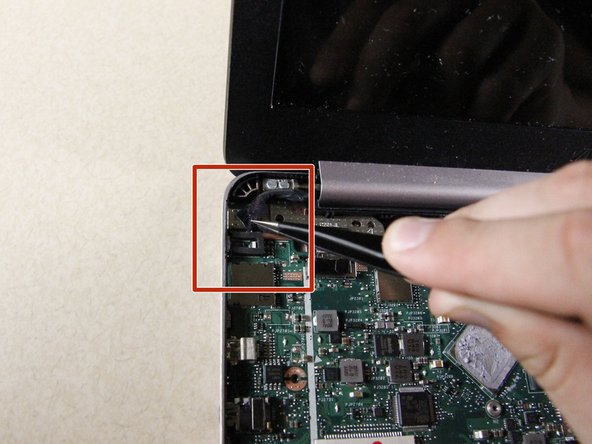
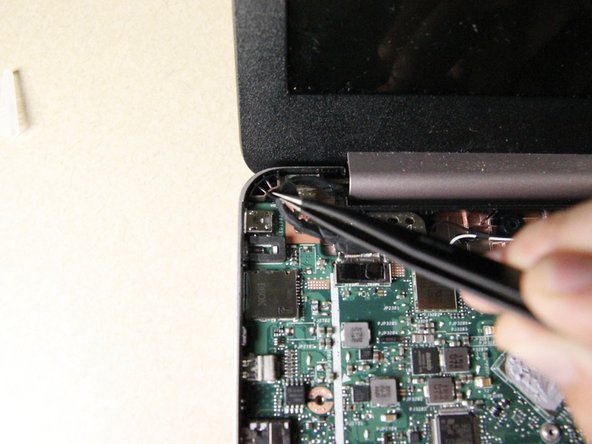
Use tweezers to gently pull upward and pop off the LCD cable. It may help to do this on each side of the attachment, rather than in one pull.
-
-
-
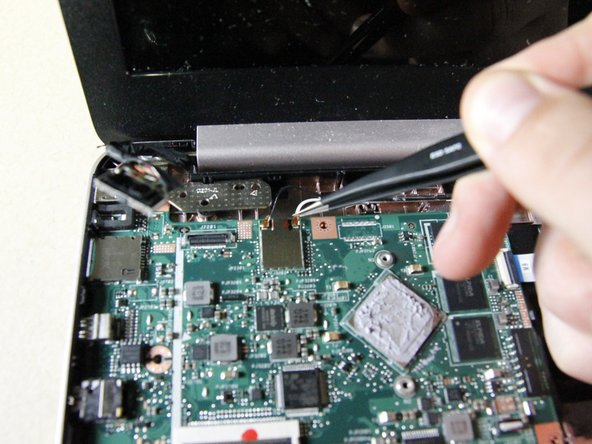
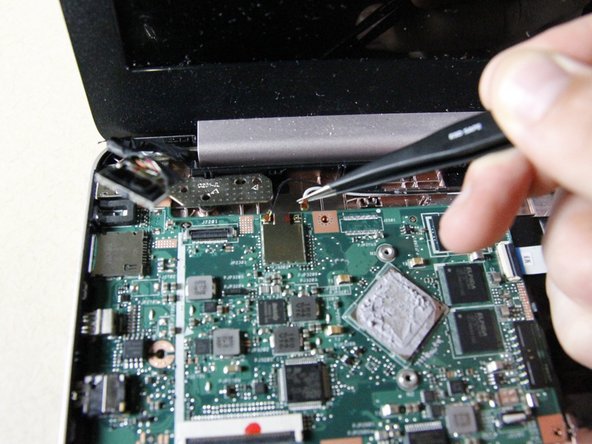
Flip up the white bar that connects the thin white strip using a plastic opening tool.
-
Grab the thin white strip and pull straight back to remove the strip from the connector.
-
-
-
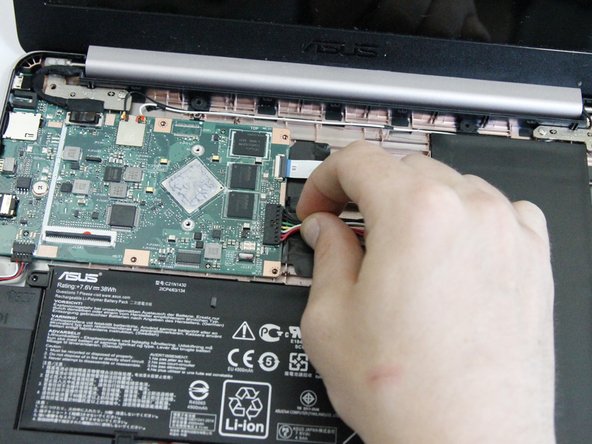
Remove the rainbow connector by firmly grasping the rainbow wires and pulling straight back. It will help to brace the motherboard when you pull.
-
-
-
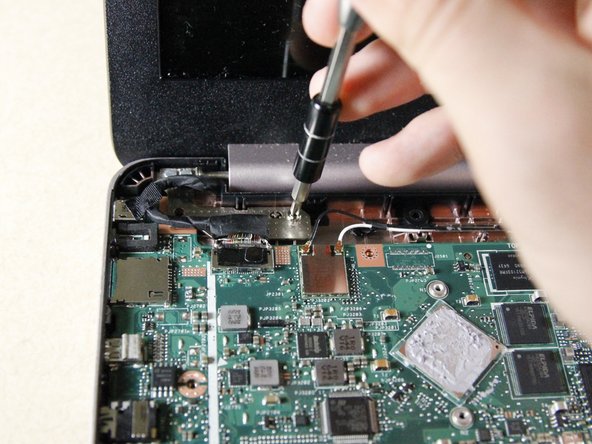
Use a Phillips #0 screwdriver to unscrew the 4mm screws. Rotate the screwdriver in a counterclockwise direction to undo the screws.
-
-
-
Use a plastic opening tool to lift the motherboard off the bottom. You may need to wiggle it around to get it loose.
-


To reassemble your device, follow these instructions in reverse order.
To reassemble your device, follow these instructions in reverse order.
Team

Cal Poly, Team S17-G4, Livingston Spring 2018 Mitglied von Cal Poly, Team S17-G4, Livingston Spring 2018
CPSU-LIVINGSTON-S18S17G4
4 Mitglieder
12 Anleitungen geschrieben