Einleitung
This repair guide provides step-by-step instructions for replacing the keyboard of the ASUS Chromebook C300M-BBCLN12 keyboard. The repair may be required if the keyboard is no longer functional.
Was du brauchst
-
-
Remove the eight 9.0mm PH00 Phillips screws along the perimeter of the bottom housing.
-
Remove the three 6.0mm PH00 Phillips screws from the center of the bottom housing.
-
-
-
Separate the palm rest assembly from the bottom housing using the plastic opening tool.
-
-
-
-
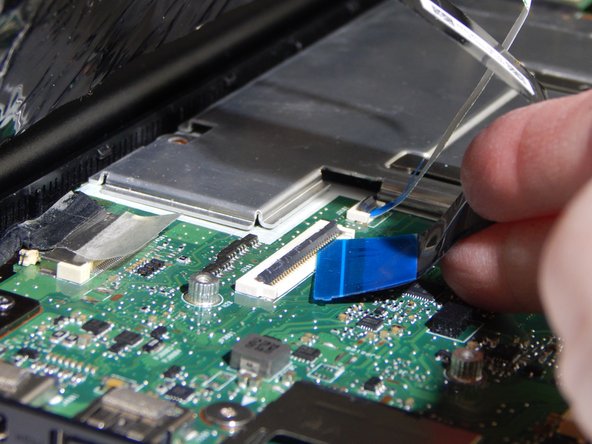
Flip back the hinges on the connectors that secure the wide black cable and the narrow white cable using the tweezers.
-
Disconnect the wide black cable from the motherboard by pulling the blue cable tab straight out of the connector.
-
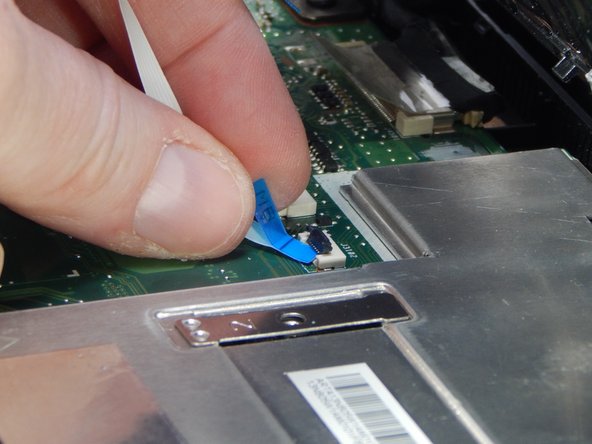
Disconnect the white ribbon cable from the motherboard by pulling the blue cable tab straight out of the connector.
-
-
-
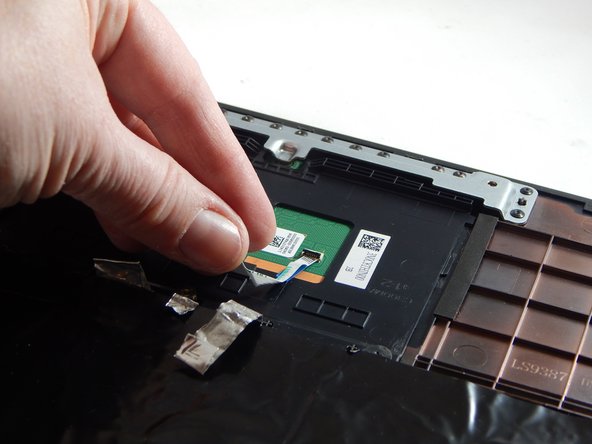
Flip back the hinge on the connector that secures the white ribbon cable to the underside of the palm rest assembly using the tweezers.
-
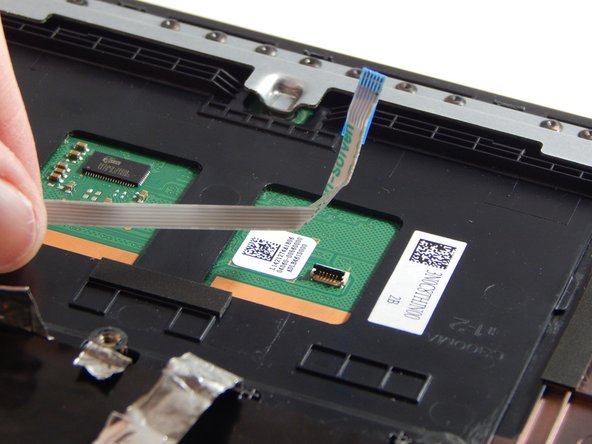
Disconnect the white ribbon cable from the palm rest assembly by pulling the cable straight out of the connector.
-
-
-
Remove the palm rest assembly from the bottom housing and lay it on a flat surface with the keyboard facing downward.
-
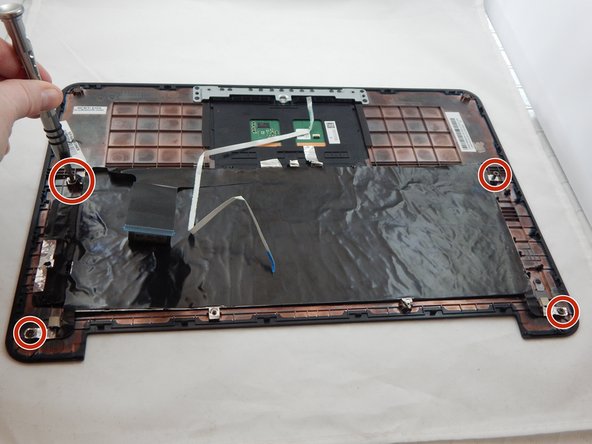
Remove the four 5.0mm PH00 Phillips screws securing the keyboard to the palm rest assembly.
-
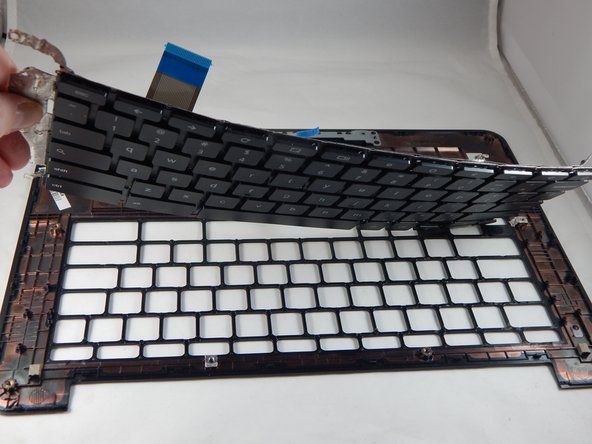
Separate the keyboard from the palm rest assembly.
-
To reassemble your device, follow these instructions in reverse order.
To reassemble your device, follow these instructions in reverse order.


