Einleitung
Your computer display is one of the most important parts of your device. Ranging in size and capabilities, the display is one of the main parts that gets upgraded or replaced depending on your needs.
Was du brauchst
-
-
Flip the Chromebook over so that the underside is facing up.
-
Using the Phillips PH #000 screwdriver, remove the 11 "4mm" screws on the back of the device.
-
-
-
Wedge the plastic opening tool between the bottom cover of the laptop and the keyboard panel.
-
Apply pressure and move the plastic opening tool around the border of the laptop until it pops out.
-
-
-
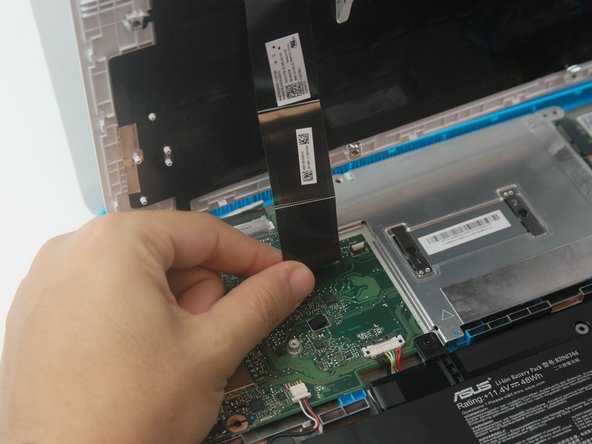
Once the keyboard panel pops out, slowly move it upwards so that the keyboard connection is visible.
-
Remove the keyboard connection from the motherboard by pulling it outwards from the connector.
-
-
-
-
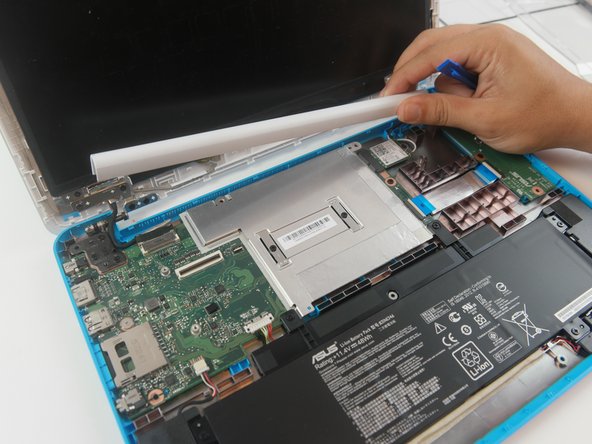
Remove the hinge protector by using the plastic opening tool to gently lift it up. It should come up easily.
-
-
-
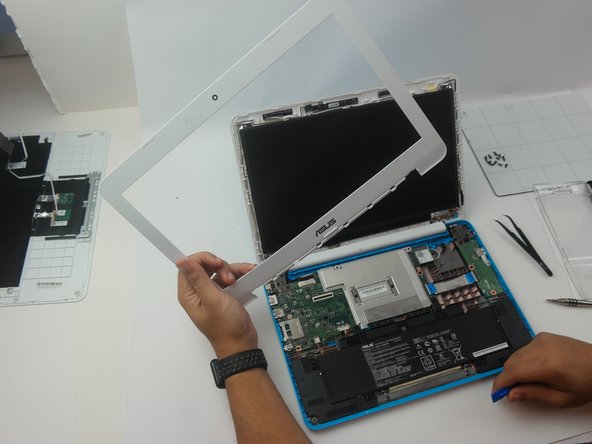
Using the plastic opening tool, separate the display cover bracket from the back of the display. Start from the top.
-
-
-
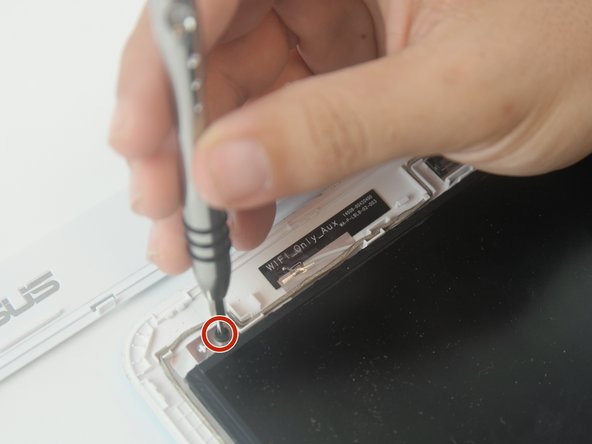
Remove the (4) four "4mm" screws in each corner that hold the display using the Phillips #000 screwdriver.
-
-
-
Lift the tape covering the connector with the tweezers.
-
Gently remove the display connector from the motherboard.
-


To reassemble your device, follow these instructions in reverse order.
To reassemble your device, follow these instructions in reverse order.
Team

USF Tampa, Team S6-G4, Remmell Fall 2017 Mitglied von USF Tampa, Team S6-G4, Remmell Fall 2017
USFT-REMMELL-F17S6G4
4 Mitglieder
12 Anleitungen geschrieben