Einleitung
The front bezel is a plastic or metal piece that covers mechanical parts for the webcam, WiFi, etc. It also serves to hold the screen intact. Be sure to have a compatible bezel for this laptop when replacing it.
Was du brauchst
-
-
Lay the laptop right side up.
-
Rotate laptop 90 degrees towards you, so the empty battery compartment is visible.
-
-
-
Insert a finger nail, or the flat end of the spudger, into the slot between the laptop base and the hinge guard on the right side. Gently pull the guard towards you until the guard pops off.
-
Repeat this process for the other guard.
-
-
-
-
Once the hinge guards are removed, lay the laptop flat on its bottom. Then, lift open the laptop screen as if you were about to use it.
-
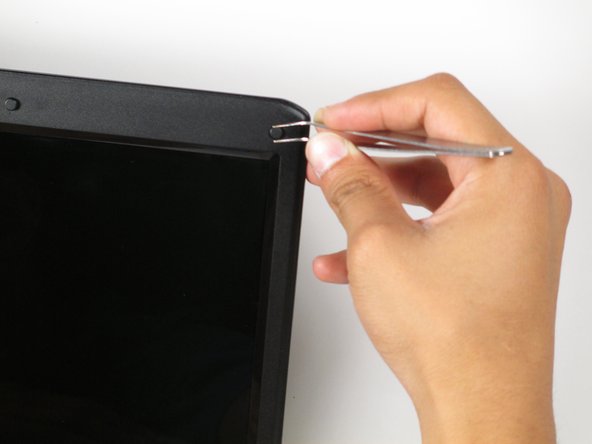
With a pair of tweezers, peel off the six rubber cushions from the bezel located around the perimeter of the screen.
-
-
-
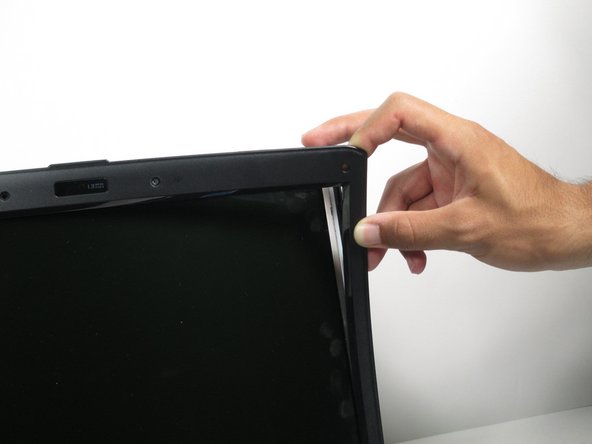
Insert a finger nail, or the flat end of a spudger, into the slit between the bezel and the back cover of the laptop.
-
Gently pry the bezel towards you to remove it from the back panel of the laptop.
-
Continue to pry around the perimeter of the laptop until the entire bezel has been removed.
-


To reassemble your device, follow these instructions in reverse order.
To reassemble your device, follow these instructions in reverse order.
Team

Cal Poly, Team 10-56, Amido Spring 2014 Mitglied von Cal Poly, Team 10-56, Amido Spring 2014
CPSU-AMIDO-S14S10G56
4 Mitglieder
12 Anleitungen geschrieben