Einleitung
The audio board is important in controlling the volume on a computer. This guide will show the necessary steps in order to replace it.
Was du brauchst
-
-
Make sure the computer is off and turn it over on its back. Push the slider all the way back until the compartment for the battery opens. Remove the battery and place it aside.
-
-
-
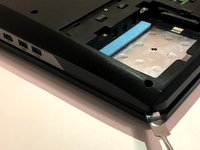
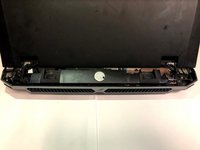
Find the panel on the back of the computer. Use a Phillips #0 screwdriver to unscrew the 2 4.2mm screws on that panel. Next, lift up the panel at the indent and place it aside.
-
-
-
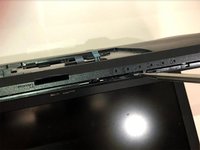
When the back panel is removed, disconnect the blue and black ribbon connectors exposed from the back panel.
-
-
-
-
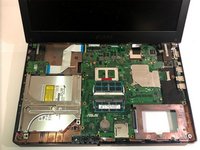
Remove the fifteen 4.2 mm screws on the bottom of the laptop with a Phillips #0 screwdriver, under the battery, and beneath the back panel that secure the keyboard to the laptop.
-
-
-
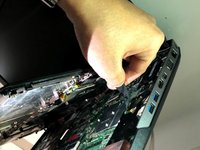
Remove the ribbon connectors that connect the keyboard to the motherboard. The keyboard should now be completely disconnected from the laptop.
-
-
-
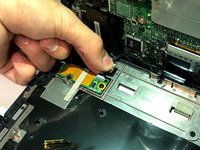
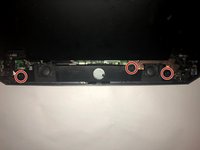
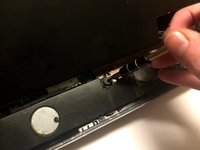
Lift the audio board and find the 2 wires connecting it to the computer.
-
Pull on those wires to disconnect them .
-


To reassemble your device, follow these instructions in reverse order.
To reassemble your device, follow these instructions in reverse order.
Team

University of North Texas, Team S7-G7, Thompson Fall 2018 Mitglied von University of North Texas, Team S7-G7, Thompson Fall 2018
UNT-THOMPSON-F18S7G7
3 Mitglieder
6 Anleitungen geschrieben