Einleitung
The optical drive can wear out over time or stop working completely. This guide will show you how to remove the optical assembly on the side of the device.
Was du brauchst
-
In diesem Schritt verwendetes Werkzeug:Tweezers$4.99
-
If you have power, press the eject button.
-
If you don't have power, use the opening tool to pry off the disk drive cover.
-
Press the Manual Eject button with the spudger and the disk drive should slide out. (Might need tweezers if it doesn't pop out immediately)
-
Once the disc drive pops out, flip the laptop over.
-
-
-
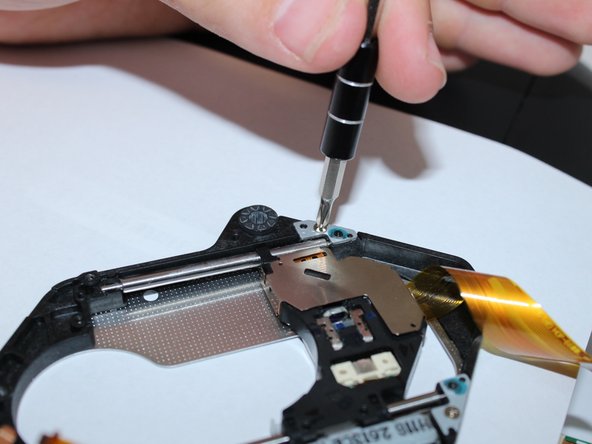
Remove the 4 screws that hold down the metal plate with the J0 Phillips-head screwdriver.
-
Put the screws onto the magnetic pad, to avoid losing any.
-
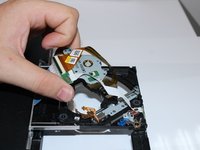
Lift the metal plate off the optical drive with your fingers.
-
-
-
-
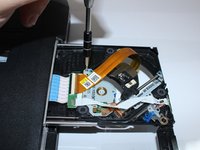
Remove 3 screws of disc drive with the J0 Phillips-head screwdriver.
-
Pick up the disc drive assembly and pull it out.
-
-
-
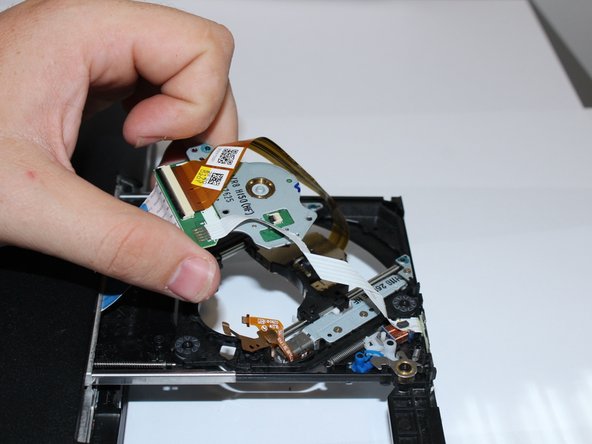
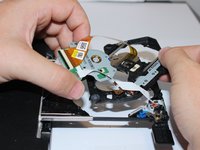
Remove optical assembly by hand.
-
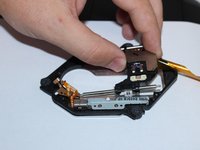
Remove disc reader by removing 2 bolts from the top using the J0 Phillips-head screwdriver.
-
Lift the metal piece out.
-


To reassemble your device, follow these instructions in reverse order.
To reassemble your device, follow these instructions in reverse order.
Rückgängig: Ich habe diese Anleitung nicht absolviert.
Eine weitere Person hat diese Anleitung absolviert.

Team

Western Carolina University, Team S1-G1, Virtue Fall 2017 Mitglied von Western Carolina University, Team S1-G1, Virtue Fall 2017
WCU-VIRTUE-F17S1G1
3 Mitglieder
5 Anleitungen geschrieben