Diese Version enthält möglicherweise inkorrekte Änderungen. Wechsle zur letzten geprüften Version.
Was du brauchst
-
Dieser Schritt ist noch nicht übersetzt. Hilf mit, ihn zu übersetzen!
-
Place your thumb in the charging port and pry the back cover off of the phone.
-
-
Dieser Schritt ist noch nicht übersetzt. Hilf mit, ihn zu übersetzen!
-
Remove all screws using the T5 Torx screwdriver
-
Lift the back panel off the phone.
-
-
Dieser Schritt ist noch nicht übersetzt. Hilf mit, ihn zu übersetzen!
-
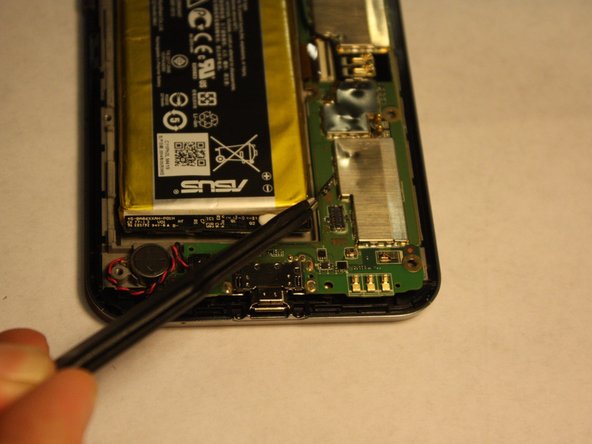
Disconnect the battery from the logic board using tweezers
-
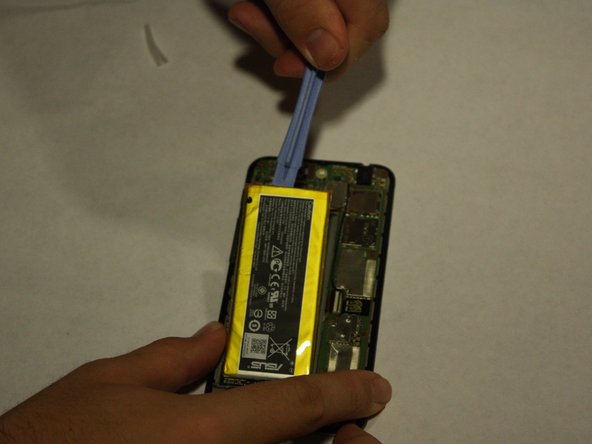
Using the plastic opening tools, lift the battery up from its slot
-
-
-
Dieser Schritt ist noch nicht übersetzt. Hilf mit, ihn zu übersetzen!
-
Once the Battery has been successfully removed, move on to the step 2.
-
-
Dieser Schritt ist noch nicht übersetzt. Hilf mit, ihn zu übersetzen!
-
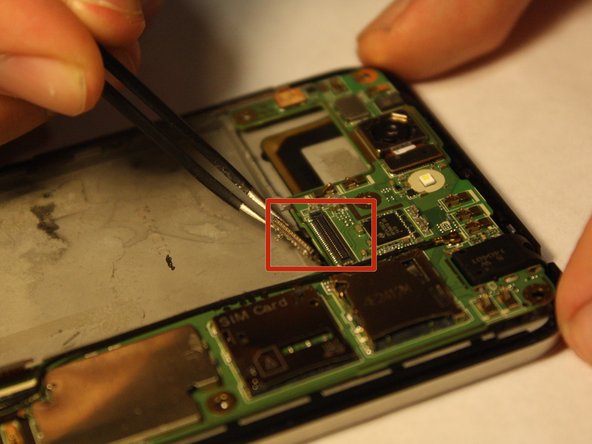
Disconnect the marked strips from the logic board using the tweezers.
-
Remember to remove speaker connection located at the bottom left hand corner.
-
-
Dieser Schritt ist noch nicht übersetzt. Hilf mit, ihn zu übersetzen!
-
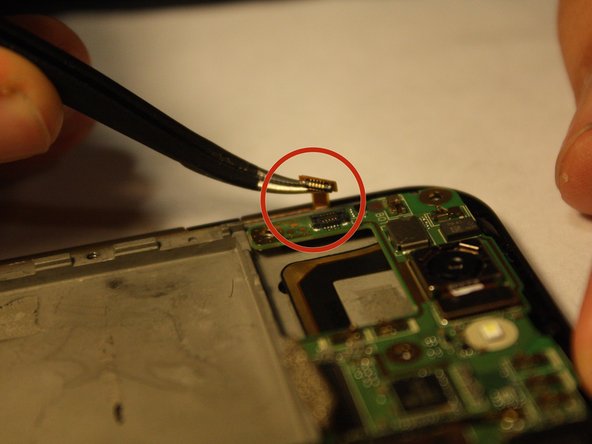
Disconnect the other two strips that connect the logic board to the phone.
-
-
Dieser Schritt ist noch nicht übersetzt. Hilf mit, ihn zu übersetzen!
-
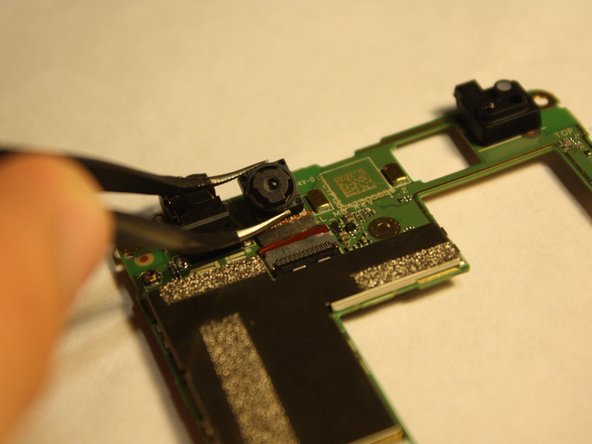
Turn over the logic board to locate the front camera.
-
Grasp the sides of the camera with the tweezers and carefully remove the camera from the logic board.
-


Rückgängig: Ich habe diese Anleitung nicht absolviert.
Ein:e weitere:r Nutzer:in hat diese Anleitung absolviert.
Team

UMass Dartmouth, Team 6-1, Vijaybhaskar Fall 2014 Mitglied von UMass Dartmouth, Team 6-1, Vijaybhaskar Fall 2014
UMASSD-VIJAYBHASKAR-F14S6G1
3 Mitglieder
10 Anleitungen geschrieben