Zum Hauptinhalt wechseln

Asus Padfone X Mini Camera Replacement

Was du brauchst

  1. Asus Padfone X Mini Camera Replacement, Speaker: Schritt 1, Bild 1 von 1
    • With the phone facing down, look at the bottom right side corner and there should be a groove. Use a plastic opening tool and lift up to remove outside cover.

    • This is not the cover with the speaker attached.

  2. Asus Padfone X Mini Camera Replacement: Schritt 2, Bild 1 von 1
    • Lift the battery out from the top of the device.

  3. Asus Padfone X Mini Camera Replacement: Schritt 3, Bild 1 von 1
    • Around the perimeter, there should be 10 2 mm T5 Torx screws. Take them out.
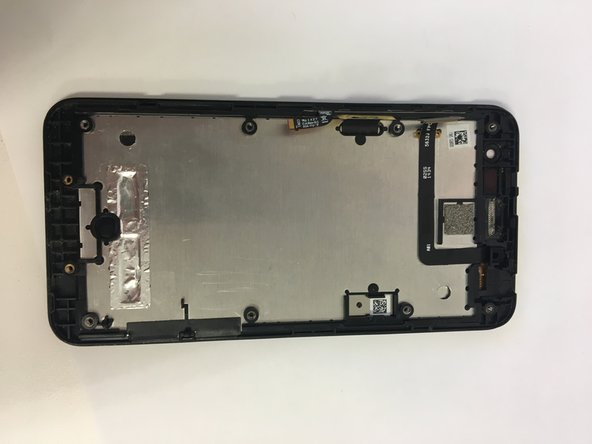
    • Remove the cover.

  4. Asus Padfone X Mini Camera Replacement: Schritt 4, Bild 1 von 1
    • Turn the cover over.

    • The speaker is attached to the inside of the cover and to the right of the camera hole.

  5. Asus Padfone X Mini Camera Replacement: Schritt 5, Bild 1 von 1
    • Remove speaker with standard tweezers to minimize damage, and replace.

  6. Asus Padfone X Mini Camera Replacement, Screen: Schritt 6, Bild 1 von 1
    • Detach the black connector on the left hand side of the motherboard.

    • Don't completely remove the black connector.

  7. Asus Padfone X Mini Camera Replacement: Schritt 7, Bild 1 von 1
    • Disconnect silver connector from the motherboard. It is located on the left hand side above the black connector.

  8. Asus Padfone X Mini Camera Replacement: Schritt 8, Bild 1 von 2 Asus Padfone X Mini Camera Replacement: Schritt 8, Bild 2 von 2
    • Remove motherboard and replace screen.

  9. Asus Padfone X Mini Camera Replacement, Camera: Schritt 9, Bild 1 von 1
    • Turn over the motherboard.

  10. Asus Padfone X Mini Camera Replacement: Schritt 10, Bild 1 von 1
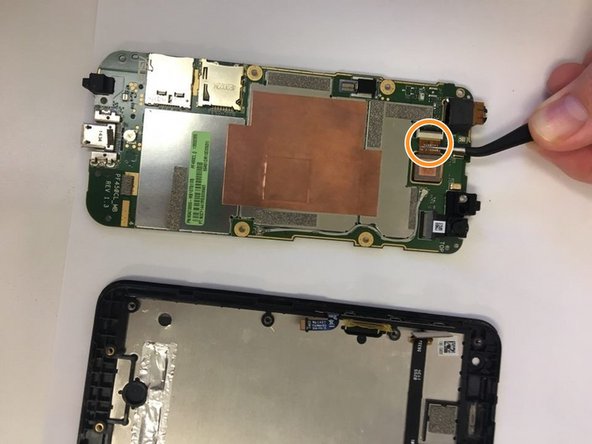
    • Using tweezers pull out the connector that connects the camera to the motherboard.

  11. Asus Padfone X Mini Camera Replacement: Schritt 11, Bild 1 von 2 Asus Padfone X Mini Camera Replacement: Schritt 11, Bild 2 von 2
    • Take out the camera.

    • Put in the new camera by sliding the camera connector into the receiver.

Abschluss

To reassemble your device, follow these instructions in reverse order.

James Jackson

Mitglied seit: 09/18/18

97 Reputation

1 Anleitung geschrieben

Team

0 Kommentare

Kommentar hinzufügen

Seitenaufrufe:

Letzte 24 Stunden: 0

Letzte 7 Tage: 1

Letzte 30 Tage: 4

Insgesamt: 170