Einleitung
This repair would be needed if the laptop is no longer reacting to touch input, missing clicks, or if either mouse button is not functional. When removing the wires that connect the touch-pad to the motherboard be careful to use a plastic opening tool to protect against damage.
Was du brauchst
-
-
Use the T5 Torx screwdriver to remove the ten 1mm screws located around the back cover.
-
-
-
Use the Phillips #0 screwdriver to remove the two 4mm screws that are under the rubber pads.
-
-
-
-
Insert any of the plastic opening tools into the seam to separate the back cover (it is recommended to start at the corner of the hinges). If you did it right, then the cover should pop off.
-
-
-
Once the back cover is removed, have the laptop facing upside down with the hinges facing toward you.
-
-
-
Use the Phillips #0 screwdriver to remove the five 4mm screws around the battery.
-
-
-
Use the small plastic opening tool to remove the ZIF Connector on the right side of the battery.
-
-
-
Pull the large data ribbon near the touch-pad out of the way with your hands.
-
Use the Phillips #0 screwdriver to remove the three 3.0 mm screws connecting the touch-pad to the device.
-
-
-
Use the small plastic opening tool to remove the ZIF Connector on the left side of the touch-pad.
-
-
-
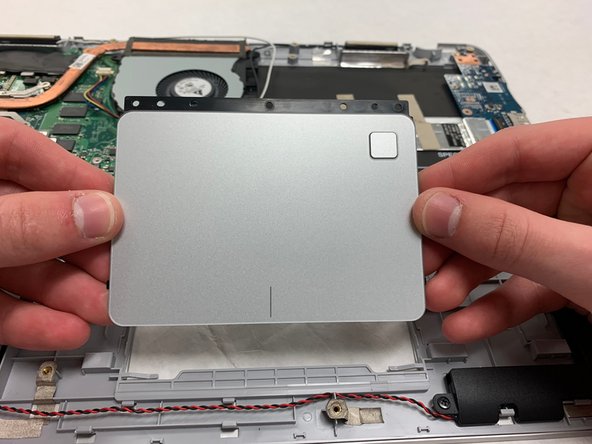
Pry the end closest to the display up with your fingers and pull the touch-pad out.
-


To reassemble your device, follow these instructions in reverse order.
To reassemble your device, follow these instructions in reverse order.
Team

IUPUI, Team S1-G2, Henning Fall 2019 Mitglied von IUPUI, Team S1-G2, Henning Fall 2019
IUPUI-HENNING-F19S1G2
3 Mitglieder
3 Anleitungen geschrieben