Einleitung
To access your hard drive, remove the back plate as shown in these steps.
Was du brauchst
-
-
With the computer upside down, lift up on the rubber cap on the back plate to access the captive Phillips #2 screw.
-
-
-
-
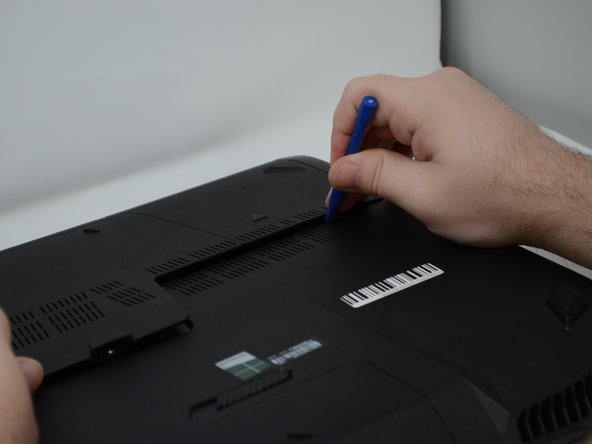
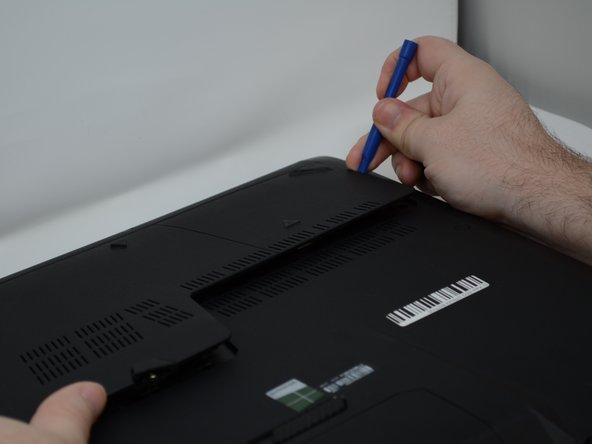
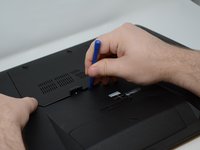
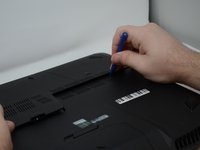
Pry around the edges of the plate using a plastic opening tool until the plate is removed.
-


To reassemble your device, follow these instructions in reverse order.
To reassemble your device, follow these instructions in reverse order.
Rückgängig: Ich habe diese Anleitung nicht absolviert.
Eine weitere Person hat diese Anleitung absolviert.
Team

Central Washington University, Team S1-G6, Pengilly Fall 2018 Mitglied von Central Washington University, Team S1-G6, Pengilly Fall 2018
CWU-PENGILLY-F18S1G6
3 Mitglieder
5 Anleitungen geschrieben