Einleitung
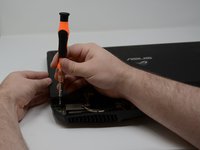
Use this guide if your computer is not responding even after you have replaced the battery and power components.
Was du brauchst
-
-
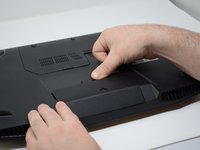
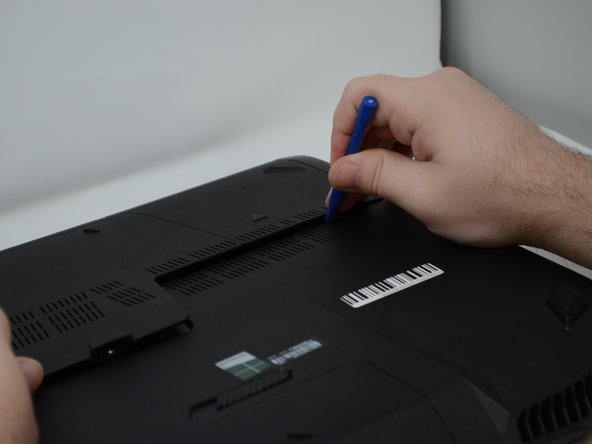
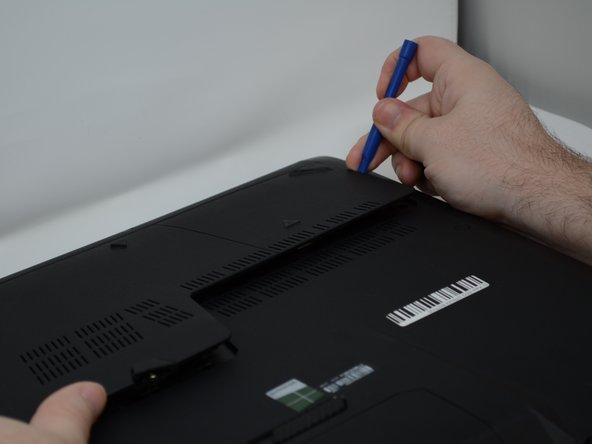
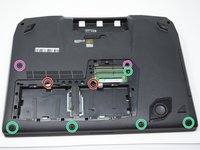
Using a plastic opening tool, remove the two rubber tabs circled in red.
-
-
-
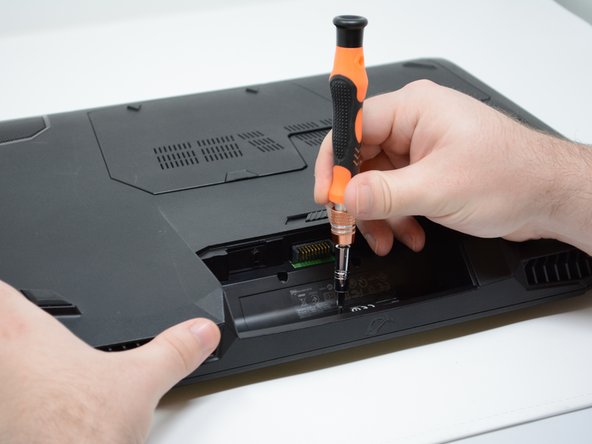
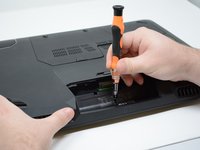
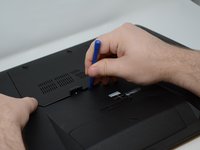
Remove both of the 8mm Phillips #2 screws from these slots where the rubber caps were removed.
-
-
-
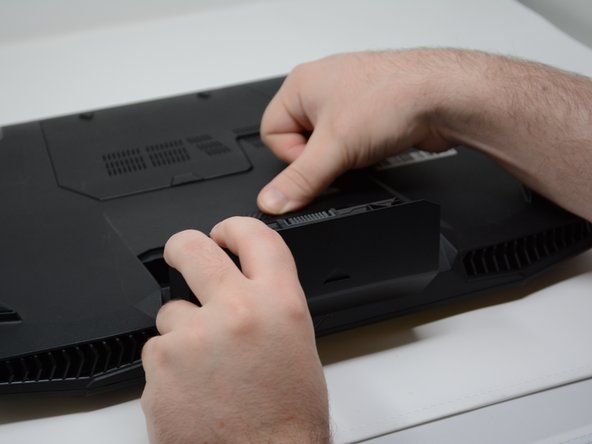
Slide the tab to pop the battery out of its holder.
-
Pull the battery out of its slot.
-
-
-
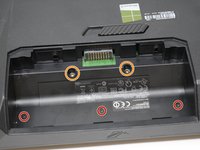
Remove the three 4mm Phillips #2 screws from the open battery slot as shown.
-
Remove the two 5mm Phillips #2 screws.
-
-
-
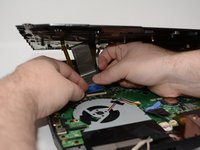
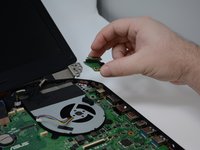
Detach the single connector using your plastic opening tool.
-
Remove the speaker bar.
-
-
-
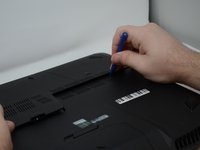
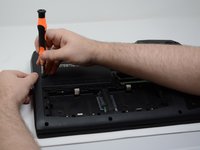
With the computer upside down, lift up on the rubber cap on the back plate to access the captive Phillips #2 screw.
-
-
-
-
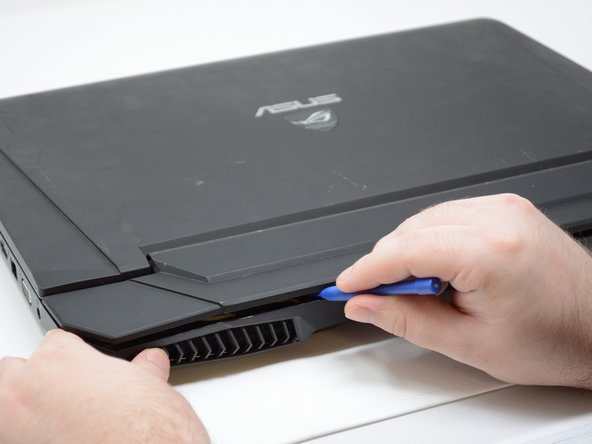
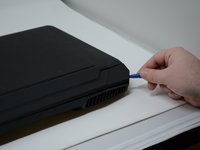
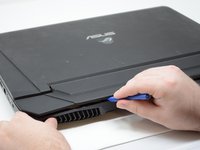
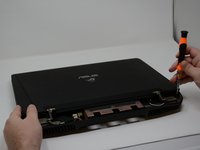
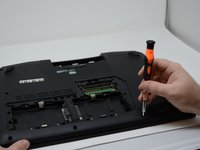
Pry around the edges of the plate using a plastic opening tool until the plate is removed.
-
-
-
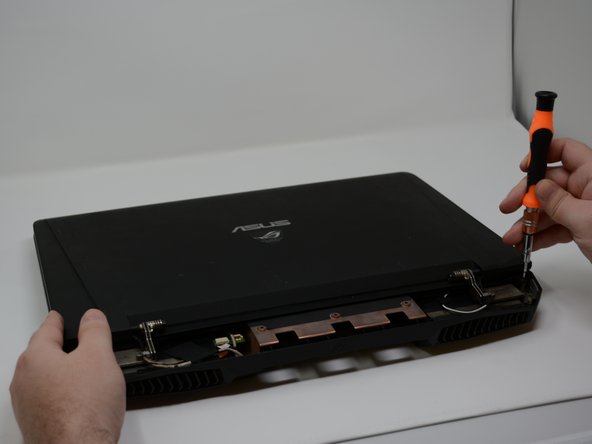
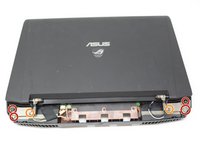
Remove the six 8mm Phillips #2 screws to remove the display.
-
Remove the two 4mm Phillips #2 screws.
-
-
-
Remove the four rubber tabs circled in green on the bottom of the device.
-
Remove the five 4mm #2 Phillips screws.
-
Remove the two 8mm #2 Phillips screws.
-
Remove the two 1cm #2 Phillips screws.
-
-
-
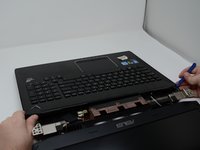
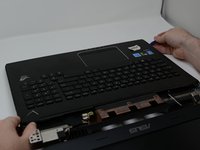
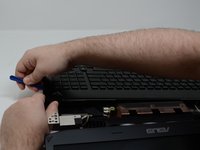
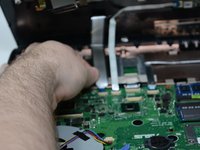
Remove the four connectors using your pry tool.
-
The keyboard will now be separated from the main computer.
-
-
-
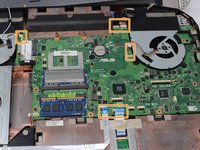
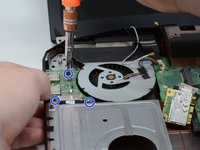
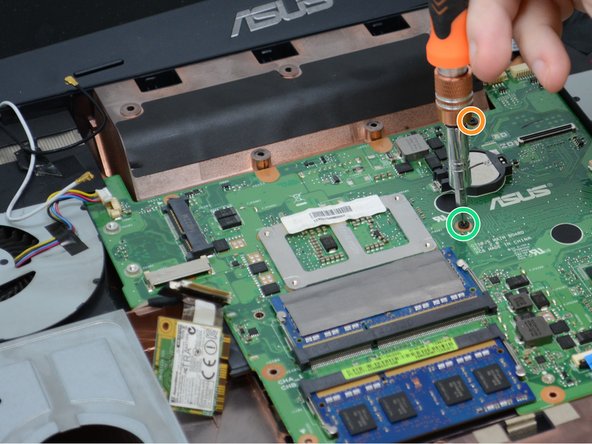
First, remove the two 7mm #2 Phillips screws circled in red to fold the silver plate over.
-
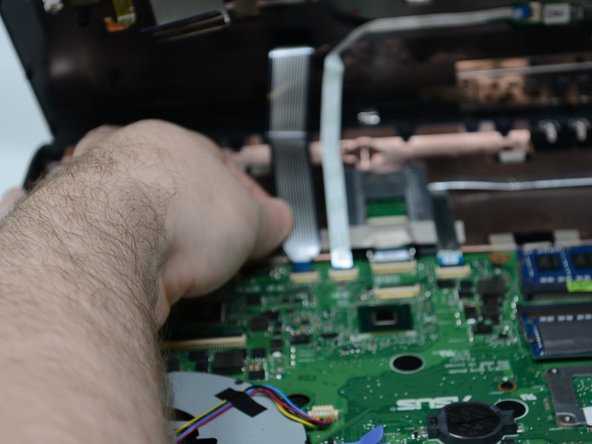
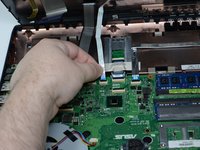
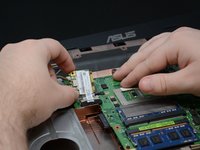
Remove all the connectors shown in the orange squares. You may need to use your plastic opening tool for the smaller ones.
-
-
-
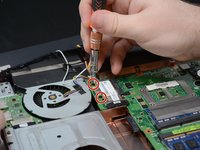
Remove the three #2 Phillips screws from the small wireless card located in the top left.
-
-
-
Remove the three #2 Phillips screws from the small power button card in the top right.
-
-
-
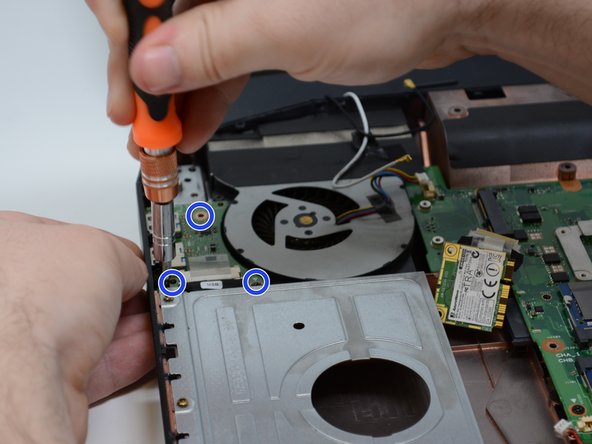
Remove the two #2 Phillips screws for the audio card located in the bottom right.
-
-
-
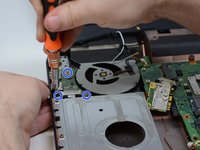
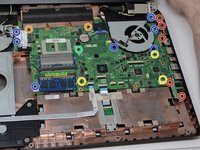
Remove all 8mm #2 Phillips screws .
-
Remove all 2mm #2 Phillips screws.
-
Remove all 3mm #2 Phillips screws.
-
Remove all 7mm #2 Phillips screws.
-
Remove all 4mm #2 Phillips screws.
-
-
-
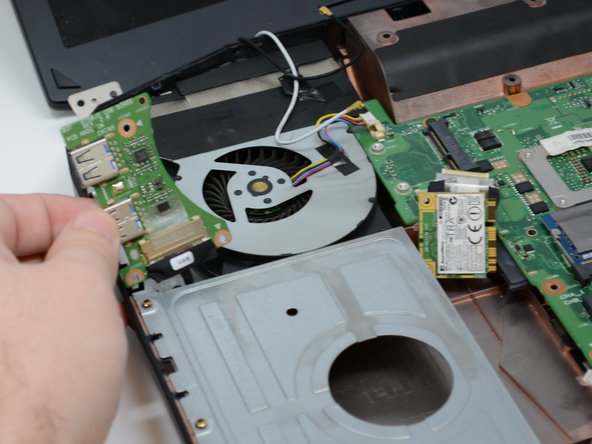
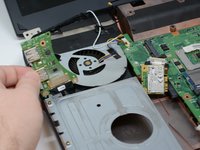
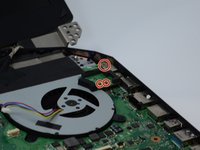
When all the screws are removed, pry up on the edges of the circuit board. You may need your plastic opening tool to access the edges.
-


To reassemble your device, follow these instructions in reverse order.
To reassemble your device, follow these instructions in reverse order.
Rückgängig: Ich habe diese Anleitung nicht absolviert.
3 weitere Personen haben diese Anleitung absolviert.
Team

Central Washington University, Team S1-G6, Pengilly Fall 2018 Mitglied von Central Washington University, Team S1-G6, Pengilly Fall 2018
CWU-PENGILLY-F18S1G6
3 Mitglieder
5 Anleitungen geschrieben