Einleitung
This guide will teach you how to disassemble the laptop for repairs that require the removal of the motherboard. This guide is required to replace the screen and speakers on the laptop.
Was du brauchst
-
-
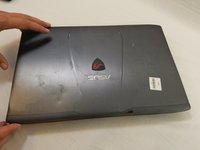
Flip the laptop over so the backside is facing upwards.
-
Using both hands, slide the lock mechanisms outwards and pull up to remove the battery.
-
-
-
Remove the nine 15.4mm Phillips #00 screws.
-
Remove the four 8.7mm Phillips #00 screws from the hard drive mounting bracket.
-
Remove the hard drive bracket.
There is another screw next to the A near the CPU heatsink and RAM that also needs to be taken out.
Additionally, there is a screw beneath the optical drive that attaches to the keyboard. While the laptop is upside down, slide the optical drive completely out, and remove the shallow screw near the lip of the chassis. This should be done prior to the next step of lifting the keyboard with a pry tool.
-
-
-
Flip laptop over and open the screen.
-
Wedge some plastic opening tools between the keyboard and case.
-
Work your way around with the plastic opening tools until the keyboard is separate from the case.
-
-
-
-
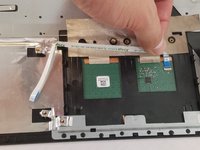
Remove the ZIF connected ribbon cables for the touchpad and keyboard by gently lifting the latch on the connector point, then slide the ribbon cable out. Repeat for each cable.
-
Verify all ribbon cables are disconnected and out of the way, and lift the keyboard out of the assembly.
-
-
-
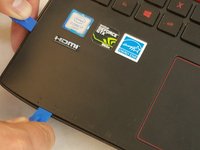
Remove the CD/DVD drive by sliding it out of the side of the laptop.
-
-
-
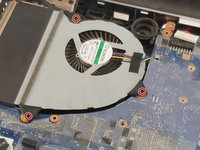
Remove the three 6.5mm Phillips #00 screws from the fan.
-
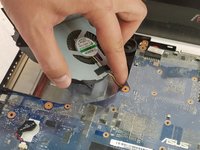
Disconnect the fan power cable from the motherboard.
-
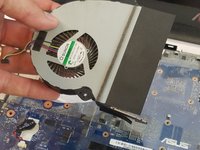
Remove the fan.
-
-
-
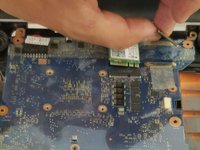
Gently remove the ribbon cables and wireless chip. A plastic prying tool will help in this removal.
-
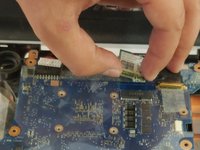
Remove the power cable for the motherboard.
-
Remove the power cable for the speaker.
i broke my ribbon cable when i was reconnecting it, is there a way to have a guide into how to repair that connection?
Once you’ve removed most of those lengths of cables, they are really only held on by some tape you could just by a new cable. However if you’re talking about the port that it connects to on the motherboard you'll need to get really handy with a hot work station or buy a new mother board.
-
-
-
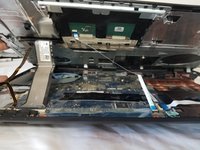
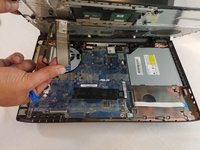
Ensuring no missed connections or screws, remove the motherboard from the assembly.
-


To reassemble your device, follow these instructions in reverse order.
To reassemble your device, follow these instructions in reverse order.
Rückgängig: Ich habe diese Anleitung nicht absolviert.
6 weitere Personen haben diese Anleitung absolviert.
Team

USF Tampa, Team S1-G2, Nance Spring 2018 Mitglied von USF Tampa, Team S1-G2, Nance Spring 2018
USFT-NANCE-S18S1G2
4 Mitglieder
8 Anleitungen geschrieben
2 Kommentare
How to assemble it again? I don't have much experience and will do it for the first time watching your guide. Thank you!!
Concerning Step 5, and I quote: "Remove the CD/DVD drive by sliding it out of the side of the laptop." This is shown after the removal of the cover.
Note: There is a cover screw under the outer edge of the drive for the cover. Therefore, the drive has to be removed first. This is how it is with my unit, anyway ...