Einleitung
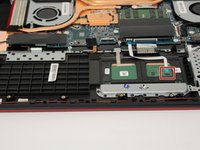
Track pads can go bad after repetitive use as well as any built up moisture, dust, or crumbs. You may need to replace your Asus TUF Gaming FX705G track pad if it is lagging, jammed, or disabled. Before you replace your track pad, check your owner’s manual, to ensure it is not a technical issue, and to take cautionary steps when working on the track pad.
Was du brauchst
-
-
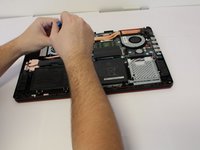
Use the iFixit opening tool to lift the back cover's seam, then insert the spudger parallel to the back cover and lift gently upward.
-
-
-
-
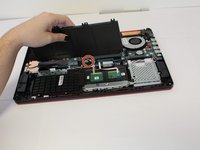
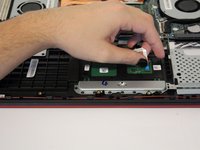
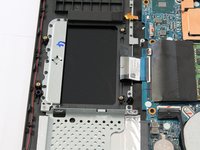
Disconnect the wire from the motherboard, and lift the battery from its housing.
-
-
-
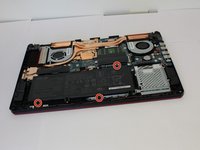
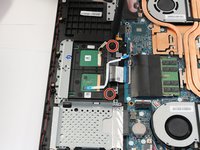
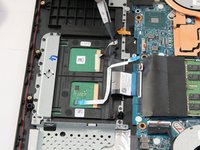
Use a Phillips #00 screwdriver to remove the two screws holding the track pad in place.
-
-
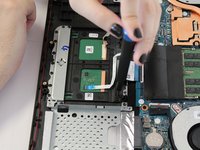
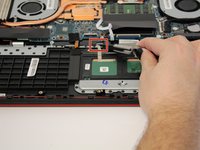
In diesem Schritt verwendetes Werkzeug:Tweezers$4.99
-
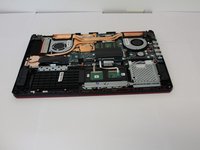
Take the ground wire ribbon and pry it off of the motherboard housing with tweezers.
-
-
-
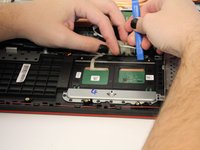
Use the iFixit opening tool to pry the track pad up slightly at the top and pull the latch at the top to free the track pad.
-
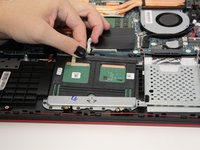
Slide the track pad up and out of the housing unit.
-


To reassemble your device, follow these instructions in reverse order.
To reassemble your device, follow these instructions in reverse order.
Rückgängig: Ich habe diese Anleitung nicht absolviert.
Eine weitere Person hat diese Anleitung absolviert.
Team

Grand Valley State University, Team S4-G5, DeVasto Fall 2019 Mitglied von Grand Valley State University, Team S4-G5, DeVasto Fall 2019
GVSU-DEVASTO-F19S4G5
4 Mitglieder
6 Anleitungen geschrieben