Zum Hauptinhalt wechseln

Asus Transformer Book T100TAM-C1 USB Input Replacement

Was du brauchst

  1. Asus Transformer Book T100TAM-C1 USB Input Replacement, USB Input: Schritt 1, Bild 1 von 1
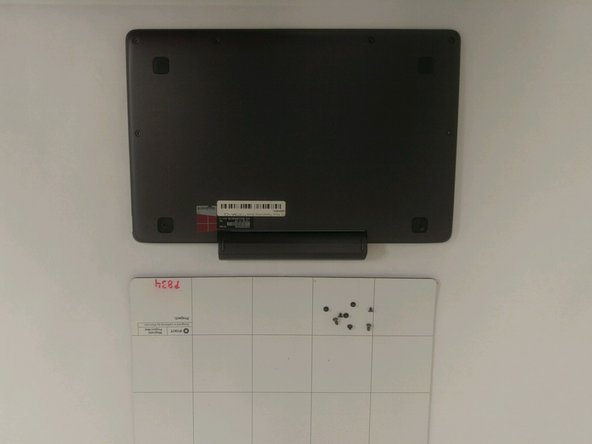
    • Remove the tablet portion of the device from the keyboard by pushing on the silver button located at the base of the tablet and lifting up on the tablet.

  2. Asus Transformer Book T100TAM-C1 USB Input Replacement: Schritt 2, Bild 1 von 1
    • Use the plastic opening tool to remove both of the top corner pads.

  3. Asus Transformer Book T100TAM-C1 USB Input Replacement: Schritt 3, Bild 1 von 2 Asus Transformer Book T100TAM-C1 USB Input Replacement: Schritt 3, Bild 2 von 2
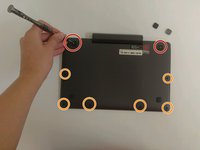
    • Remove two 5mm Phillips #0 screws on the top corners.

    • Remove four 2.5mm Phillips #0 screws on the top corners.

  4. Asus Transformer Book T100TAM-C1 USB Input Replacement: Schritt 4, Bild 1 von 1
    • Use the pick and pry apart the keyboard.

  5. Asus Transformer Book T100TAM-C1 USB Input Replacement: Schritt 5, Bild 1 von 1
    • Use the size 0 Phillips screwdriver and remove the nine screws from the back panel. The four you need to remove across the top are 3mm and the four across the bottom are 2.5mm.

    • The screw in the top right, shown where the screwdriver is, is a 5mm screw.

  6. Asus Transformer Book T100TAM-C1 USB Input Replacement: Schritt 6, Bild 1 von 2 Asus Transformer Book T100TAM-C1 USB Input Replacement: Schritt 6, Bild 2 von 2
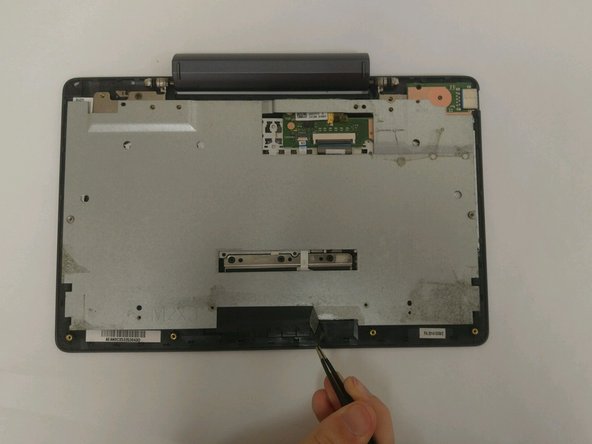
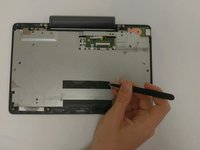
    • Use tweezers and remove the black tape from the back panel.

  7. Asus Transformer Book T100TAM-C1 USB Input Replacement: Schritt 7, Bild 1 von 1
    • Remove the metal back panel from the keyboard.

  8. Asus Transformer Book T100TAM-C1 USB Input Replacement: Schritt 8, Bild 1 von 3 Asus Transformer Book T100TAM-C1 USB Input Replacement: Schritt 8, Bild 2 von 3 Asus Transformer Book T100TAM-C1 USB Input Replacement: Schritt 8, Bild 3 von 3
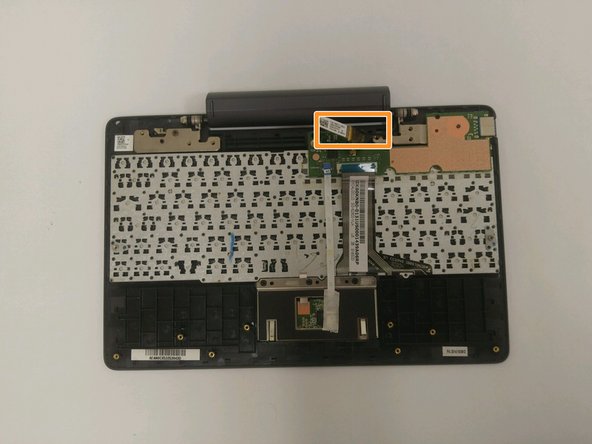
    • Flip the connectors back to release the wires

    • Take the white tab and gently pull it to the right in order to release the connecting piece.

  9. Asus Transformer Book T100TAM-C1 USB Input Replacement: Schritt 9, Bild 1 von 1
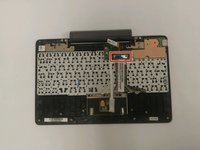
    • Remove the screw from the green plate.

    • Once all of the screws are out, remove the plate.

  10. Asus Transformer Book T100TAM-C1 USB Input Replacement: Schritt 10, Bild 1 von 1
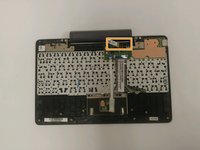
    • Place soldering tool on each of the four connecting pieces in the corner until each becomes unattached.

    • Remove old USB input and replace with the new one.

Abschluss

To reassemble your device, follow these instructions in reverse order.

Brody Moore

Mitglied seit: 09/06/18

807 Reputation

7 Anleitungen geschrieben

Team

Ohio State, Team S1-G2, Whitney Fall 2018 Mitglied von Ohio State, Team S1-G2, Whitney Fall 2018

OSU-WHITNEY-F18S1G2

2 Mitglieder

7 Anleitungen geschrieben

0 Kommentare

Kommentar hinzufügen

Seitenaufrufe:

Letzte 24 Stunden: 3

Letzte 7 Tage: 6

Letzte 30 Tage: 17

Insgesamt: 279