Einleitung
This guide will take you step by step in disassembling your laptop to access your motherboard. The process is quite involved as you will need to remove all other components surrounding it.
Was du brauchst
-
-
Locate the battery locking tabs on the upper right and left corner.
-
Press the tabs in towards each other.
-
-
-
-
Use a plastic opening tool around the entire edge.
-
Separate the case from the keyboard.
-
-
-
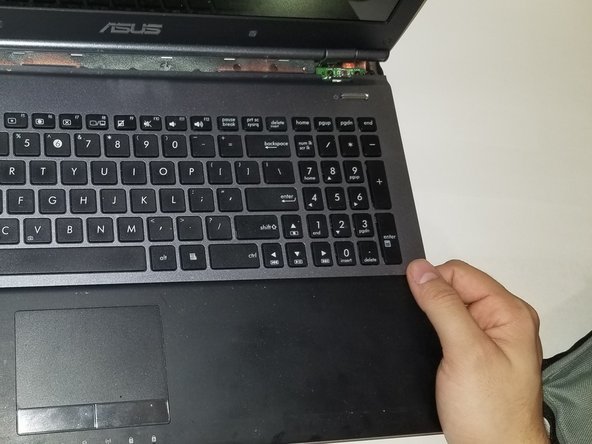
Using both hands, pull the keyboard back and out, fully separating the keyboard from the laptop.
-
-
-
Using a plastic opening tool, separate the optical drive from the laptop frame.
-
-
-
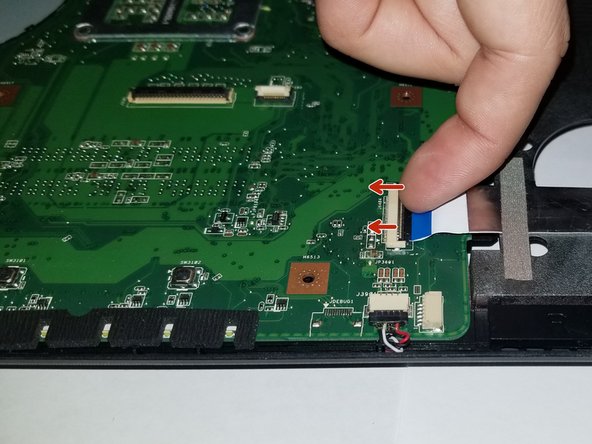
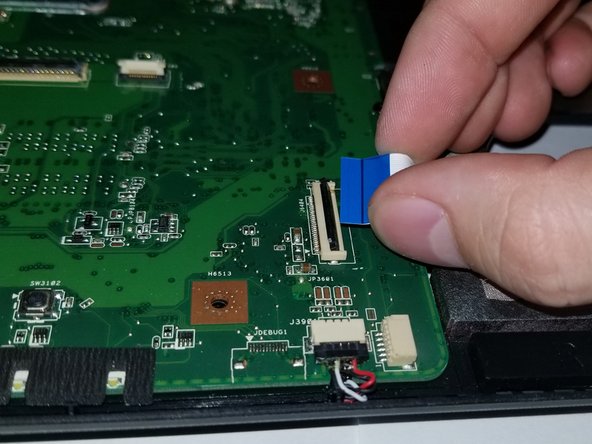
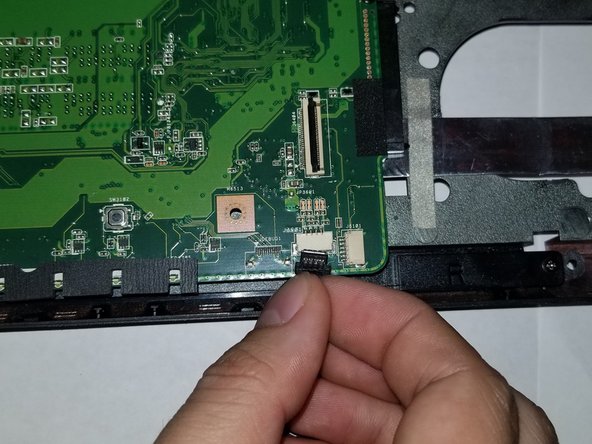
Lift up the ribbon cable connector on the bottom right corner.
-
Gently pry the cable away from the connection.
-
-
-
Remove the 4 pronged connection on the bottom right corner of the motherboard.
-
-
-
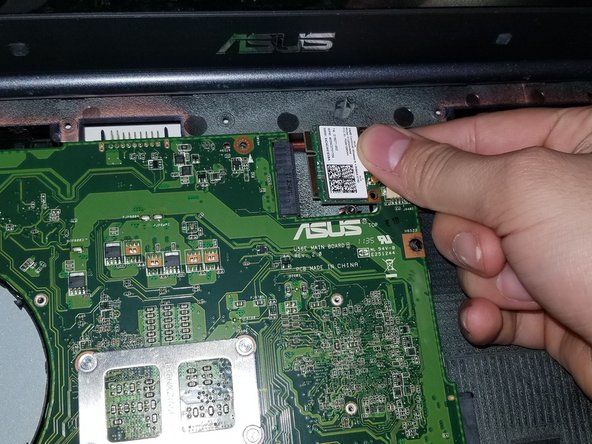
Using a Phillips #0 screwdriver, remove the two screws.
-
Holding the board firmly with two fingers, pull outward, disconnecting it from the contacts.
-
-
-
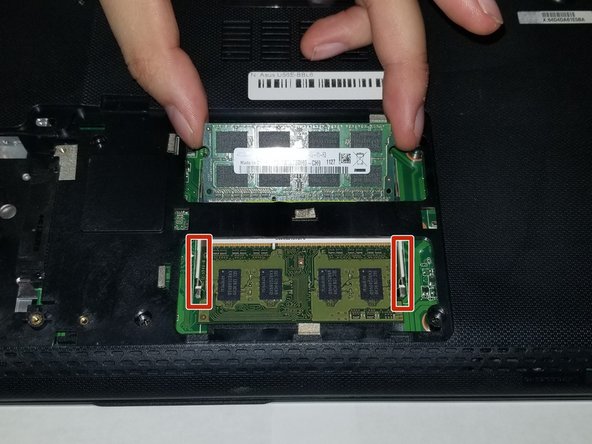
Repeat the previous step and remove the two wired connection next to the card.
-


To reassemble your device, follow these instructions in reverse order.
To reassemble your device, follow these instructions in reverse order.
Rückgängig: Ich habe diese Anleitung nicht absolviert.
Ein:e weitere:r Nutzer:in hat diese Anleitung absolviert.
Team

UMass Dartmouth, Team S2-G8, Peak Fall 2018 Mitglied von UMass Dartmouth, Team S2-G8, Peak Fall 2018
UMASSD-PEAK-F18S2G8
3 Mitglieder
6 Anleitungen geschrieben