Einleitung
If you have followed a troubleshooting guide and determined that the power button on your Asus VivoBook E203MA-TBCL432B is broken, this guide will help you replace it. For this replacement guide, all you will need is a Phillips #0 screwdriver and a plastic opening tool to remove the back panel.
Was du brauchst
-
-
Position the laptop so that the bottom panel is facing upwards, the hinge is away from you, and the ASUS logo is against the table.
-
-
-
Use a Phillips #0 screwdriver to remove the eight 5 mm screws on the back panel.
-
Remove the two 7 mm Phillips #0 screws.
-
-
-
-
Insert the iFixit opening tool in between the back panel and the rest of the laptop.
-
With the iFixit opening tool, lift the panel from the laptop body. Work your way around the device creating separation with the tool.
-
Once there is enough separation between the back panel and the device, gently pull off the back panel with your hands and completely remove it.
-
-
-
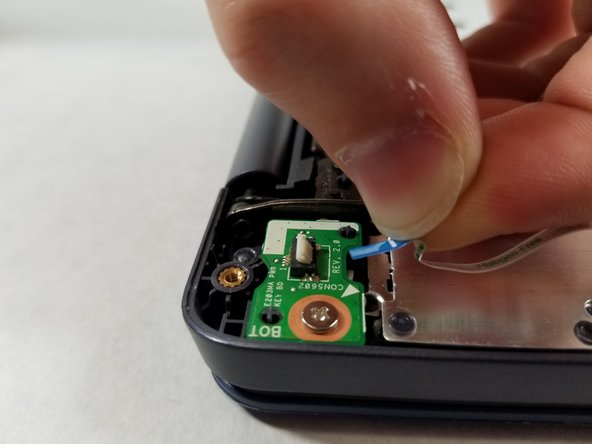
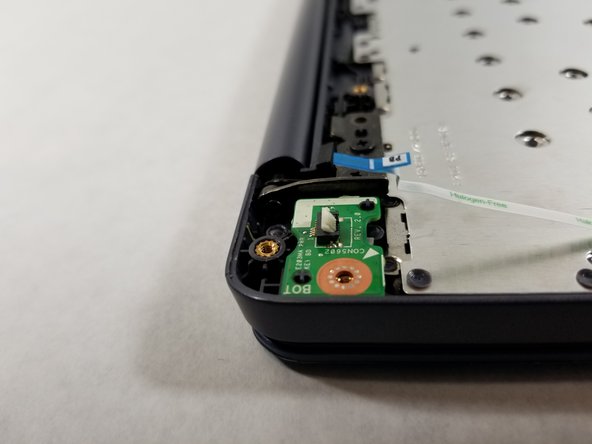
Remove the single connector by first pulling back the white tab and then pulling the connector out with the blue tab.
-


To reassemble your device, follow these instructions in reverse order.
To reassemble your device, follow these instructions in reverse order.
Team

UMass Dartmouth, Team S8-G1, Bailey Spring 2019 Mitglied von UMass Dartmouth, Team S8-G1, Bailey Spring 2019
UMASSD-BAILEY-S19S8G1
3 Mitglieder
6 Anleitungen geschrieben