Einleitung
If your fan is either broken or not running correctly, use this guide to replace it. This repair can be completed by one person using a PH1 Philips Head Screwdriver. Keep in mind that the Asus Vivobook S500CA uses a specific model fan, which must be acquired before beginning this replacement.
Was du brauchst
-
-
Use a Phillips Head PH1 screwdriver to remove 10 screws around the perimeter of the back plate.
-
-
-
-
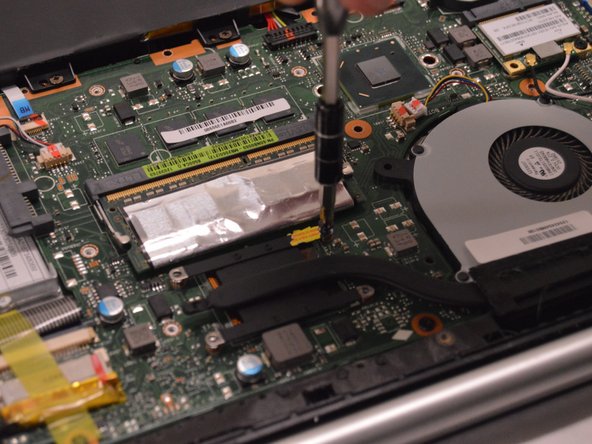
Remove 2 (.5 cm) Phillips Head screws found around the fan and 4 (.3 cm) Phillips Head screws found around the heat sink connector.
-
-
-
Unhook the electronic connection located above the fan by pulling the white connector straight out of the brown socket.
-
-
-
Remove the fan and connected heat sink by lifting straight out of the assembly.
-


To reassemble your device, follow these instructions in reverse order.
To reassemble your device, follow these instructions in reverse order.
Rückgängig: Ich habe diese Anleitung nicht absolviert.
Ein:e weitere:r Nutzer:in hat diese Anleitung absolviert.
Team

Western Carolina University, Team 1-3, Virtue Spring 2017 Mitglied von Western Carolina University, Team 1-3, Virtue Spring 2017
WCU-VIRTUE-S17S1G3
4 Mitglieder
5 Anleitungen geschrieben