Zum Hauptinhalt wechseln
Gemeinsam reparieren - Jetzt registrieren

Asus X751MA-DH01TQ Web Cam Replacement

Was du brauchst

  1. Asus X751MA-DH01TQ  Web Cam Replacement, Web Cam: Schritt 1, Bild 1 von 2 Asus X751MA-DH01TQ  Web Cam Replacement, Web Cam: Schritt 1, Bild 2 von 2
    • Turn the laptop upside down and locate the ten screws that hold the plate cover.

    • Remove all ten screws using a 00 Phillips head screwdriver.

    Frag FixBot

    Kommentar hinzufügen

  2. Asus X751MA-DH01TQ  Web Cam Replacement: Schritt 2, Bild 1 von 2 Asus X751MA-DH01TQ  Web Cam Replacement: Schritt 2, Bild 2 von 2
    • Using the plastic opening tool, pry the keyboard off of the base of the laptop.

    • Lift up and remove the keyboard.

    Frag FixBot

    Kommentar hinzufügen

  3. Asus X751MA-DH01TQ  Web Cam Replacement: Schritt 3, Bild 1 von 3 Asus X751MA-DH01TQ  Web Cam Replacement: Schritt 3, Bild 2 von 3 Asus X751MA-DH01TQ  Web Cam Replacement: Schritt 3, Bild 3 von 3
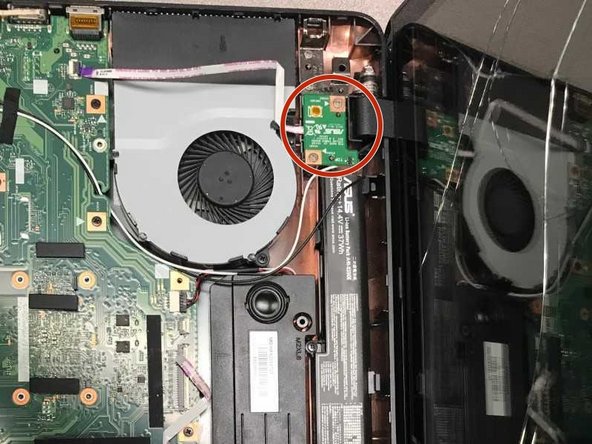
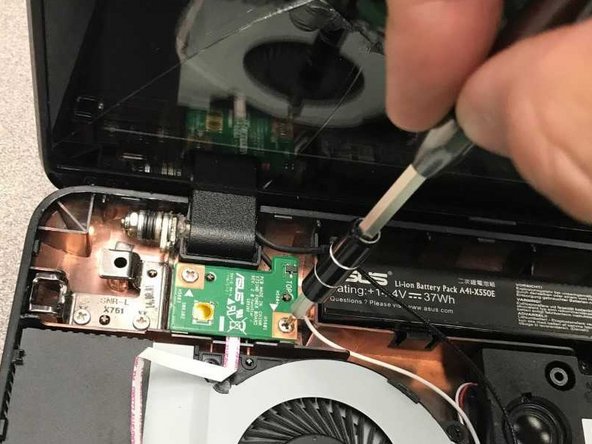
    • Remove eight 4.4 Phillips #00 screws attached to the hinge.

    • Hold the screen so it wont fall over.

    Frag FixBot

    Kommentar hinzufügen

  4. Asus X751MA-DH01TQ  Web Cam Replacement: Schritt 4, Bild 1 von 3 Asus X751MA-DH01TQ  Web Cam Replacement: Schritt 4, Bild 2 von 3 Asus X751MA-DH01TQ  Web Cam Replacement: Schritt 4, Bild 3 von 3
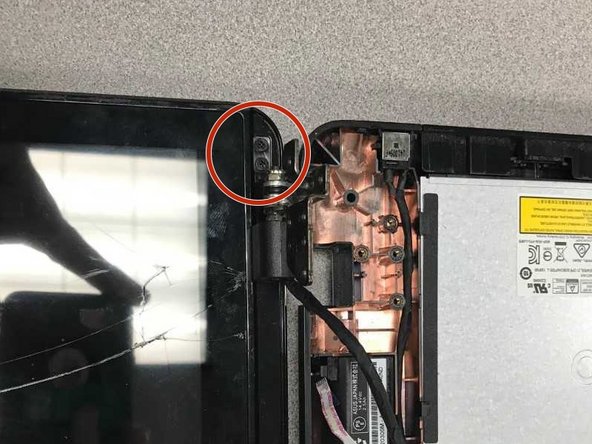
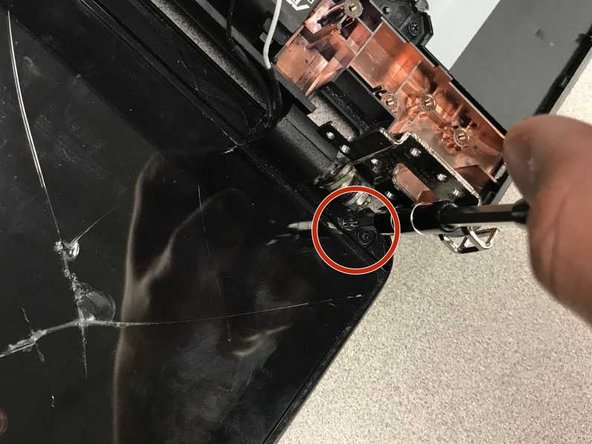
    • Remove the stickers from the bottom left and right corners of the screen.

    • Use a 00 Phillips head screw driver to remove the four screws.

    Frag FixBot

    Kommentar hinzufügen

  5. Asus X751MA-DH01TQ  Web Cam Replacement: Schritt 5, Bild 1 von 1
    • Use the plastic opening tool to take the screen apart.

    Frag FixBot

    Kommentar hinzufügen

  6. Asus X751MA-DH01TQ  Web Cam Replacement: Schritt 6, Bild 1 von 2 Asus X751MA-DH01TQ  Web Cam Replacement: Schritt 6, Bild 2 von 2
    • Remove the two 4mm Phillips #00 screws attached to the webcam.

    Frag FixBot

    Kommentar hinzufügen

  7. Asus X751MA-DH01TQ  Web Cam Replacement: Schritt 7, Bild 1 von 3 Asus X751MA-DH01TQ  Web Cam Replacement: Schritt 7, Bild 2 von 3 Asus X751MA-DH01TQ  Web Cam Replacement: Schritt 7, Bild 3 von 3
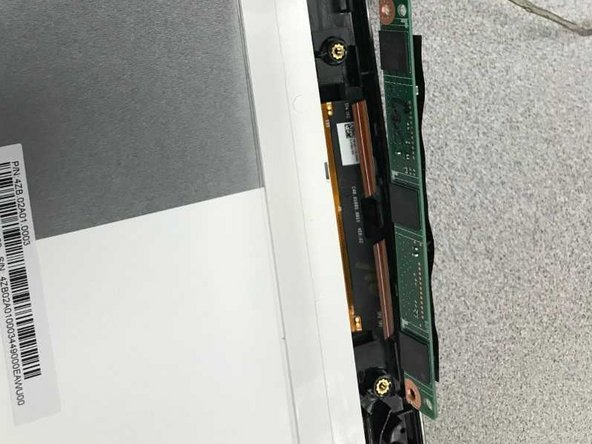
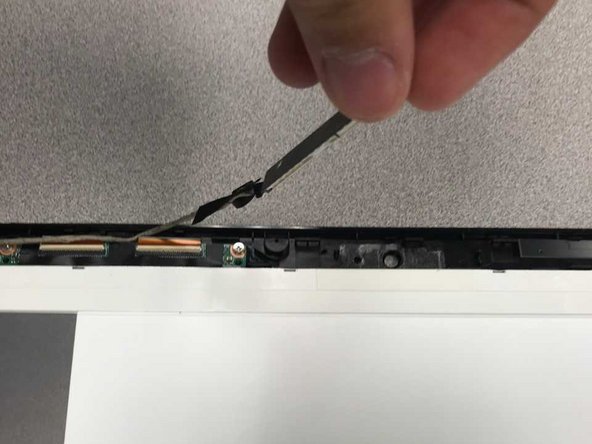
    • Slowly pull up the webcam out of its slot, and begin to remove the wire.

    Frag FixBot

    Kommentar hinzufügen

  8. Asus X751MA-DH01TQ  Web Cam Replacement: Schritt 8, Bild 1 von 2 Asus X751MA-DH01TQ  Web Cam Replacement: Schritt 8, Bild 2 von 2
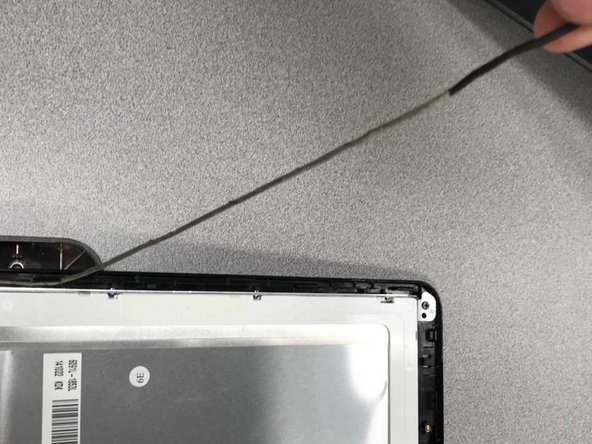
    • Continue to unravel the wire and peel the webcam wire sticker off.

    Frag FixBot

    Kommentar hinzufügen

  9. Asus X751MA-DH01TQ  Web Cam Replacement: Schritt 9, Bild 1 von 2 Asus X751MA-DH01TQ  Web Cam Replacement: Schritt 9, Bild 2 von 2
    • Once the sticker is peeled off pull the plug holding the webcam into the circuit board and the webcam is now disconnected.

    Frag FixBot

    Kommentar hinzufügen

Abschluss

To reassemble your device, follow these instructions in reverse order.

Rückgängig: Ich habe diese Anleitung nicht absolviert.

0 Kommentare zur Anleitung

Kommentar hinzufügen

Seitenaufrufe:

Letzte 24 Stunden: 2

Letzte 7 Tage: 4

Letzte 30 Tage: 19

Insgesamt: 429