Diese Version enthält möglicherweise inkorrekte Änderungen. Wechsle zur letzten geprüften Version.
Was du brauchst
-
Dieser Schritt ist noch nicht übersetzt. Hilf mit, ihn zu übersetzen!
-
Using a T4 Torx screwdriver, unscrew the ten screws lining the bottom cover. Then, proceed to remove the bottom cover by sliding it out parallel toward the back of the computer.
-
There are two length of screws. Eight screws are 3mm and two are 5mm. The two 5mm screws always go into the two center holes along the back edge.
-
-
Dieser Schritt ist noch nicht übersetzt. Hilf mit, ihn zu übersetzen!
-
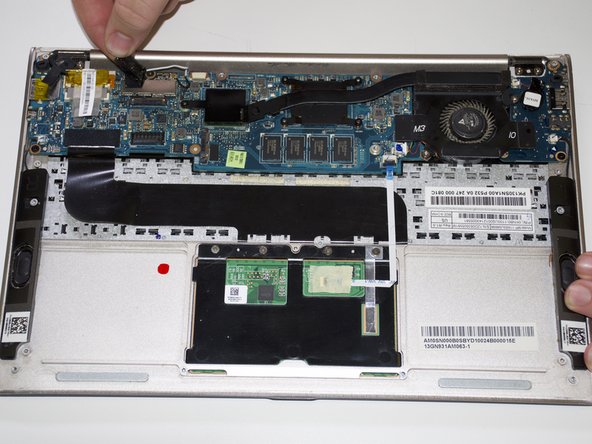
Using an iFixit opening tool and your other hand, gently lift the connector up from the tape wrapped around the connector wires and pry the connector from the motherboard.
-
-
Dieser Schritt ist noch nicht übersetzt. Hilf mit, ihn zu übersetzen!
-
Remove the battery by unscrewing the five 3mm screws using a Phillips #1 screwdriver.
-
-
-
Dieser Schritt ist noch nicht übersetzt. Hilf mit, ihn zu übersetzen!
-
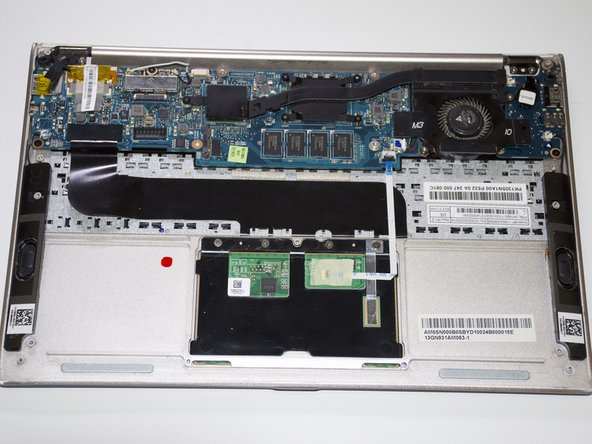
Lift the battery directly up and remove it from the device.
-
-
Dieser Schritt ist noch nicht übersetzt. Hilf mit, ihn zu übersetzen!
-
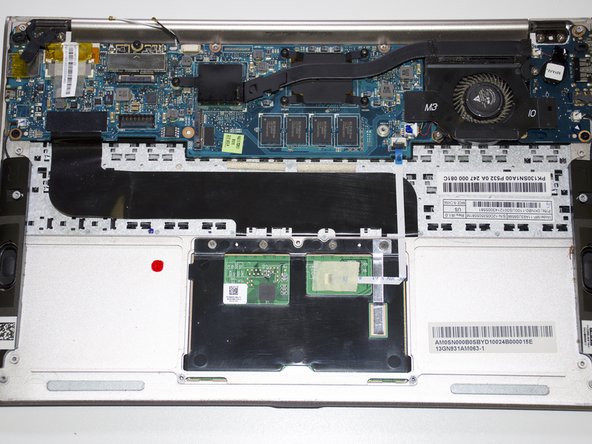
Remove black tape cover from WiFi Card by peeling it off.
-
-
Dieser Schritt ist noch nicht übersetzt. Hilf mit, ihn zu übersetzen!
-
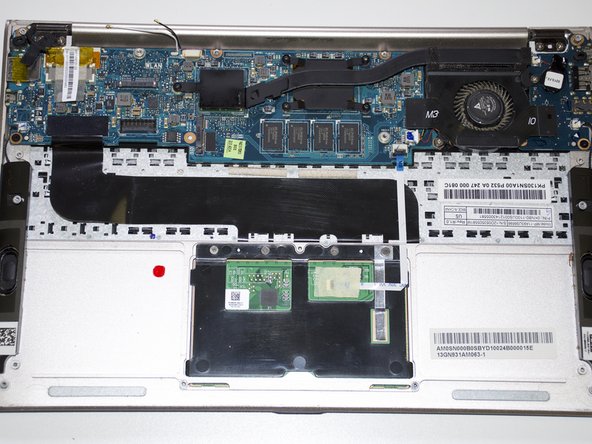
Lift up the black and white connecting cable. Move the cables out of way to clear space.
-
-
Dieser Schritt ist noch nicht übersetzt. Hilf mit, ihn zu übersetzen!
-
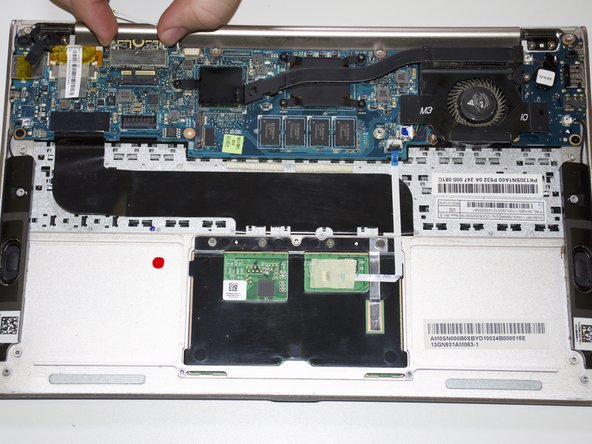
Unscrew the single 3mm with a Phillips #1 screwdriver at the front end of the WiFi card slot.
-
Remove the WiFi card by sliding the card parallel to the device toward the screen edge of the device. Once clear of the slot, lift up the WiFi card and remove it from the device.
-


Rückgängig: Ich habe diese Anleitung nicht absolviert.
2 weitere Nutzer:innen haben diese Anleitung absolviert.
Team

Cal Poly, Team S22-G1, Maness Spring 2018 Mitglied von Cal Poly, Team S22-G1, Maness Spring 2018
CPSU-MANESS-S18S22G1
3 Mitglieder
5 Anleitungen geschrieben