Einleitung
This guide will show you how to replace the motherboard of the Asus Zenbook UX31A. This may be necessary if you encounter problems with the RAM, which is soldered on and if you have problems with the computer constantly freezing or running very slowly.
The motherboard is responsible for the communication between the different pieces of hardware within the computer. If the motherboard is faulty or broken, it may lead to constant freezing and lag.
Before following this guide, make sure to run a virus or malware check. This will ensure that your issues are not caused by software issues. Also, make sure to check for driver updates as these may also cause lag or freezing. Lastly, make sure to check if your computer is overheating. If it is overheating, try cleaning out your computer vents and fan with an ESD safe brush and compressed air.
Before you proceed, make sure to power the computer all the way down and disconnect the charging cable. Replacing the motherboard will require the removal of many other parts within the computer, so be careful to avoid damaging them and do not stack them on top of each other.
Was du brauchst
-
-
Use a T6 screwdriver to remove the ten 6 mm case screws.
-
The two screws adjacent to the device serial number stamps are longer than the others. These two screws run about 11 mm long.
-
Remove the back cover from the laptop.
-
-
-
Use a Phillips #00 screwdriver to remove the three 7 mm screws that secure the battery.
-
-
-
Unplug the bundled battery connector from the motherboard by gently pulling the cable up.
-
-
-
Use a T6 screwdriver to remove the ten 6 mm case screws.
-
The two screws adjacent to the device serial number stamps are longer than the others. These two screws run about 11 mm long.
-
-
-
-
Use a Phillips #00 screwdriver to remove the two 6 mm screws that secure the Wi-Fi card.
-
-
-
Gently pull the the Wi-Fi card from the motherboard.
-
Disconnect the white and black wire by gently pulling each one up.
-
-
-
Unclip both ZIF connector tabs by lifting the black tab up and away from the connector.
-
Remove the bridge connector.
-
-
-
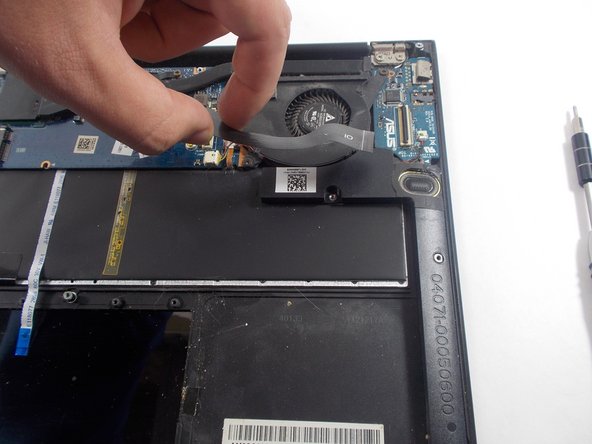
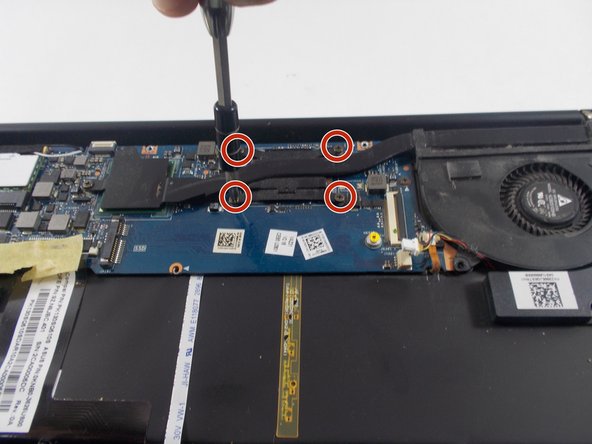
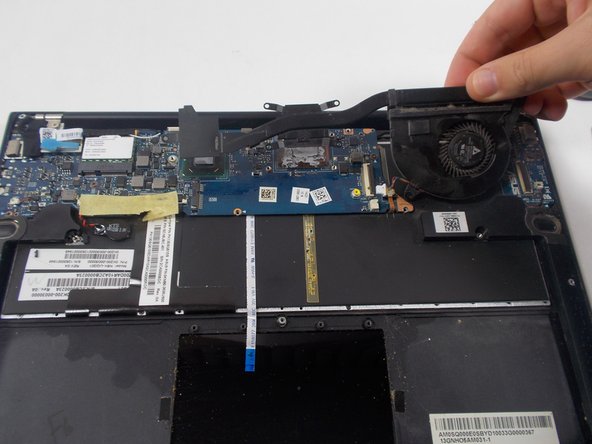
Use a Phillips #00 screwdriver to remove all seven 6 mm screws that secure the fan and heatsink.
-
-
-
Disconnect the fan connector by puling on it horizontally until it disconnects.
-
Remove the fan.
-
-
-
Disconnect the bundled connectors by pulling the cable away from the connector in the same direction that the individual wires are running.
-
Disconnect the ZIF connector by using the tip of the spudger tool or your fingernail to lift the locking tab. Then, gently pull the cable out.
-
-
-
To disconnect the display connector, use the iFixit opening tool and pry the connector up and away from the board.
-
-
-
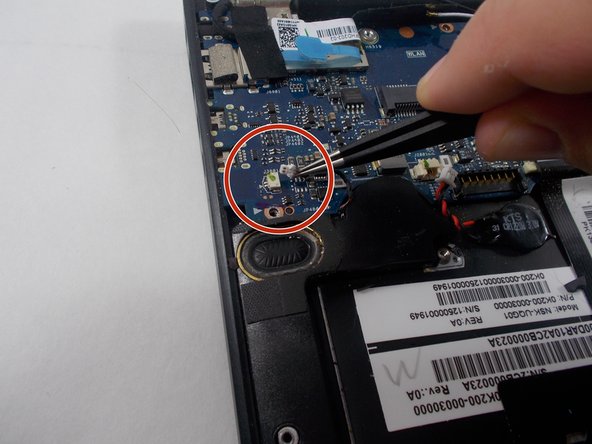
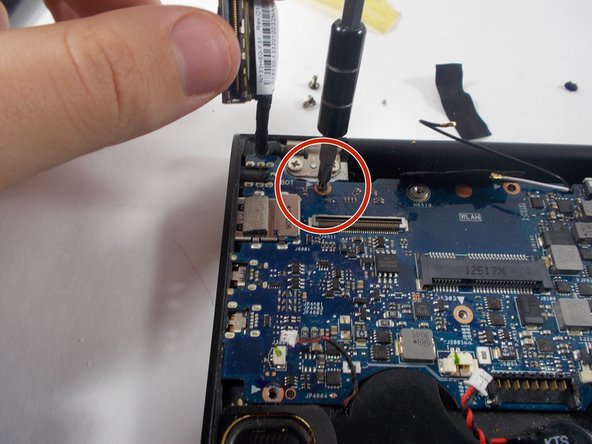
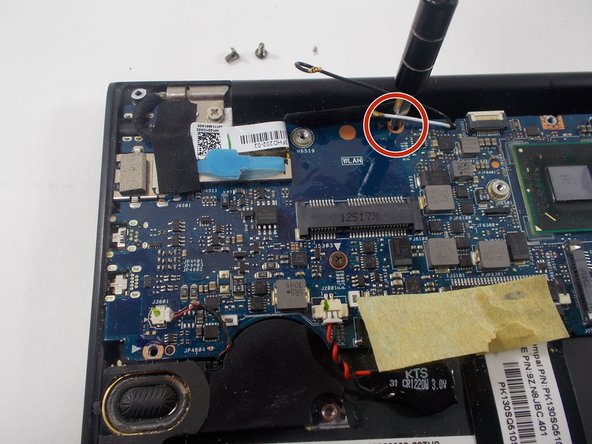
Use a Phillips #00 screwdriver to remove the four 6 mm screws that hold the motherboard in place.
-
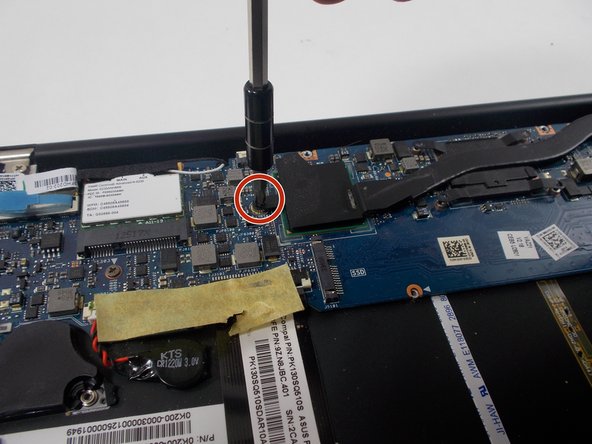
Use a Phillips #000 screwdriver to remove the single 4 mm screw.
-








To reassemble your device, follow these instructions in reverse order.
To reassemble your device, follow these instructions in reverse order.
Rückgängig: Ich habe diese Anleitung nicht absolviert.
Ein:e weitere:r Nutzer:in hat diese Anleitung absolviert.



Team

UMass Dartmouth, Team 7-1, Sinclaire Spring 2022 Mitglied von UMass Dartmouth, Team 7-1, Sinclaire Spring 2022
UMASSD-SINCLAIRE-S22S7G1
5 Mitglieder
8 Anleitungen geschrieben
