Einleitung
This guide will show you how to replace the LCD and touch screen of your Asus Zenfone 3 Max (Model identification: ZC520TL). You may need this guide if your screen display is damaged or if your screen is cracked and you want to replace it with a new one.
Was du brauchst
-
-
Locate the SIM card slot on the upper left side of your Asus Zenfone Max 3.
-
-
-
Use the iFixit 150mm Flex Extension with the Hex 0.7 bit or the SIM card eject tool.
-
Stick the tool into the hole on the SIM card slot and open the slot with it.
-
-
-
Using an iFixit opening tool, gently wedge the tool between the phone and the back casing.
-
Move the opening tool up and down to pry the back off of the device.
-
-
-
-
Gently disconnect the gold connection cable indicated by the red circle in the corresponding picture.
-
Pull back on the black adhesive tab that is adhered to the top of the battery. Tab removal is marked in the corresponding picture with a orange circle.
-
-
-
Next, remove the battery by gently pulling on the blue removal tab located at the bottom of the device battery.
-
Completely remove existing device battery.
-
-
-
Remove the two 2.5mm Phillips #0 screws located in the upper corners of the device indicated with red circles.
-
After both screws have been removed, detach the white plastic internal panel completely from the device.
-
-
-
Next, remove the four 2.5mm Phillips #0 screws surrounding the motherboard component.
-
Following the removal of all four screws, carefully detach the two device cables at the bottom of the motherboard component using the nylon spudger.
-
Next, disconnect the remaining component cable using the same technique described in the previous step.
-
-
-
Carefully grip the motherboard and gently lift and remove it from the internal device casing.
-
-
-
Remove the SIM card tray fully. Refer to SIM card replacement guide for steps.
-
Refer to the back cover replacement guide to remove the back cover fully.
-
Refer to the battery replacement guide to remove the battery.
-
-
-
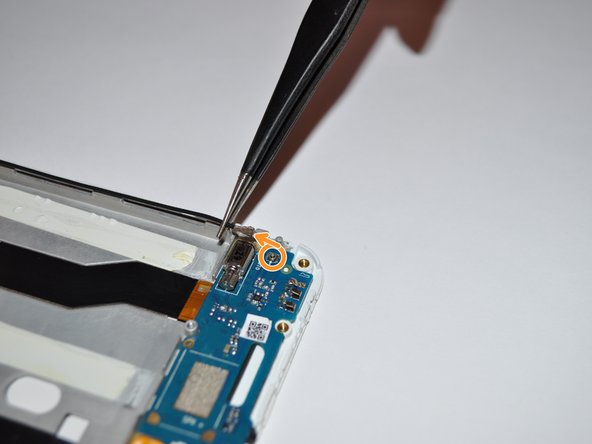
Remove the four 2.5mm Phillips #0 screws at the bottom near the speaker and take the small black plastic cover off.
-
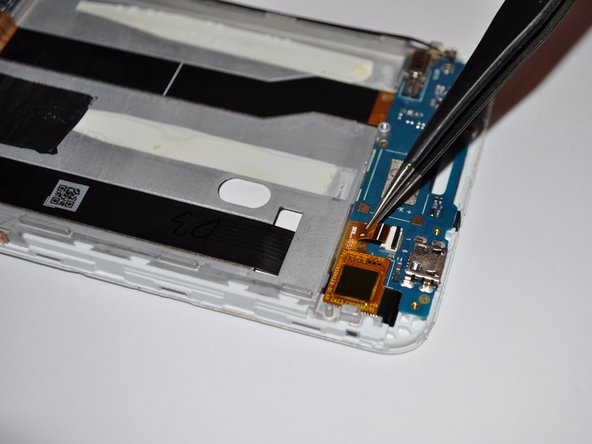
Starting at the bottom, disconnect the antenna (long black wire).
-
Disconnect the tan component.
-
-
-
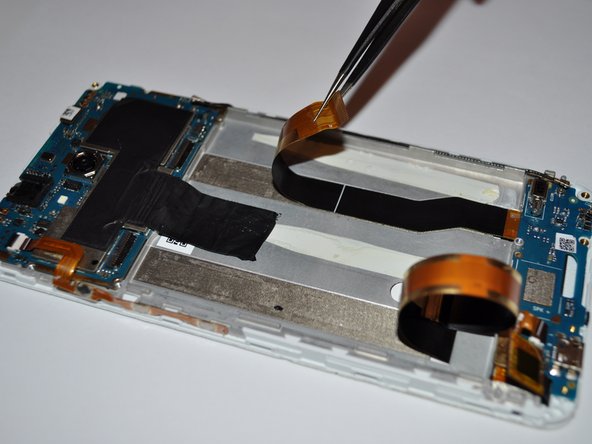
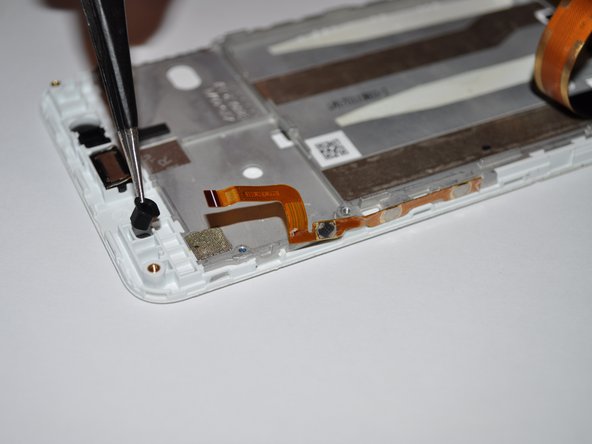
Starting from the top of the phone, disconnect the black screen flex cable (the one that is rectangular). Peel it all the way back.
-
Again starting from the top of the phone, disconnect the charging port flex cable (the other black cable) and microphone button. Peel it all the way back.
-
-
-
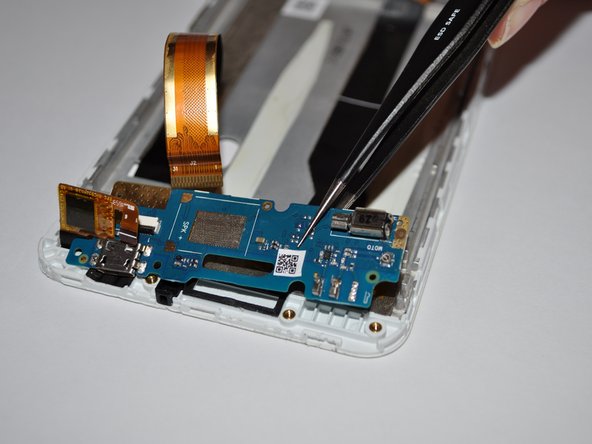
Remove the four 2.5mm Phillips #0 screws that hold the motherboard and remove the motherboard. Follow our motherboard replacement guide.
-
Remove the (blue) daughterboard. The charging port flex cable will come with it.
-
Be careful when removing the daughterboard. It is thin and adhered very solidly to the screen.
-
Move the rubber piece (denoted with orange circles) from the old port to your new LCD assembly.
-


To reassemble your device, follow these instructions in reverse order.
To reassemble your device, follow these instructions in reverse order.
Rückgängig: Ich habe diese Anleitung nicht absolviert.
Ein:e weitere:r Nutzer:in hat diese Anleitung absolviert.