Einleitung
This is a guide on how to replace a ATMega328P microcontroller (Code: X000048) on an Arduino UNO R3 Board (Model: EL-CB-001, Code: A000066). This guide does not require any specialized skills or knowledge.
The ATMega328P processes the instructions in C from the Arduino IDE. If damaged, the code cannot be executed. Fortunately, replacing the microcontroller is a simple and uncomplicated process. Before starting the repair, please unplug the the Arduino board from the USB.
Was du brauchst
-
-
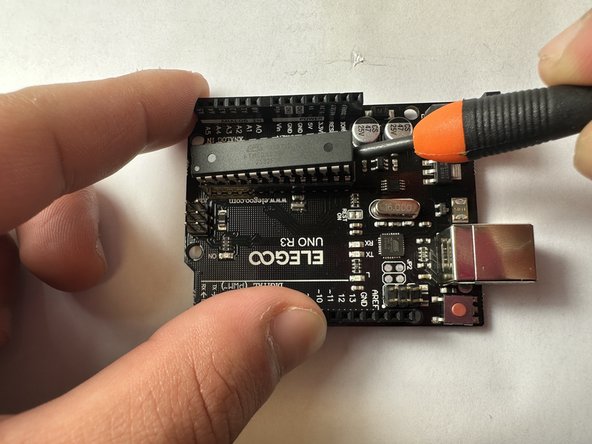
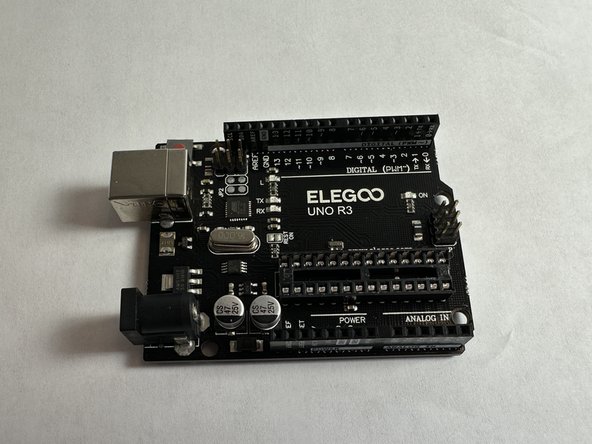
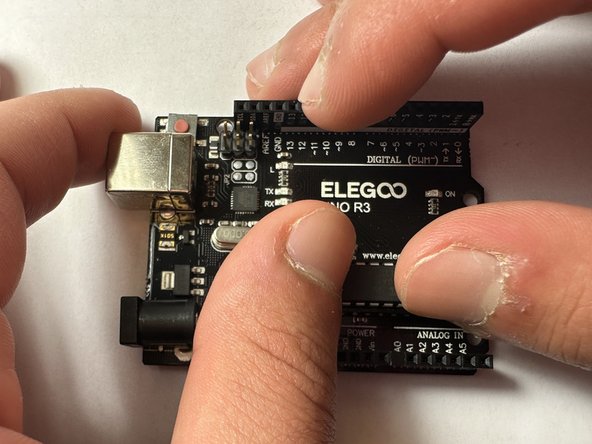
Place the Arduino UNO R3 board on a flat clean surface.
-
-
-
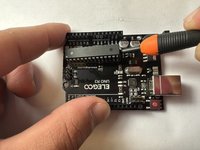
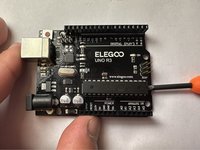
On the right side of board, position a nylon spudger in between the microcontroller and the dip socket, and gently lift upwards to pry it out.
-
-
-
-
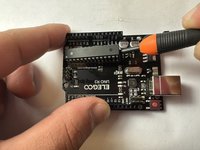
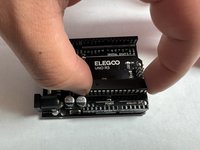
Repeat steps 2 and 3 until the microcontroller is loose enough to remove out of the socket.
-
-
-
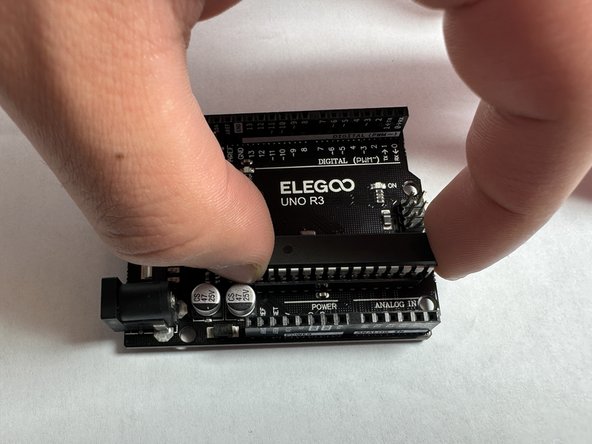
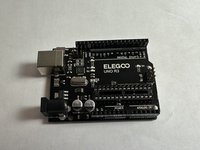
If needed, straighten the pins of the replacement microcontroller and place it directly over the dip socket.
-


To reassemble your device, follow these instructions in reverse order.
Rückgängig: Ich habe diese Anleitung nicht absolviert.
2 weitere Personen haben diese Anleitung absolviert.
Team

UC Davis, Team 5-5, Morris Winter 2023 Mitglied von UC Davis, Team 5-5, Morris Winter 2023
UCD-MORRIS-W23S5G5
2 Mitglieder
2 Anleitungen geschrieben