Einleitung
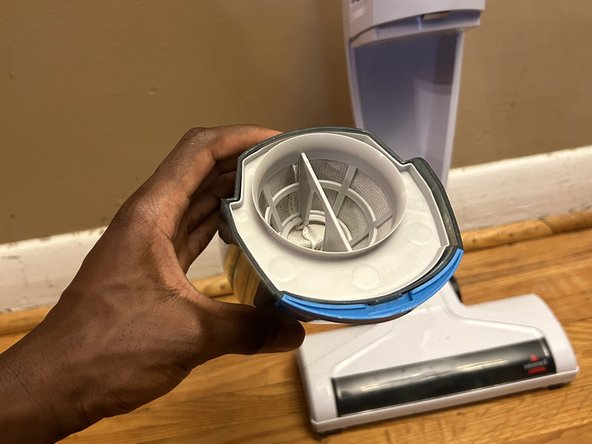
This guide will show you how to replace the filter and empty the dirt container on a BISSELL 3-in-1 Turbo Lightweight Stick Vacuum (2610C). To keep your vacuum in good working order and your carpet clean, it is recommended that you replace the filter every 3 months. Replacing the filter regularly improves the suction power of vacuum cleaner and should extend the life of the machine.
Between filter replacements, it's important to wash the filter. Let it air dry completely before placing it back in the machine for use.
Was du brauchst
-
-
-
Place the bottom half of the dust bin back, then push the top in until you hear a click.
-


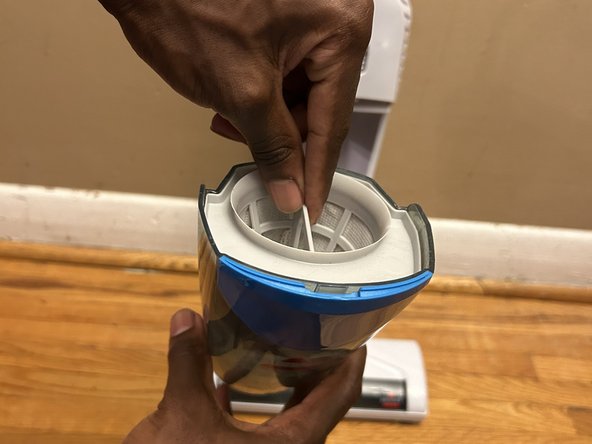


Once this is done, you are free to use!
Once this is done, you are free to use!

Team

York University, Team 2-16, O'Regan Winter 2024 Mitglied von York University, Team 2-16, O'Regan Winter 2024
YORK-O'REGAN-W24S2G16
1 Mitglied
1 Anleitung geschrieben