Zum Hauptinhalt wechseln

BLU Energy X Motherboard Replacement

Was du brauchst

  1. BLU Energy X Motherboard Replacement, Battery: Schritt 1, Bild 1 von 3 BLU Energy X Motherboard Replacement, Battery: Schritt 1, Bild 2 von 3 BLU Energy X Motherboard Replacement, Battery: Schritt 1, Bild 3 von 3
    • Remove the back case using plastic opening tool.

  2. BLU Energy X Motherboard Replacement: Schritt 2, Bild 1 von 2 BLU Energy X Motherboard Replacement: Schritt 2, Bild 2 von 2
    • Remove the seven 4mm Phillips #000 screws.

    • Remove the top plate.

  3. BLU Energy X Motherboard Replacement: Schritt 3, Bild 1 von 3 BLU Energy X Motherboard Replacement: Schritt 3, Bild 2 von 3 BLU Energy X Motherboard Replacement: Schritt 3, Bild 3 von 3
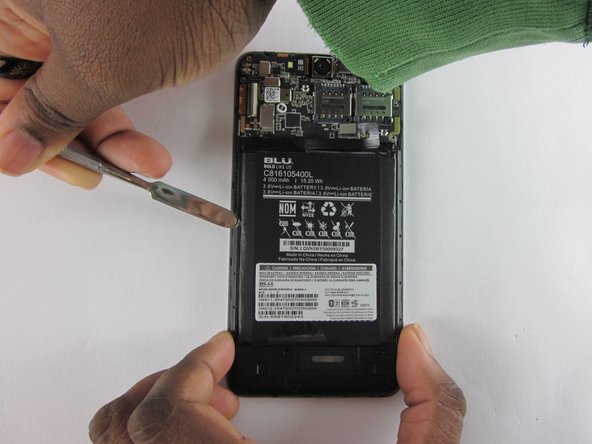
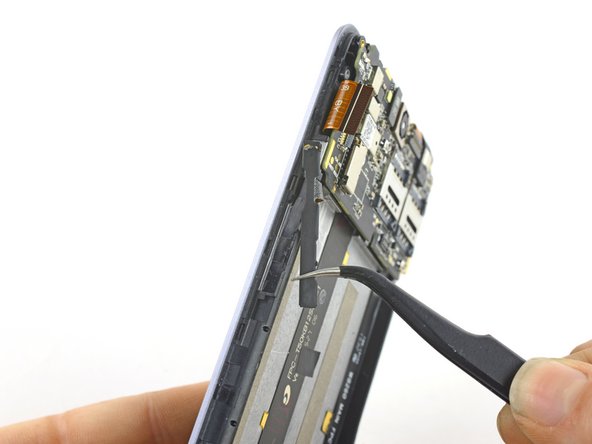
    • Detach the battery from the mother board using a plastic opening tool.

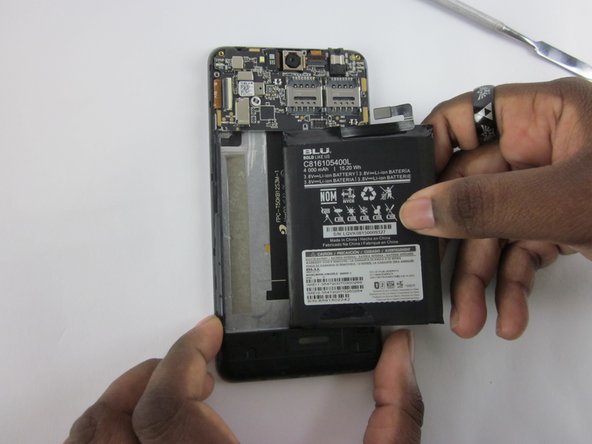
    • Use a plastic spudger to remove battery.

  4. BLU Energy X Motherboard Replacement, Motherboard: Schritt 4, Bild 1 von 2 BLU Energy X Motherboard Replacement, Motherboard: Schritt 4, Bild 2 von 2
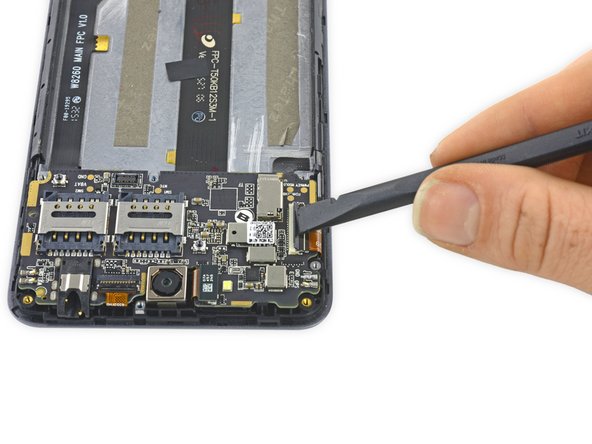
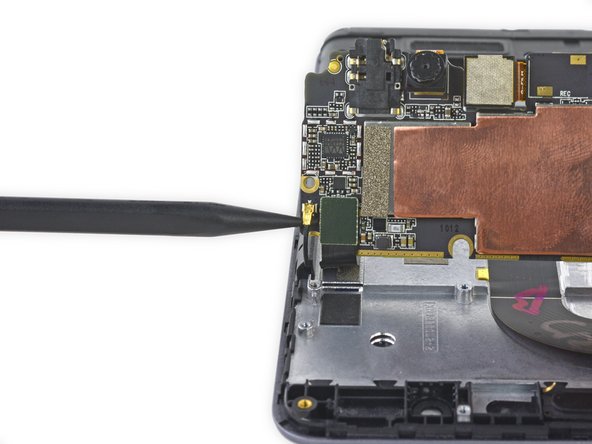
    • Use the flat end of a spudger to flip up the black retaining flap on the ZIF connector.

  5. BLU Energy X Motherboard Replacement: Schritt 5, Bild 1 von 2 BLU Energy X Motherboard Replacement: Schritt 5, Bild 2 von 2
    • Gently pull the ribbon cable free of the ZIF connector.

  6. BLU Energy X Motherboard Replacement: Schritt 6, Bild 1 von 2 BLU Energy X Motherboard Replacement: Schritt 6, Bild 2 von 2
    • Gently peel up the antenna.

    • This is secured with some light adhesive, so some force may be required.

  7. BLU Energy X Motherboard Replacement: Schritt 7, Bild 1 von 3 BLU Energy X Motherboard Replacement: Schritt 7, Bild 2 von 3 BLU Energy X Motherboard Replacement: Schritt 7, Bild 3 von 3
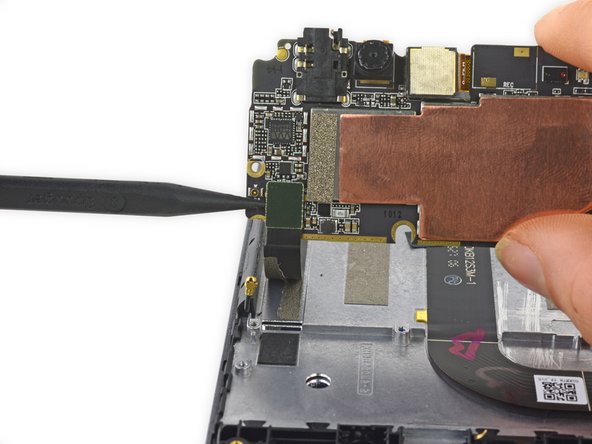
    • Gently rotate the motherboard up so that the front-facing camera is pointed towards you.

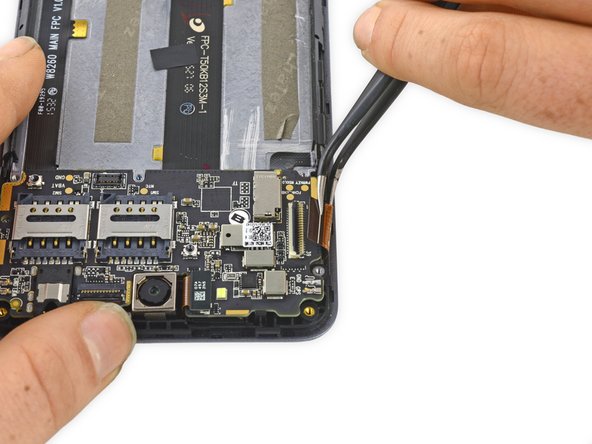
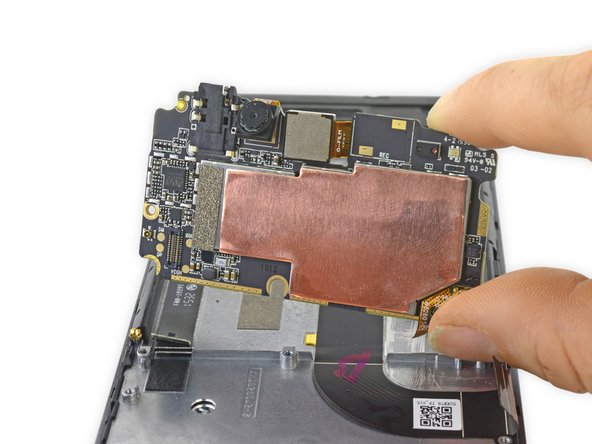
    • Use the pointed end of a spudger to disconnect the antenna cable and the ribbon cable.

  8. BLU Energy X Motherboard Replacement: Schritt 8, Bild 1 von 2 BLU Energy X Motherboard Replacement: Schritt 8, Bild 2 von 2
    • Lift the motherboard up and out of the device.

Abschluss

To reassemble your device, follow these instructions in reverse order.

Ein:e weitere:r Nutzer:in hat diese Anleitung absolviert.

Geoff Wacker

Mitglied seit: 09/30/13

89.934 Reputation

89 Anleitungen geschrieben

0 Kommentare

Kommentar hinzufügen

Seitenaufrufe:

Letzte 24 Stunden: 0

Letzte 7 Tage: 0

Letzte 30 Tage: 0

Insgesamt: 413