Einleitung
This guide will help you replace the rear-facing camera on the back panel of the BLU Grand M2. It is a five-step process and can be completed in as little as six minutes.
The process is of a moderate difficulty and requires five tools for completion.
Was du brauchst
-
-
Check the front panel and confirm you are repairing the BLU Grand M2 (figure 1)
-
Turn the device over and identify the the rear-facing camera (figure 2) This is what you will be replacing
-
-
-
Locate the two torx screws at the bottom of the phone and remove them using the T2 Torx Screwdriver.
-
-
-
-
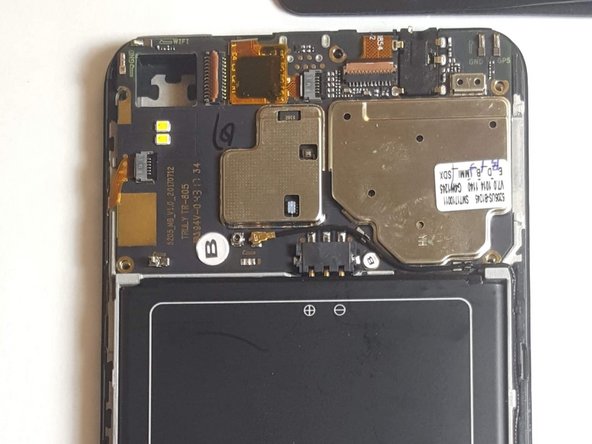
Identify the back-panel camera in the left -hand corner of the open device. (Figure 1)
-
-
-
Use the Plastic Pry Tool to carefully to lift the tab on the right-hand side of the connector.
-
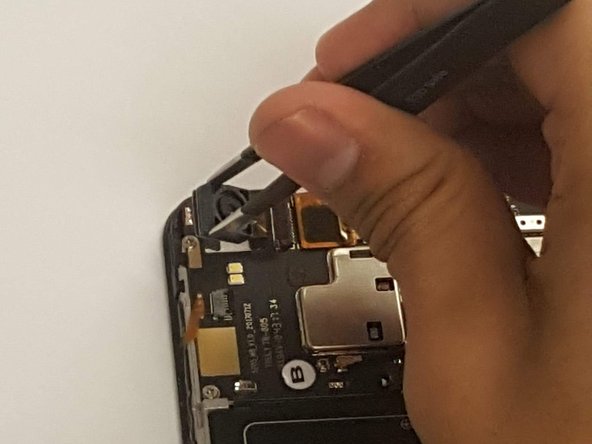
Carefully remove camera from housing using a pair of tweezers.
-
To reassemble your device, follow these instructions in reverse order.
To reassemble your device, follow these instructions in reverse order.


