Diese Version enthält möglicherweise inkorrekte Änderungen. Wechsle zur letzten geprüften Version.
Was du brauchst
-
Dieser Schritt ist noch nicht übersetzt. Hilf mit, ihn zu übersetzen!
-
Turn the device off by holding down the power button for up to 5 seconds and then tapping the "Power off" button on the screen.
-
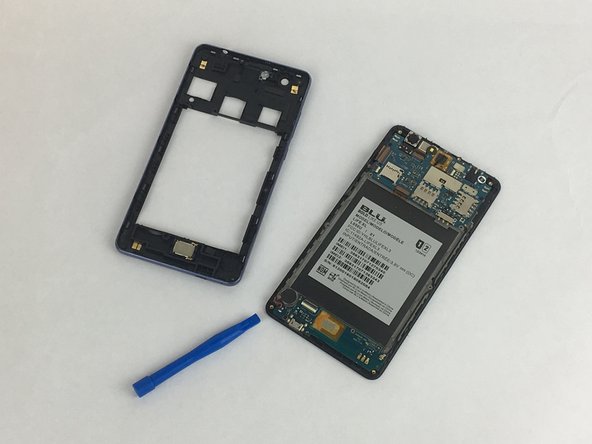
Remove the rear cover using your hands at the lip on the device back cover. No tools required.
-
Remove the battery by lifting the lower edge of the battery up first.
-
-
Dieser Schritt ist noch nicht übersetzt. Hilf mit, ihn zu übersetzen!
-
Remove the 12x3mm screws from the rear plate using the Phillips#000 screwdriver.
-
-
-
Dieser Schritt ist noch nicht übersetzt. Hilf mit, ihn zu übersetzen!
-
Firmly press the prying tool into the gap between the front glass and rear plate. This gap is located on all sides of the phone.
-
Run the prying tool around the entire phone separating the rear plate from the frame.
-
-
Dieser Schritt ist noch nicht übersetzt. Hilf mit, ihn zu übersetzen!
-
Gently remove the tape covering the volume control buttons. The tape is located near the top left of the cavity for the battery.
-
Replace the component and reapply the tape over the buttons.
-


Team

USF Tampa, Team S2-G5, Eyestone Spring 2018 Mitglied von USF Tampa, Team S2-G5, Eyestone Spring 2018
USFT-EYESTONE-S18S2G5
3 Mitglieder
5 Anleitungen geschrieben