Einleitung
If your connection is good between the camera and cellular device, but you can not hear the person you are communicating with through your phone. This means that the mic most likely needs to be replaced.
Was du brauchst
-
-
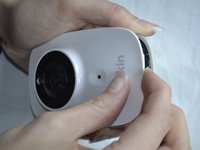
Use a wrench to loosen up the stand from the back in order to hold the NetCam more comfortably.
-
-
-
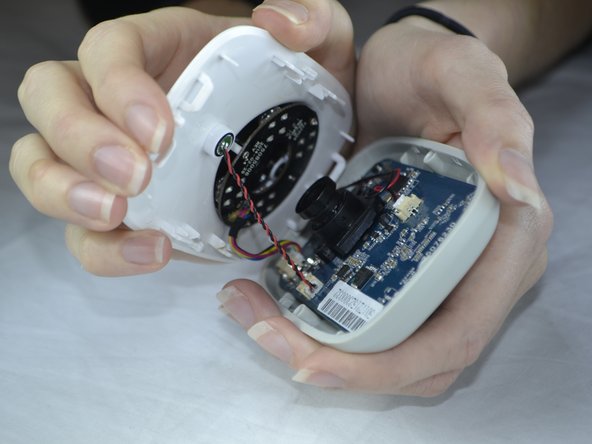
Work a plastic opening tool into the seam and pry the face plate away from the back panel.
-
-
-
In diesem Schritt verwendetes Werkzeug:Tweezers$4.99
-
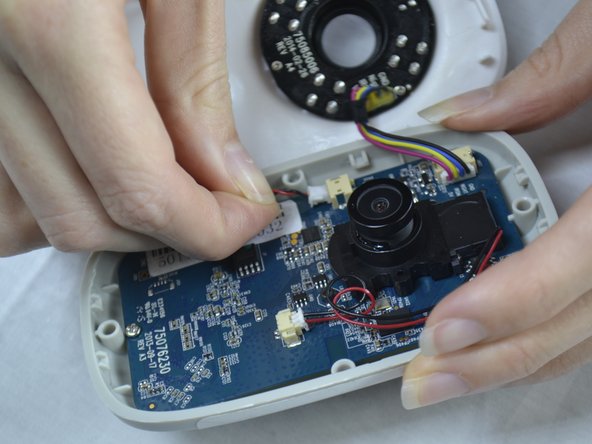
Use tweezers to gently pull out the white attachment from the port.
-
Use your fingers to pull out the white attachment from the tan port on the front of the board a little.
-
-
-
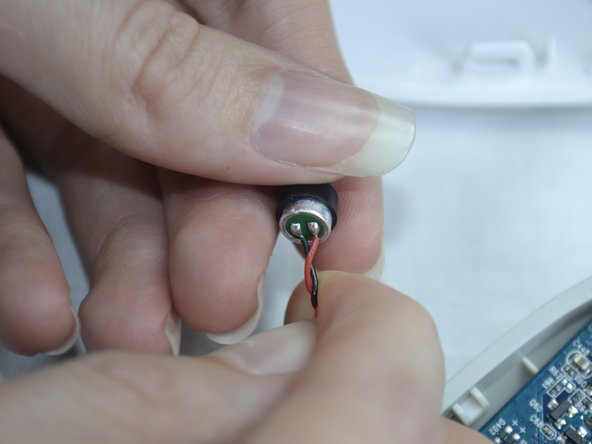
Use a pair of tweezers to wedge between the mic and the rubber guard to remove the mic from the front cover.
-
To reassemble your device, follow these instructions in reverse order.
To reassemble your device, follow these instructions in reverse order.


