Diese Version enthält möglicherweise inkorrekte Änderungen. Wechsle zur letzten geprüften Version.
Was du brauchst
-
Dieser Schritt ist noch nicht übersetzt. Hilf mit, ihn zu übersetzen!
-
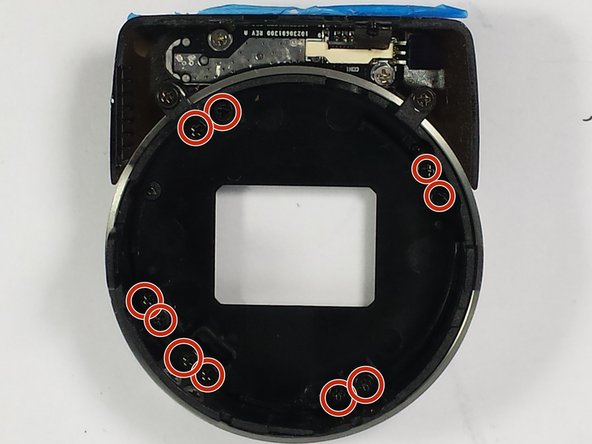
Remove the five 30mm Phillips #0 screws on the bottom of the camera.
-
-
Dieser Schritt ist noch nicht übersetzt. Hilf mit, ihn zu übersetzen!
-
Use a plastic opening tool to disconnect the internal hinges that snaps the camera into place.
-
-
-
Dieser Schritt ist noch nicht übersetzt. Hilf mit, ihn zu übersetzen!
-
It will still be connected by a plastic film. This can also be disconnected by pulling up the white part where it connects to the light circuit board.
-
-
Dieser Schritt ist noch nicht übersetzt. Hilf mit, ihn zu übersetzen!
-
Take out the two 20 mm screws that attach it to the shutter.
-
-
Dieser Schritt ist noch nicht übersetzt. Hilf mit, ihn zu übersetzen!
-
Remove the ten 30 mm Phillips #0 screws from the front lens.
-
-
Dieser Schritt ist noch nicht übersetzt. Hilf mit, ihn zu übersetzen!
-
Take the shutter screen parts out of the lens.
-
Now push out the front lens.
-


Team

UMass Dartmouth, Team 8-4, Botvin Spring 2016 Mitglied von UMass Dartmouth, Team 8-4, Botvin Spring 2016
UMASSD-BOTVIN-S16S8G4
3 Mitglieder
12 Anleitungen geschrieben