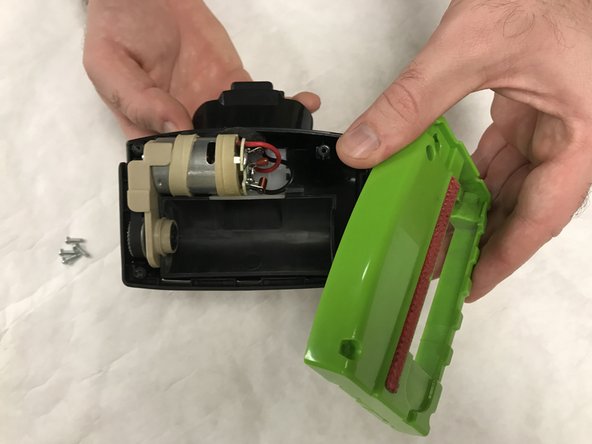
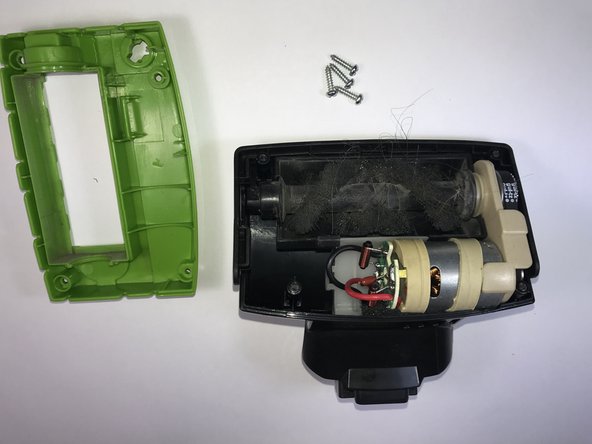
Zum Hauptinhalt wechseln

Bissell Pet Hair Eraser Motorized Brush Replacement

Was du brauchst

  1. Bissell Pet Hair Eraser Motorized Brush Replacement, Motorized Brush: Schritt 1, Bild 1 von 2 Bissell Pet Hair Eraser Motorized Brush Replacement, Motorized Brush: Schritt 1, Bild 2 von 2
    • Turn power OFF.

    • Detach motorized brush from the vacuum.

  2. Bissell Pet Hair Eraser Motorized Brush Replacement: Schritt 2, Bild 1 von 2 Bissell Pet Hair Eraser Motorized Brush Replacement: Schritt 2, Bild 2 von 2
    • Use a spudger or a coin to turn the circular lock clockwise to unlock the brush roll.

    • Remove the lock cover.

  3. Bissell Pet Hair Eraser Motorized Brush Replacement: Schritt 3, Bild 1 von 1
    • Lift brush out of the enclosure.

  4. Bissell Pet Hair Eraser Motorized Brush Replacement: Schritt 4, Bild 1 von 3 Bissell Pet Hair Eraser Motorized Brush Replacement: Schritt 4, Bild 2 von 3 Bissell Pet Hair Eraser Motorized Brush Replacement: Schritt 4, Bild 3 von 3
    • Remove the four 13.0 mm Phillips #0 screws and remove the green cover.

  5. Bissell Pet Hair Eraser Motorized Brush Replacement: Schritt 5, Bild 1 von 1
    • Take out the motor assembly.

Abschluss

To reassemble your device, follow these instructions in reverse order.

Roman Dyagilev

Mitglied seit: 11/11/17

217 Reputation

2 Anleitungen geschrieben

Team

IUPUI, Team S4-G4, Wilson Fall 2017 Mitglied von IUPUI, Team S4-G4, Wilson Fall 2017

IUPUI-WILSON-F17S4G4

3 Mitglieder

2 Anleitungen geschrieben

0 Kommentare

Kommentar hinzufügen

Seitenaufrufe:

Letzte 24 Stunden: 0

Letzte 7 Tage: 2

Letzte 30 Tage: 5

Insgesamt: 309