Zum Hauptinhalt wechseln
Gemeinsam reparieren - Jetzt registrieren

Bissell PowerSwift Compact Vacuum 18082 Filter Replacement

Was du brauchst

    1. Bissell PowerSwift Compact Vacuum 18082 Filter Replacement, Filter: Schritt 1, Bild 1 von 2 Bissell PowerSwift Compact Vacuum 18082 Filter Replacement, Filter: Schritt 1, Bild 2 von 2
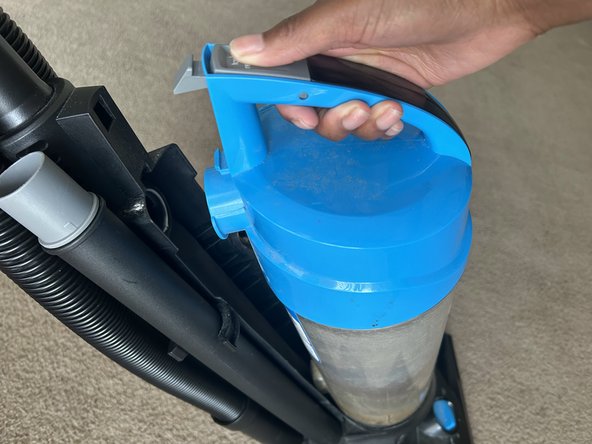
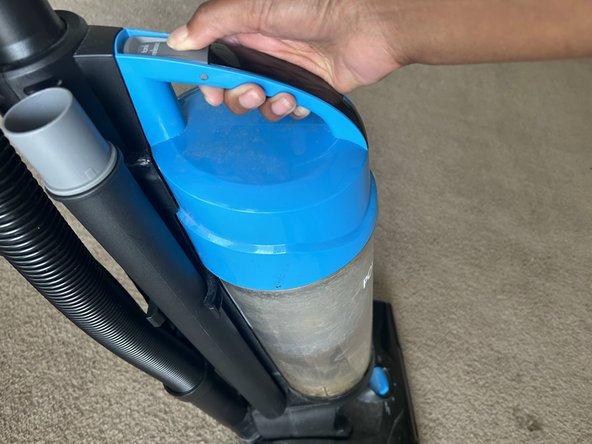
      • Press the tank release button while pulling the tank away from the vacuum.

      Frag FixBot

      Kommentar hinzufügen

    2. Bissell PowerSwift Compact Vacuum 18082 Filter Replacement: Schritt 2, Bild 1 von 2 Bissell PowerSwift Compact Vacuum 18082 Filter Replacement: Schritt 2, Bild 2 von 2
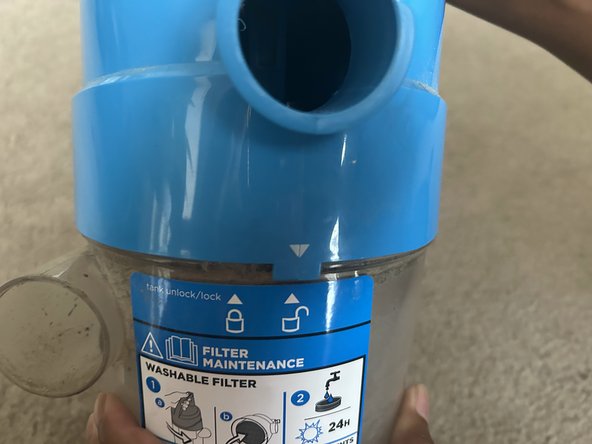
      • To detach the top of the tank where the filter is located, twist the top of the tank counterclockwise, moving the arrow from the lock symbol to the unlock symbol.

      Frag FixBot

      Kommentar hinzufügen

    3. Bissell PowerSwift Compact Vacuum 18082 Filter Replacement: Schritt 3, Bild 1 von 1
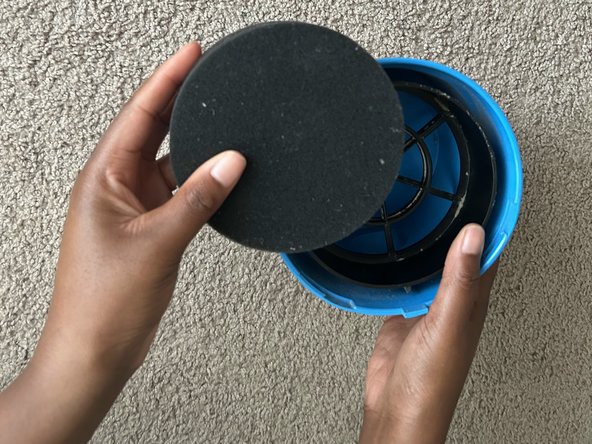
      • Separate the top of the tank from the bottom and remove the filter from the top of the tank.

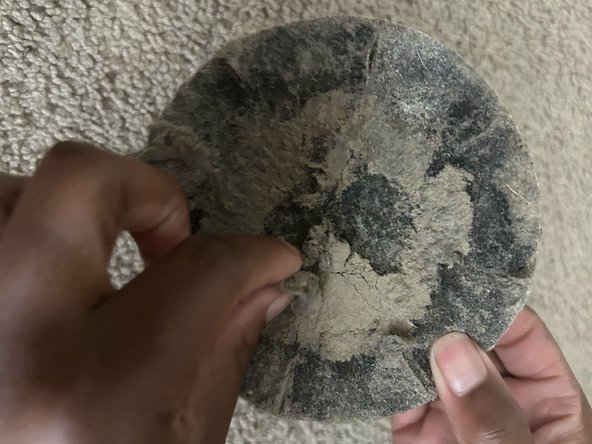
      • It will help if you pull off big pieces of dust before moving to step 4.

      Frag FixBot

      Kommentar hinzufügen

    4. Bissell PowerSwift Compact Vacuum 18082 Filter Replacement: Schritt 4, Bild 1 von 3 Bissell PowerSwift Compact Vacuum 18082 Filter Replacement: Schritt 4, Bild 2 von 3 Bissell PowerSwift Compact Vacuum 18082 Filter Replacement: Schritt 4, Bild 3 von 3
      • Option 1: If you are using a newly purchased filter, skip this step and move to step 5.

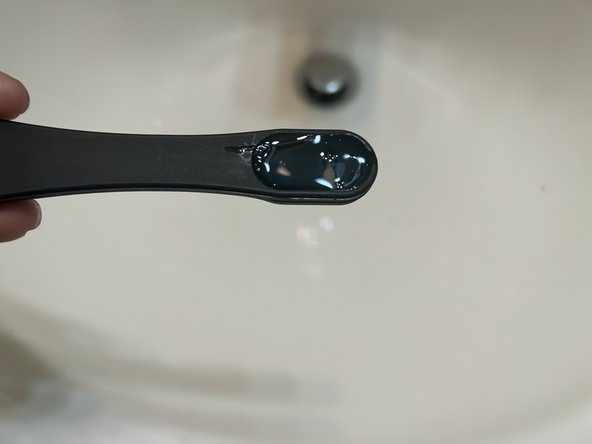
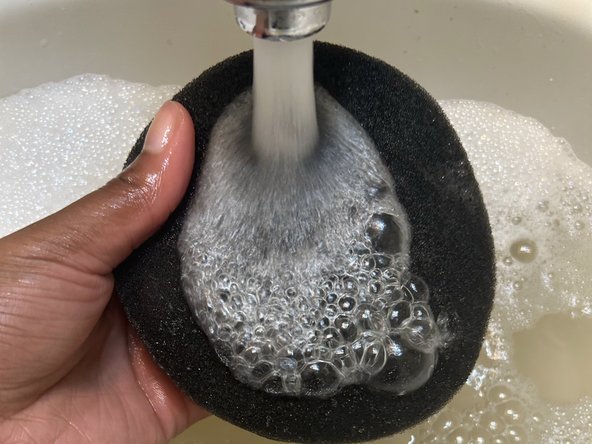
      • Option 2: Clean the existing filter by placing it in a sink or bowl with 1/2 a teaspoon of dish soap and just enough warm water to cover the top of the filter.

      • Soak the filter for 5 minutes.

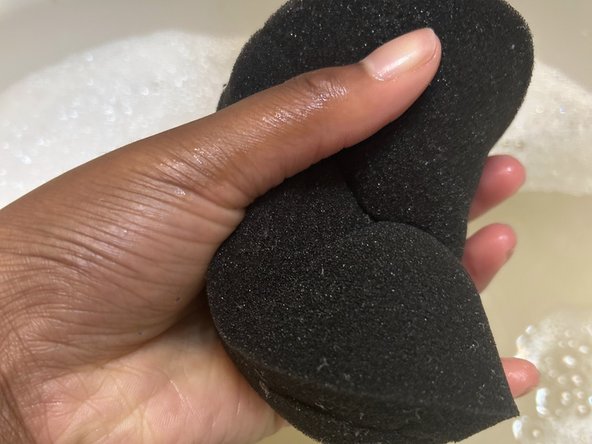
      • Thoroughly rinse and squeeze the filter several times to remove excess soap and water.

      • Let the filter dry thoroughly for 24 hours before putting it back into the tank.

      Frag FixBot

      Kommentar hinzufügen

    5. Bissell PowerSwift Compact Vacuum 18082 Filter Replacement: Schritt 5, Bild 1 von 2 Bissell PowerSwift Compact Vacuum 18082 Filter Replacement: Schritt 5, Bild 2 von 2
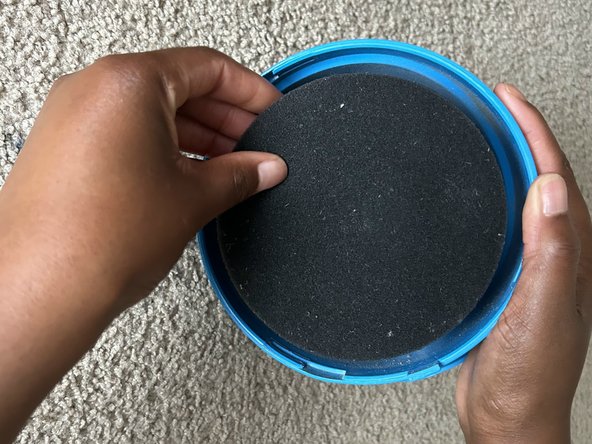
      • Place a new or newly cleaned filter into the top of the tank.

      Frag FixBot

      Kommentar hinzufügen

    6. Bissell PowerSwift Compact Vacuum 18082 Filter Replacement: Schritt 6, Bild 1 von 2 Bissell PowerSwift Compact Vacuum 18082 Filter Replacement: Schritt 6, Bild 2 von 2
      • Replace the top and bottom of the tank by placing the arrow in the unlock slot and turning clockwise toward the lock picture.

      Frag FixBot

      Kommentar hinzufügen

    7. Bissell PowerSwift Compact Vacuum 18082 Filter Replacement: Schritt 7, Bild 1 von 2 Bissell PowerSwift Compact Vacuum 18082 Filter Replacement: Schritt 7, Bild 2 von 2
      • Reattach the tank to the vacuum by inserting the bottom of the tank onto the vacuum base and pushing it in place until you hear a "click" sound.

      Frag FixBot

      Kommentar hinzufügen

Ziellinie

Rückgängig: Ich habe diese Anleitung nicht absolviert.

Eine weitere Person hat diese Anleitung absolviert.

0 Kommentare zur Anleitung

Kommentar hinzufügen

Seitenaufrufe:

Letzte 24 Stunden: 0

Letzte 7 Tage: 3

Letzte 30 Tage: 29

Insgesamt: 466