Einleitung
After using your Bissell Swivel Rewind Pet vacuum cleaner for awhile, the vacuum brush might stop spinning. In most cases, the problem comes from the eruption of the belt. The motor pulley of the vacuum cleaner makes the belt turn, which allows the brush roll to turn and do the cleaning. When the belt brakes, the vacuum cleaner is not useful anymore. Use this guide for to replace the belt of your Bissell Swivel Rewind Pet Vacuum.
Before starting this guide, make sure to have the new belt, and to turn off and unplug your vacuum.
Was du brauchst
-
-
Using your Phillips #2 screwdriver, remove the six 17.5 mm screws on the front panel that holds the brush roll in place.
-
-
-
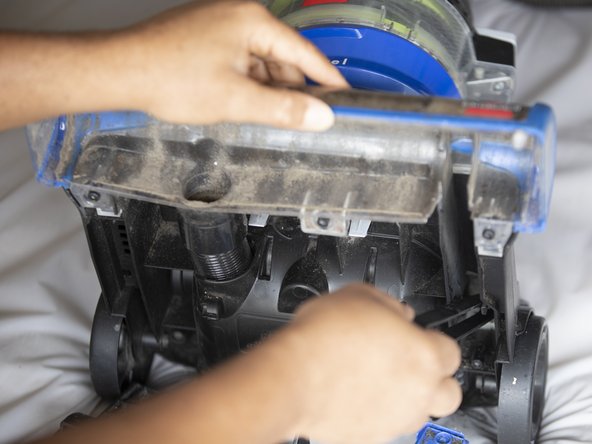
Pull the front panel to remove it and access the brush roll and the broken belt.
-
-
-
-
Remove the broken belt.
-
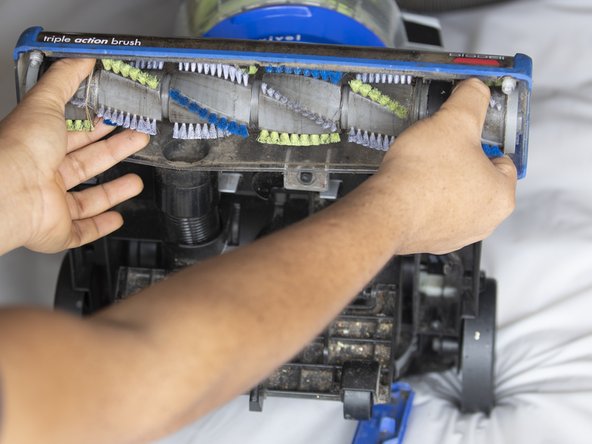
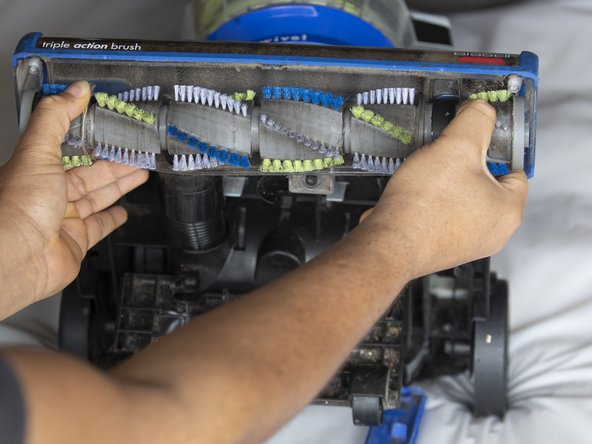
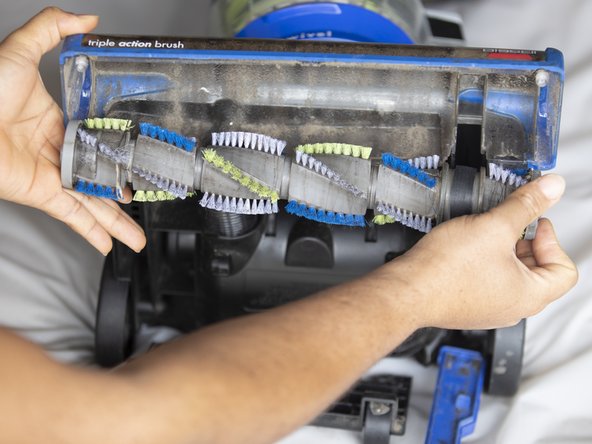
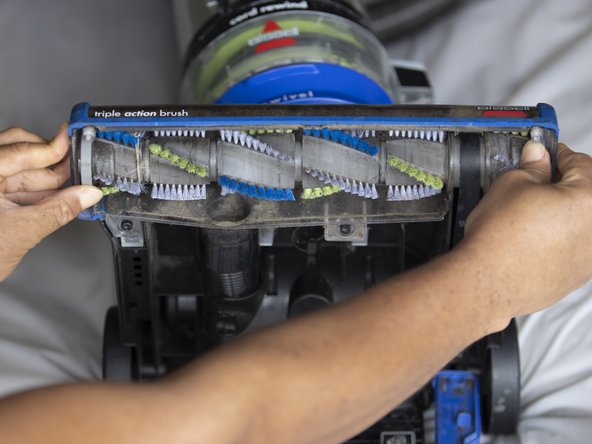
Hold the brush roll on both ends and pull it outward to remove it.
-
-
-
Put the new belt on the metal that makes the belt turn. It is located close to the rear tire.
-





To reassemble your device, follow these instructions in reverse order.
To reassemble your device, follow these instructions in reverse order.
Rückgängig: Ich habe diese Anleitung nicht absolviert.
3 weitere Nutzer:innen haben diese Anleitung absolviert.



Team

UW Tacoma, Team S1-G6, Cardinal Summer 2020 Mitglied von UW Tacoma, Team S1-G6, Cardinal Summer 2020
UWT-CARDINAL-SU20S1G6
1 Mitglied
1 Anleitung geschrieben
