Einleitung
This guide will show how one can properly disassemble their Black And Decker Electric Kettle and outline the components and schematics of the appliance. This is a remarkably simple device with few parts, so it is difficult to damage and easy to repair. The most common issue with the kettle is improper heating, though the cause is not always the same as most of the kettle’s circuitry is designed to produce or manage heat. The kettle has no “on” or “off” switch and heats up immediately upon being plugged in. Since it can reach very high temperatures, make sure the device is entirely unplugged before beginning the repair.
Was du brauchst
-
-
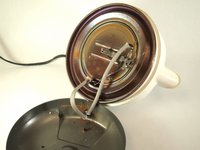
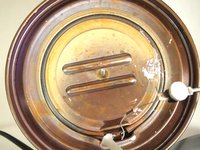
Remove the bottom plating from the kettle by pulling down on the power cord with a light amount of force.
-
-
-
-
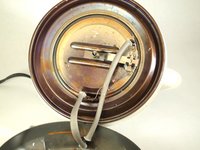
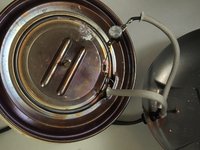
Remove the spacer (cylinder around the threaded rod in the center of device).
-
Loosen and unscrew the second hex nut.
-
-
-
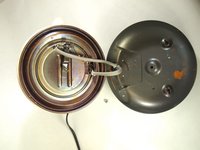
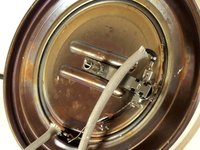
You are done with disassembly!
-
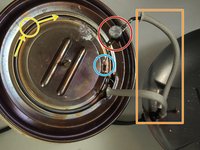
Heat switch (metal circle with black bottom attached to wiring)
-
Wiring
-
Heating element (large, circular wiring that wraps around center of kettle)
-
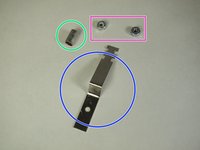
Spacer (metal tube)
-
Thermal fuse (black cylinder with orange top attached to wiring)
-
Metal bracket
-
Hex nuts (x2)
-


To reassemble your device, follow these instructions in reverse order.
To reassemble your device, follow these instructions in reverse order.
Rückgängig: Ich habe diese Anleitung nicht absolviert.
2 weitere Personen haben diese Anleitung absolviert.

Team

Tufts University School of Engineering, Team S1-G4, Bell Fall 2020 Mitglied von Tufts University School of Engineering, Team S1-G4, Bell Fall 2020
TUFTS-BELL-F20S1G4
2 Mitglieder
1 Anleitung geschrieben